Connect your email provider
Connect the email service you already use, check that it works, and choose it for a product. After that, the emails your users get from that product go out through your service, from your own address.
Who can use it
Owners and admins can open the Email providers page, connect a provider and change one. Platform administrators can open the page to read it. Owners and admins also choose which provider a product uses. Other members cannot open the page.
Before you start, read How email works in IvaBoard. Sign-in codes, security emails and emails to your team always come from IvaBoard.
You need an account with an email service, a key or password from it, and a From address on a domain you have verified with that service. Each service has its own short guide in this section. A workspace can connect up to five providers. The page tells you when you have reached the limit.
1. Add the provider
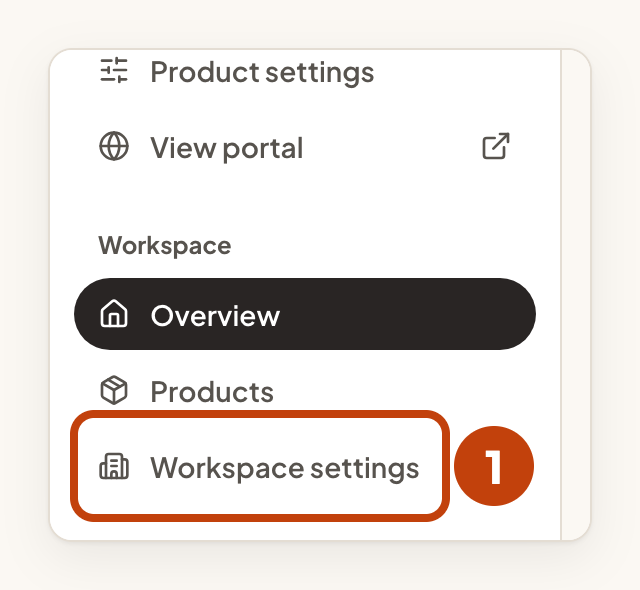
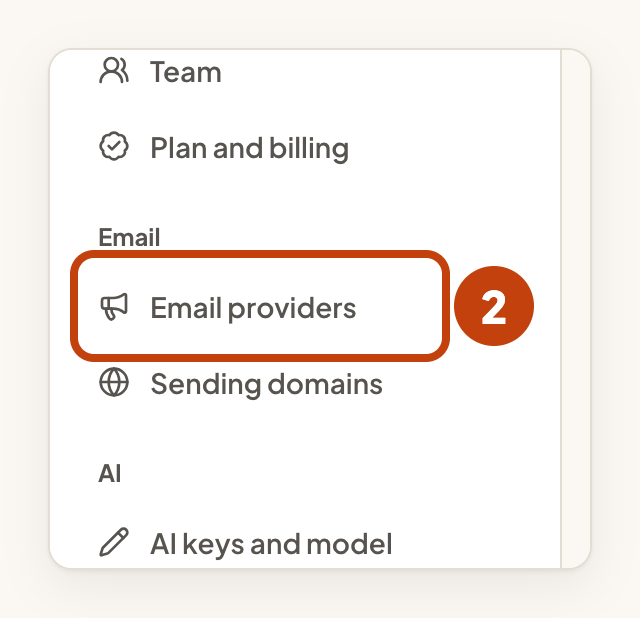
- Open Workspace settings.
- Select Email providers.
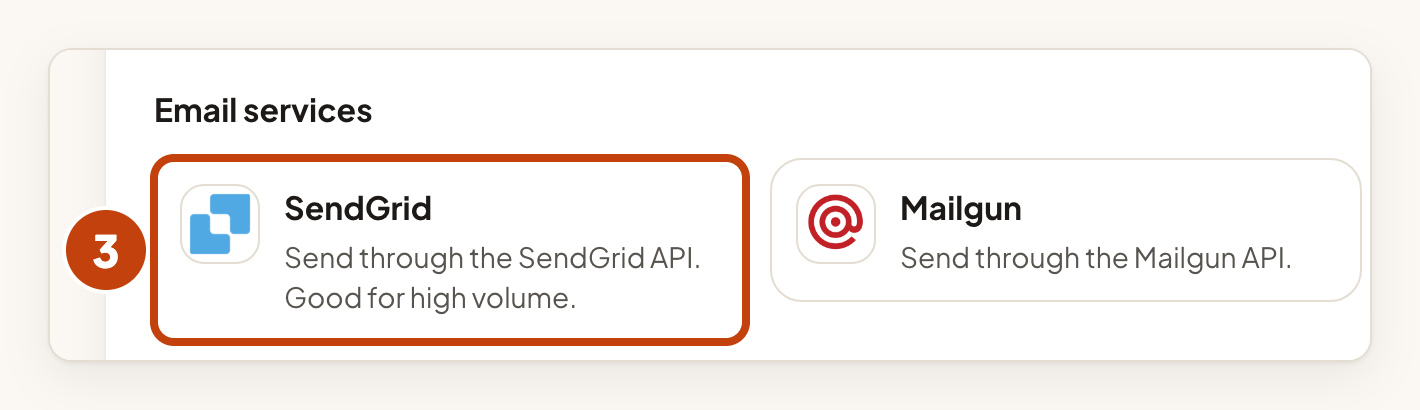
- Under Add a provider, select your service. This example uses SendGrid.
- Enter a Name to tell this provider apart, such as "Company SendGrid".
- Enter the From address your users will see. It must be an address your service has verified for you. IvaBoard's own addresses are refused.
- Optional: enter a From name, such as your company name.
- Enter the API key from SendGrid.
- Select Connect provider.
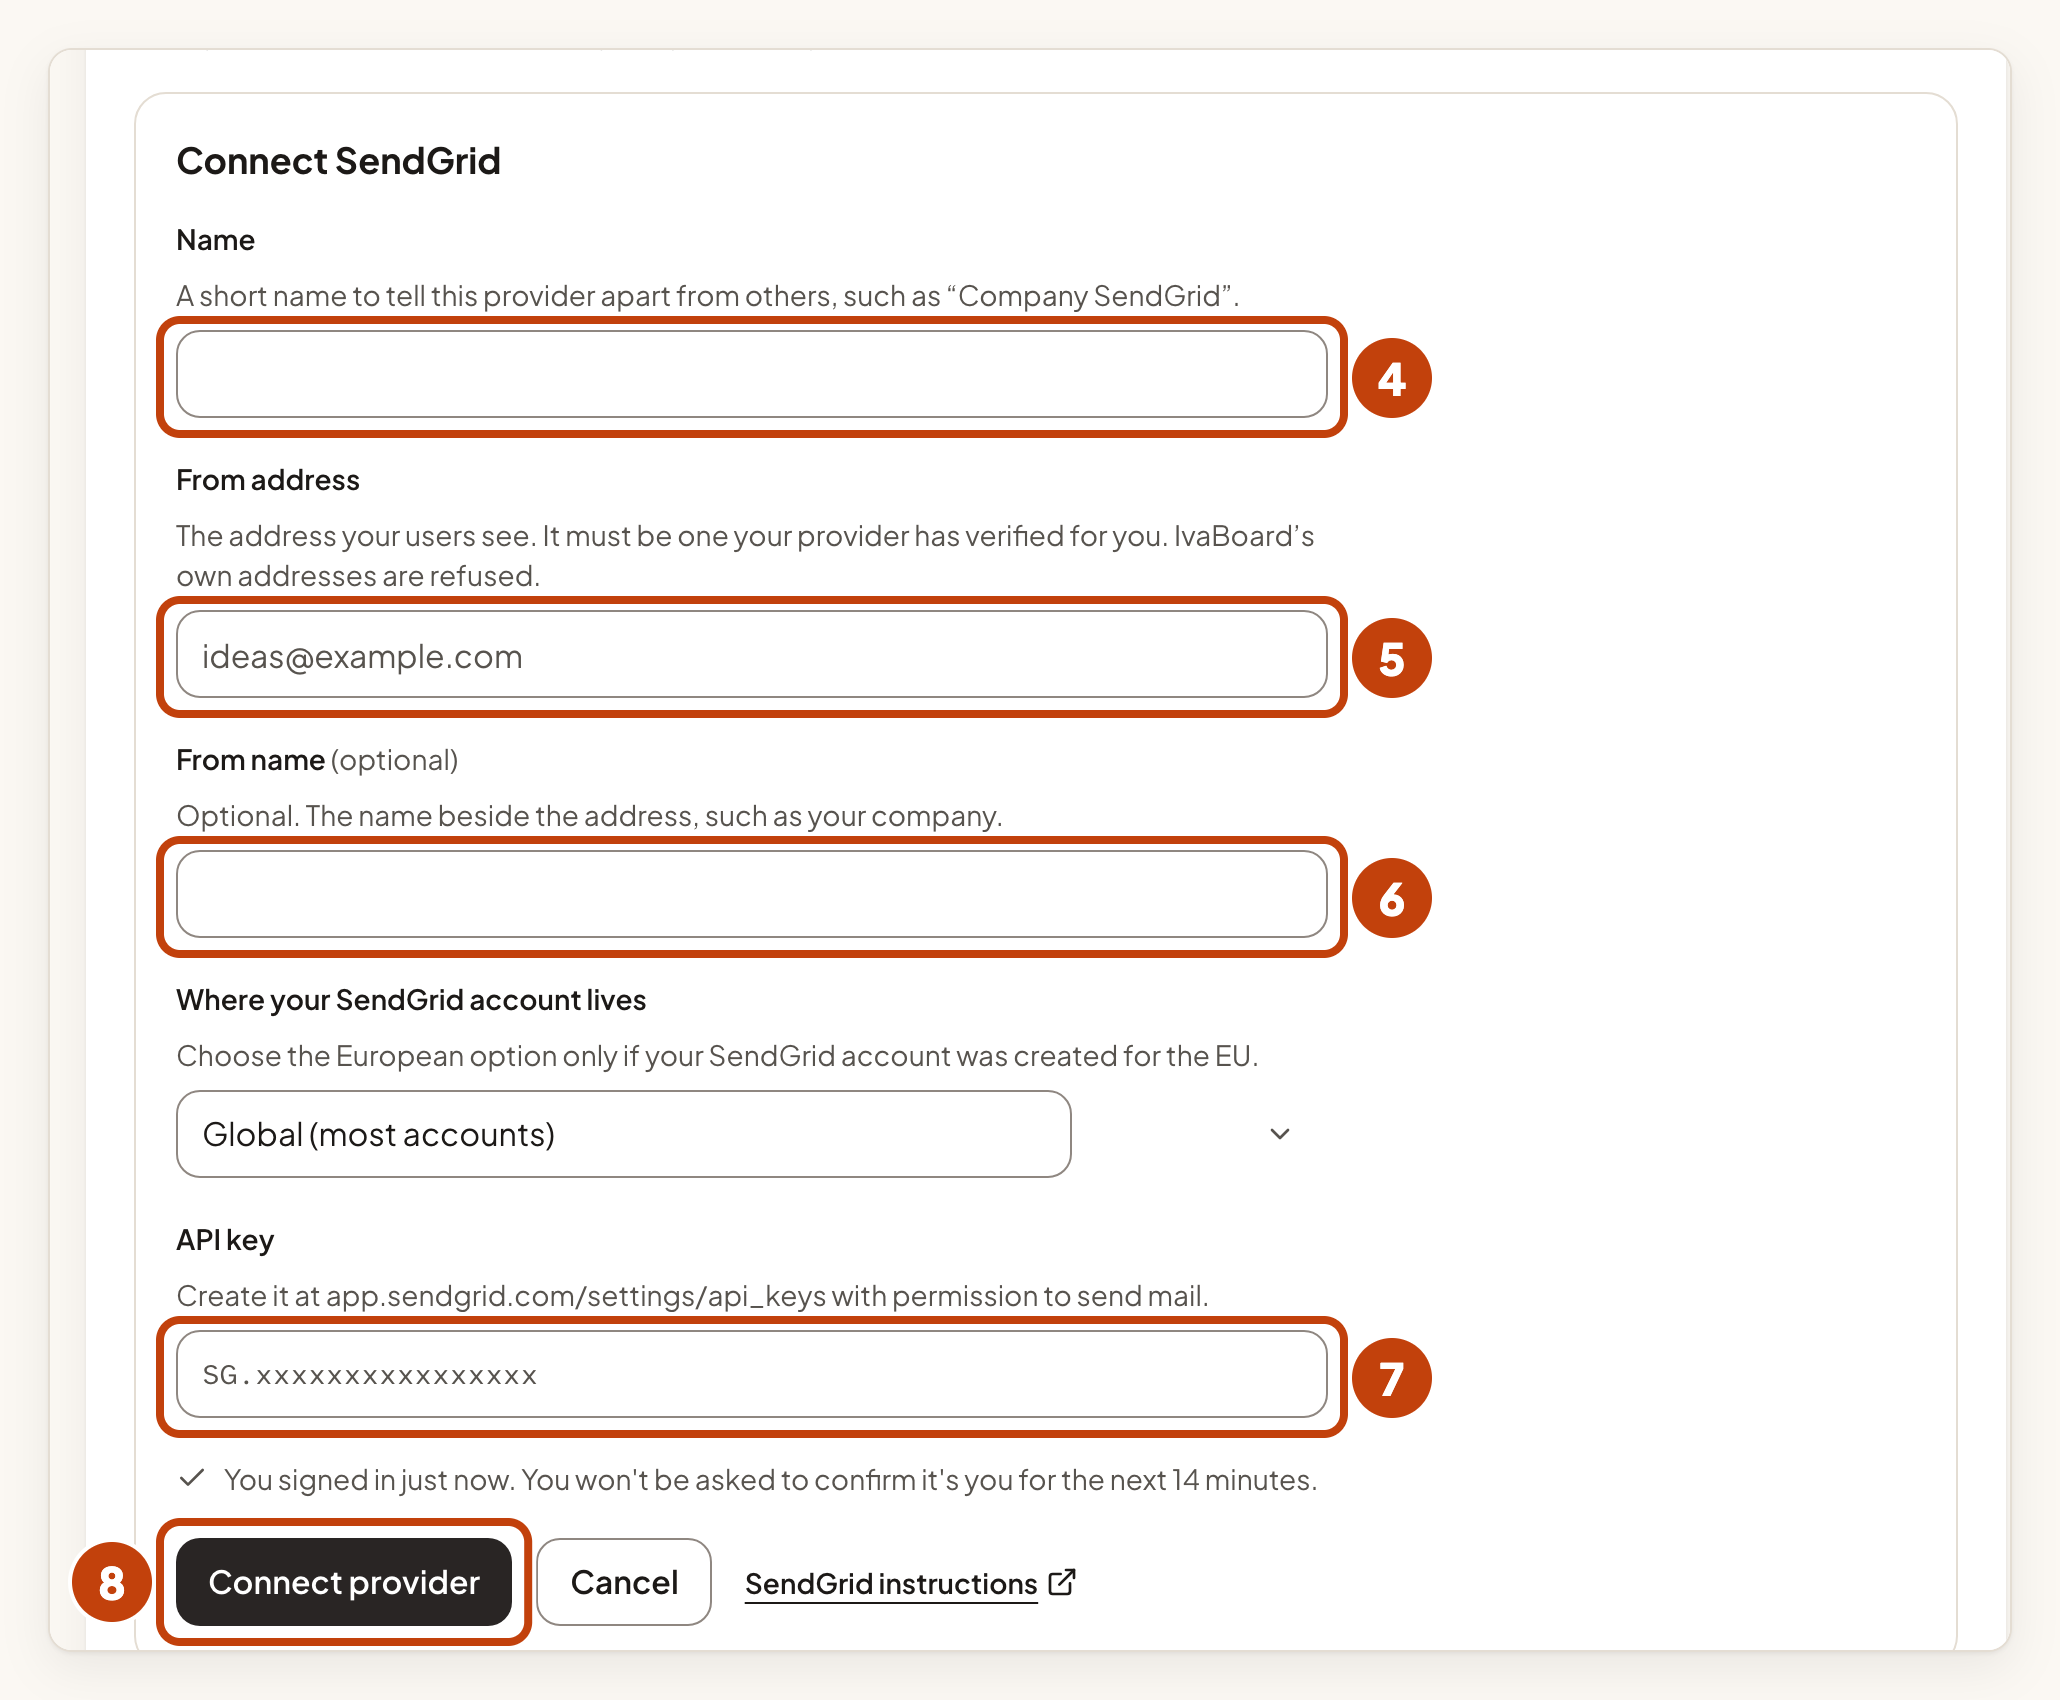
SendGrid also asks where your account lives. Most accounts keep Global (most accounts). Each service asks for its own fields, and its guide lists them.
The key or password is saved securely and is never shown in full again. Afterwards the card shows at most its last 4 characters.
2. Check the connection
- Select Check connection on the provider's card.

The card shows Waiting for a check until a test email is accepted (step 3). IvaBoard signs in to your service without sending any email, to confirm that the key and settings work. Wait a few seconds, then reload the page to see the result: Last check says whether the credential works, and Send a test email appears once it does. You can check again after 30 seconds.
3. Send a test email
- Select Send a test email on the provider's card.
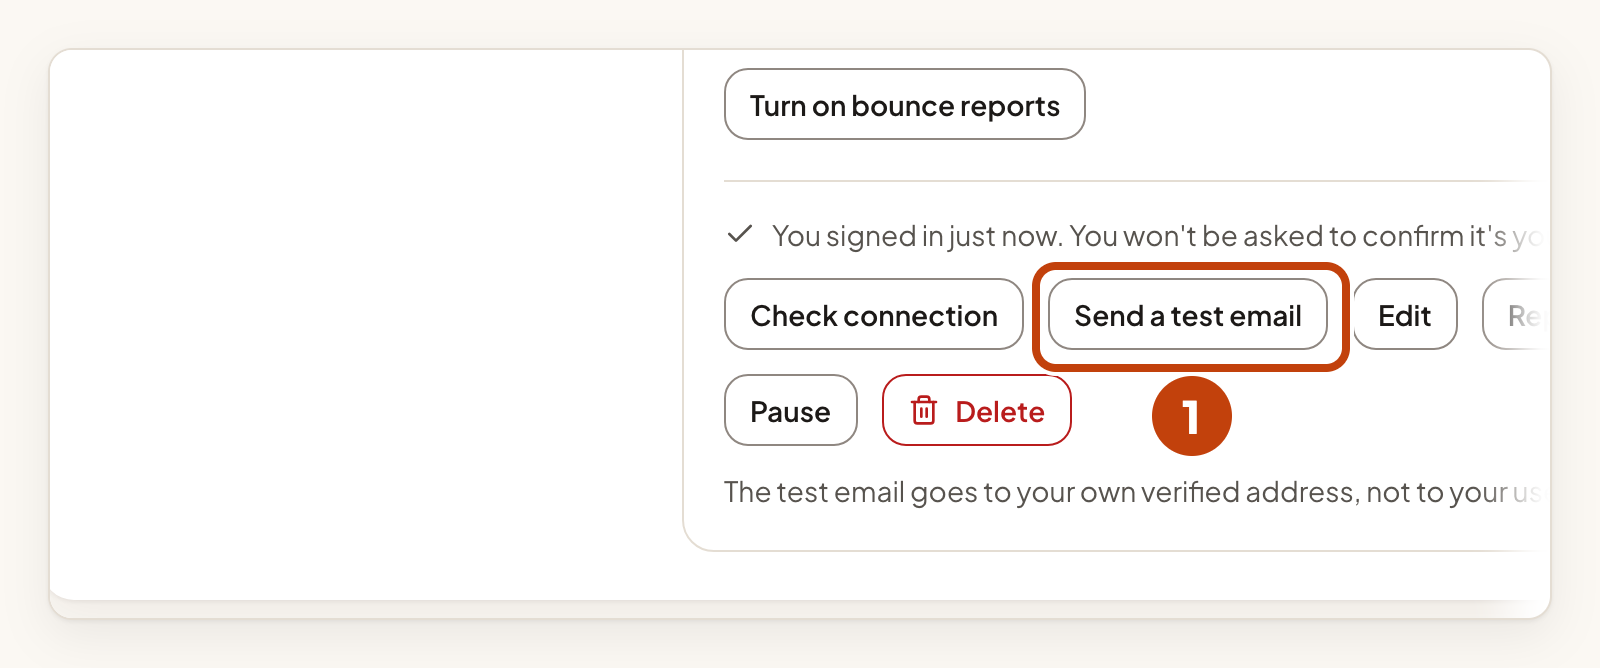
The test email goes to your own verified address, never to your users. You can send one only after the check has passed. Each provider takes one test a minute, and the workspace can send 20 in any 24 hours.
If your service accepts the test email, the card says so. Acceptance is not the same as the email reaching an inbox, so look in your own inbox too.
When the check and the test have both passed, the card shows Active and the message "Ready. A product can choose this provider in its email sender settings."
4. Choose it for a product
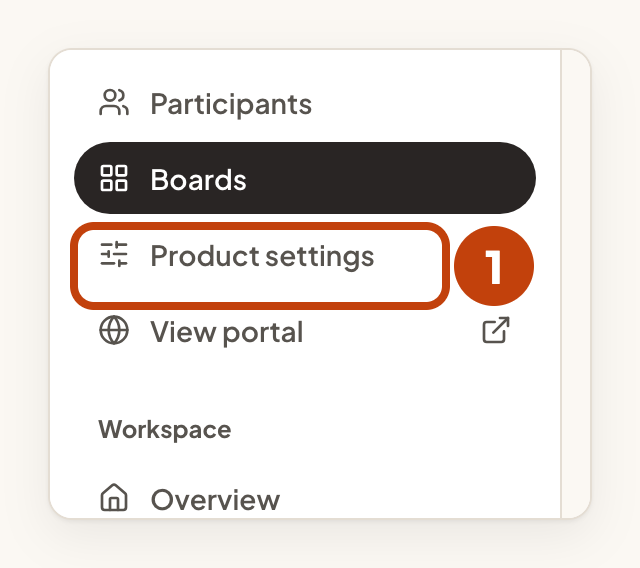
- Select Product settings in the sidebar.
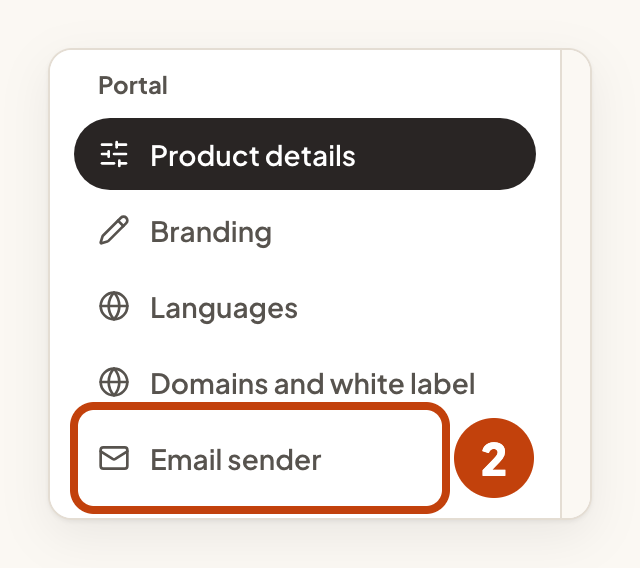
- Select Email sender in the product settings menu.
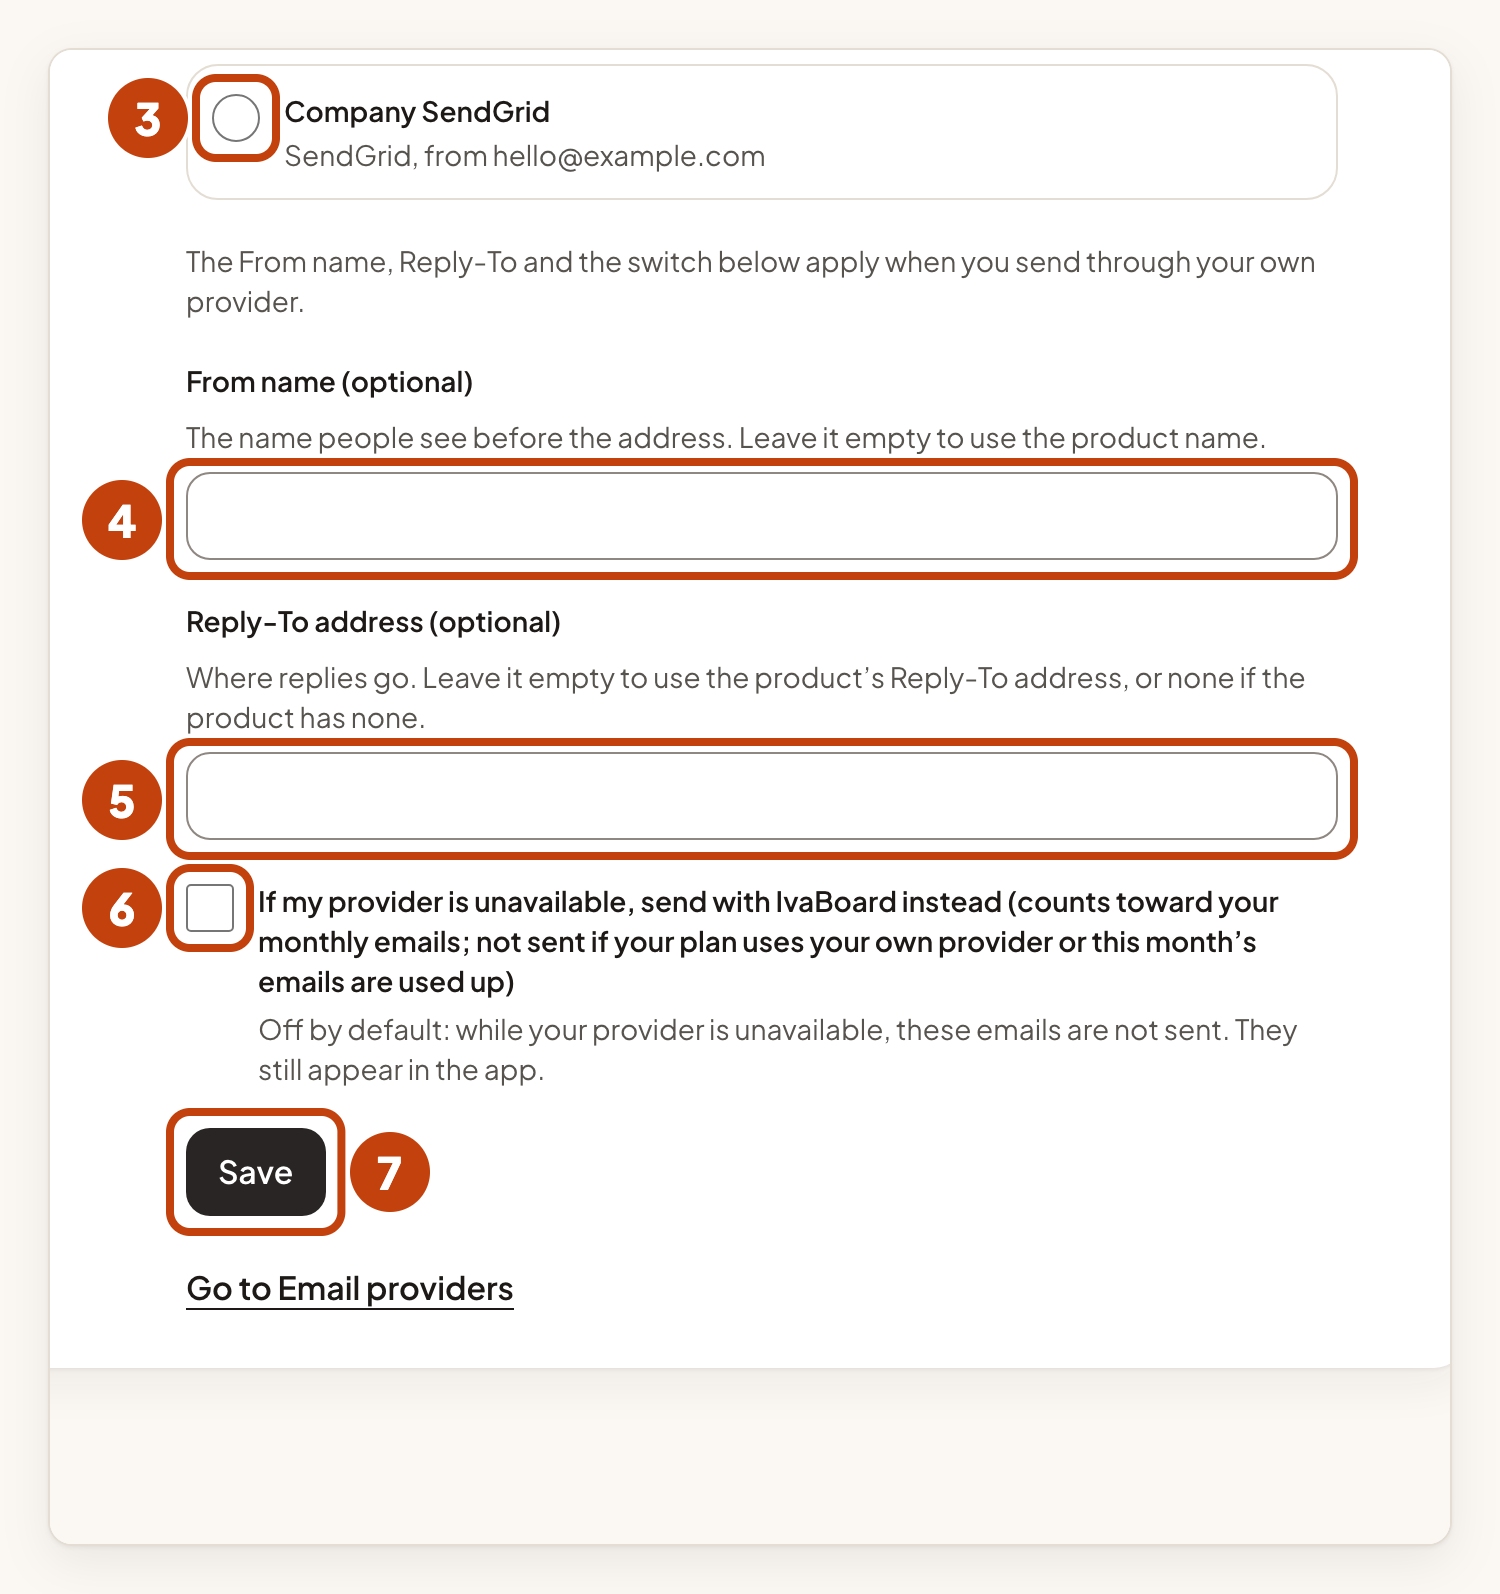
- Under Send emails to your users through, select your provider instead of IvaBoard.
- Optional: enter a From name (optional). Leave it empty to use the product name.
- Optional: enter a Reply-To address (optional). Leave it empty to use the product's Reply-To address, or none if the product has none.
- Turn the switch If my provider is unavailable, send with IvaBoard instead (counts toward your monthly emails; not sent if your plan uses your own provider or this month’s emails are used up) on or off. It is off by default. While it is off and your provider is unavailable, these emails are not sent, but they still appear in the app.
- Select Save.
Only an Active provider can be newly chosen. A provider the product already uses stays selectable, and its fallback switch decides what happens. Any other provider is greyed out, with Not ready to send beside it, and a link takes you to the Email providers page to fix it.
The next email to your users from this product uses the new setting. Every product chooses on its own, so different products can use different providers. To go back to IvaBoard, select Stop using a provider.
Changing a connection
On the provider's card:
- Edit changes the name, From address, From name and settings. A change asks for a new check and a new test email before the provider is used again.
- Replace credential swaps the key or password. The old one is removed, so check the connection again.
- Pause stops everything going through the provider until you select Resume.
- Delete removes the provider and its stored key. Confirm with Delete provider. A provider that a product still uses cannot be deleted, so change that product's email sender setting first.
Keeping your list clean with bounce reports
Some providers can tell IvaBoard when an address bounces for good, or when someone marks an email as spam. For SendGrid, Mailgun, Resend, Postal, Postmark and Brevo, you can turn on bounce reports for the provider. IvaBoard then stops emailing that address for your workspace.
When you turn on bounce reports for SendGrid, Mailgun, Resend or Postal, the card asks for the key the provider shows: Verification public key, HTTP webhook signing key, Signing secret or Server public key. For Postmark and Brevo, IvaBoard creates the credential for you. Other providers show "Bounce reports are not available for this provider yet."
- Select Turn on bounce reports on the provider's card.
- Copy the webhook address and the other values under Bounce reports ready. You see them only once.
- Register the webhook address in your provider's webhook settings.

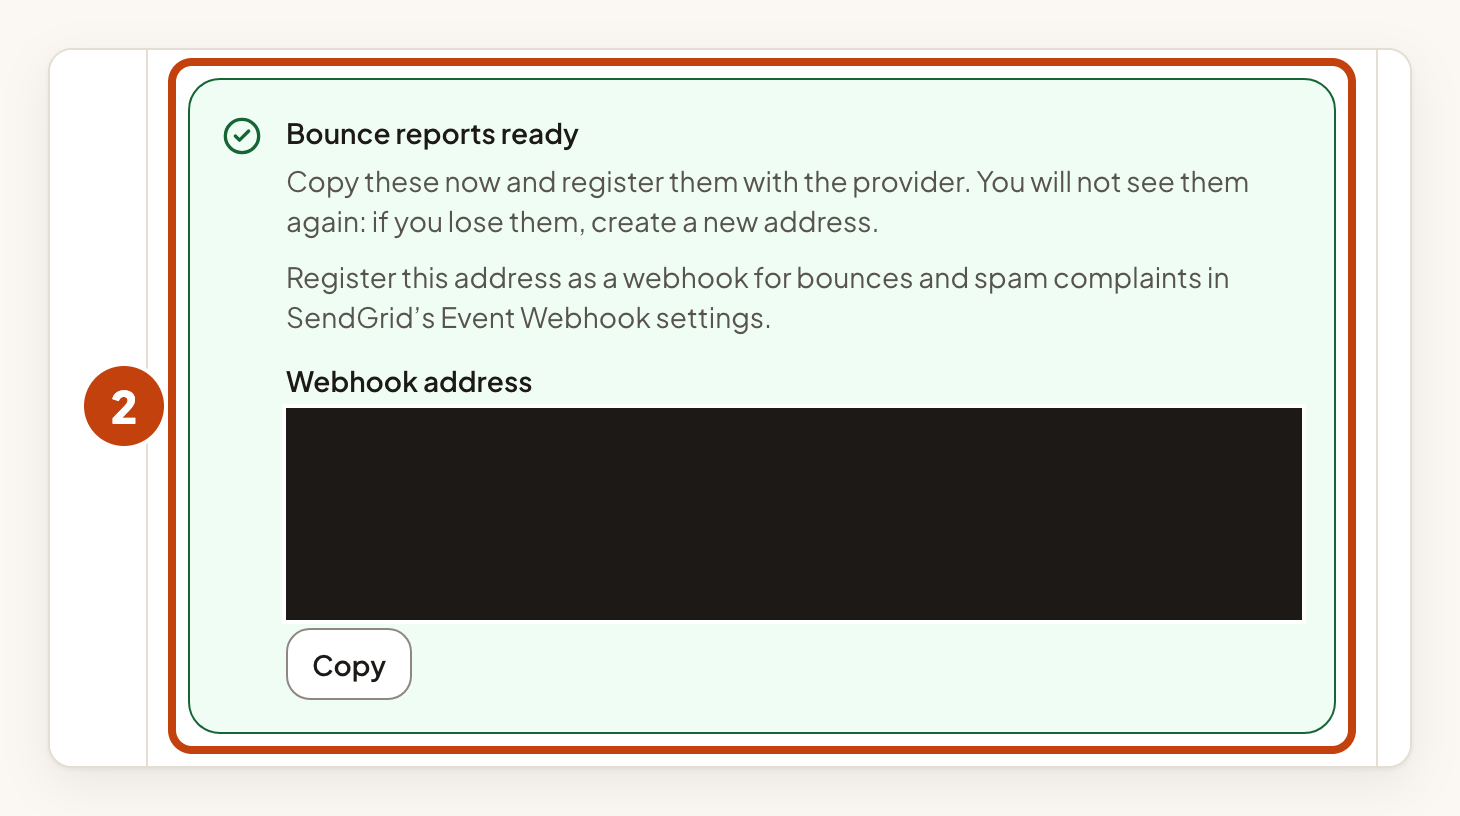
If you lose them, choose New address to make new ones.
Worked example
Sam Taylor is an admin at Acme Labs. Sam connects SendGrid for Acme Notes:
- Name: Company SendGrid
- From address: [email protected], which SendGrid has verified
- API key: copied from the SendGrid dashboard
Sam selects Check connection, then Send a test email to [email protected]. The card shows Active. Sam chooses Company SendGrid under Send emails to your users through for Acme Notes and selects Save.
