Connect SocketLabs
Connect your SocketLabs account. The emails your users get then go out through SocketLabs, from your own address.
Before you start, read Connect your email provider. This article covers what is specific to SocketLabs.
SocketLabs only sends mail from addresses and domains that you have verified in SocketLabs. Verify your From address there before you connect. SocketLabs's sending guide is at https://docs.socketlabs.com.
Who can use it
Only a workspace owner or admin can connect a provider. Only workspace owners and admins can open Email providers.
Connect SocketLabs
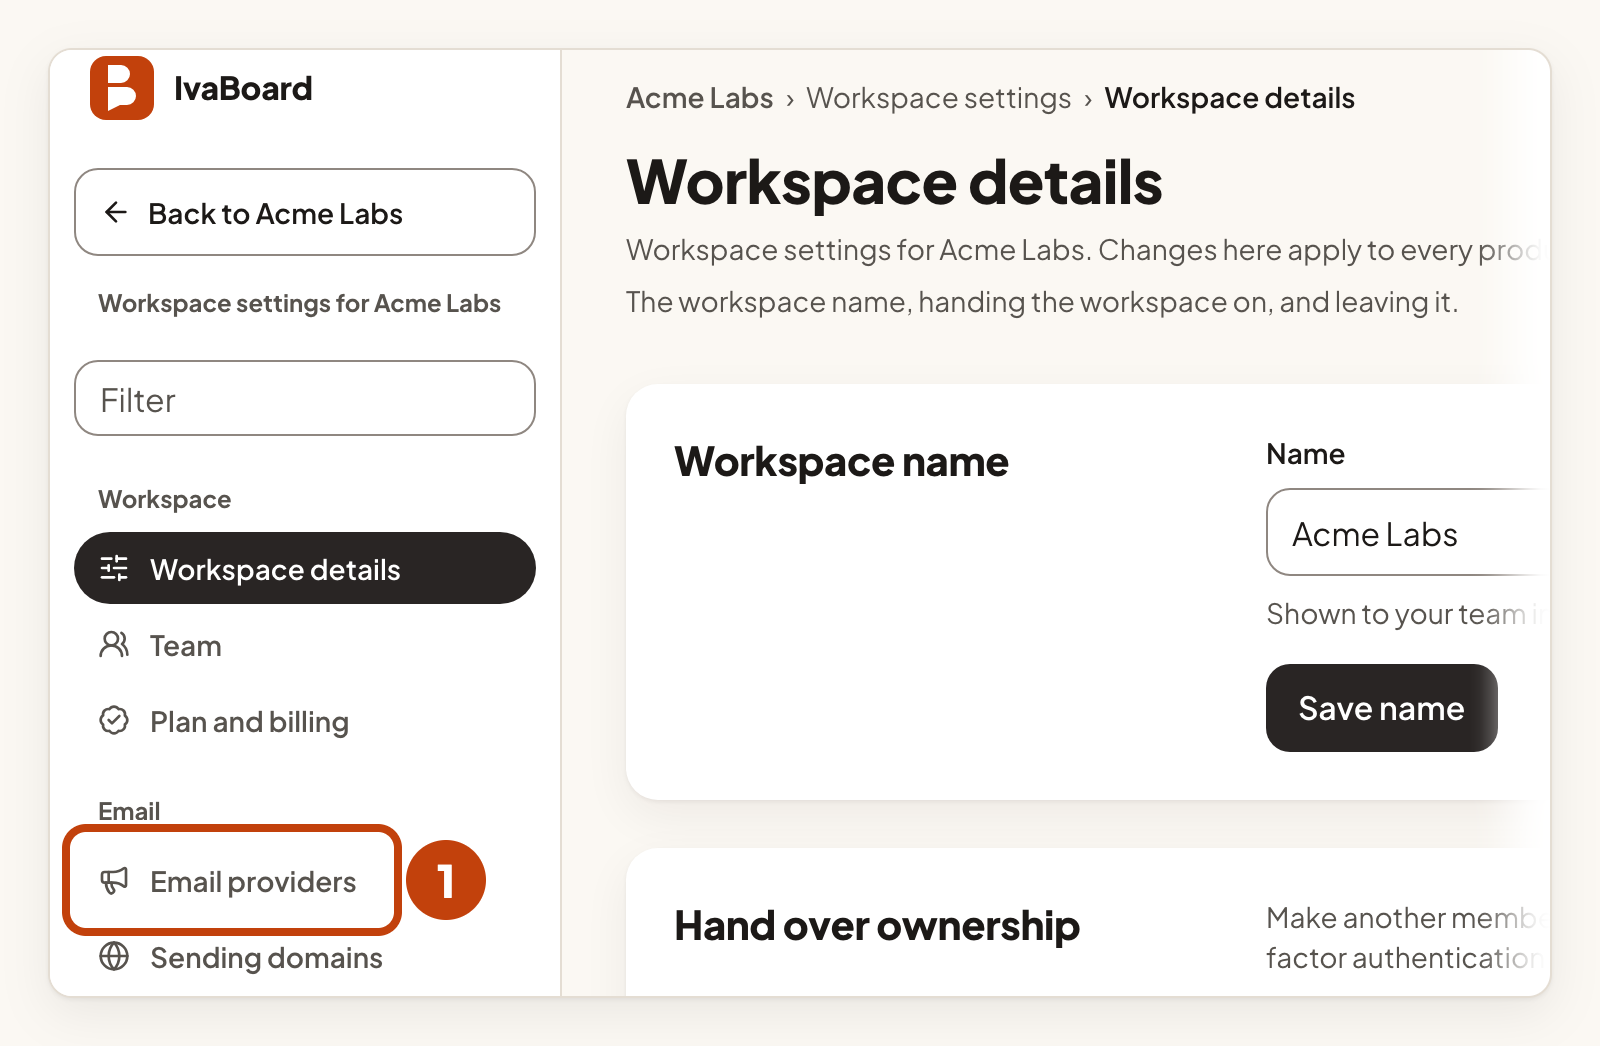
- Open Email providers in your workspace settings.
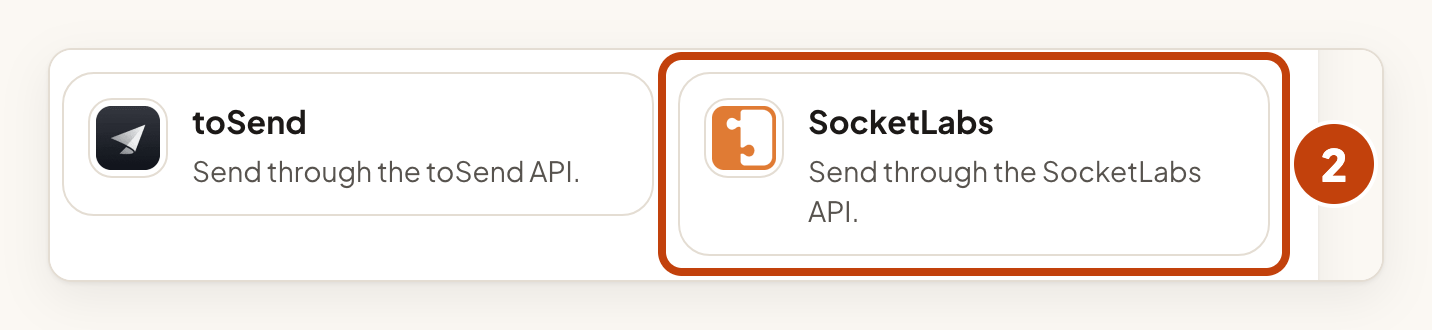
- Select SocketLabs under Email services.
- Type a short name in Name, such as Acme Notes SocketLabs.
- Type the address your users see in From address.
- Type your company name in From name (optional).
- Type your Server ID in Server ID. It is digits only.
- Paste your SocketLabs API key into API key.
- Select Connect provider.
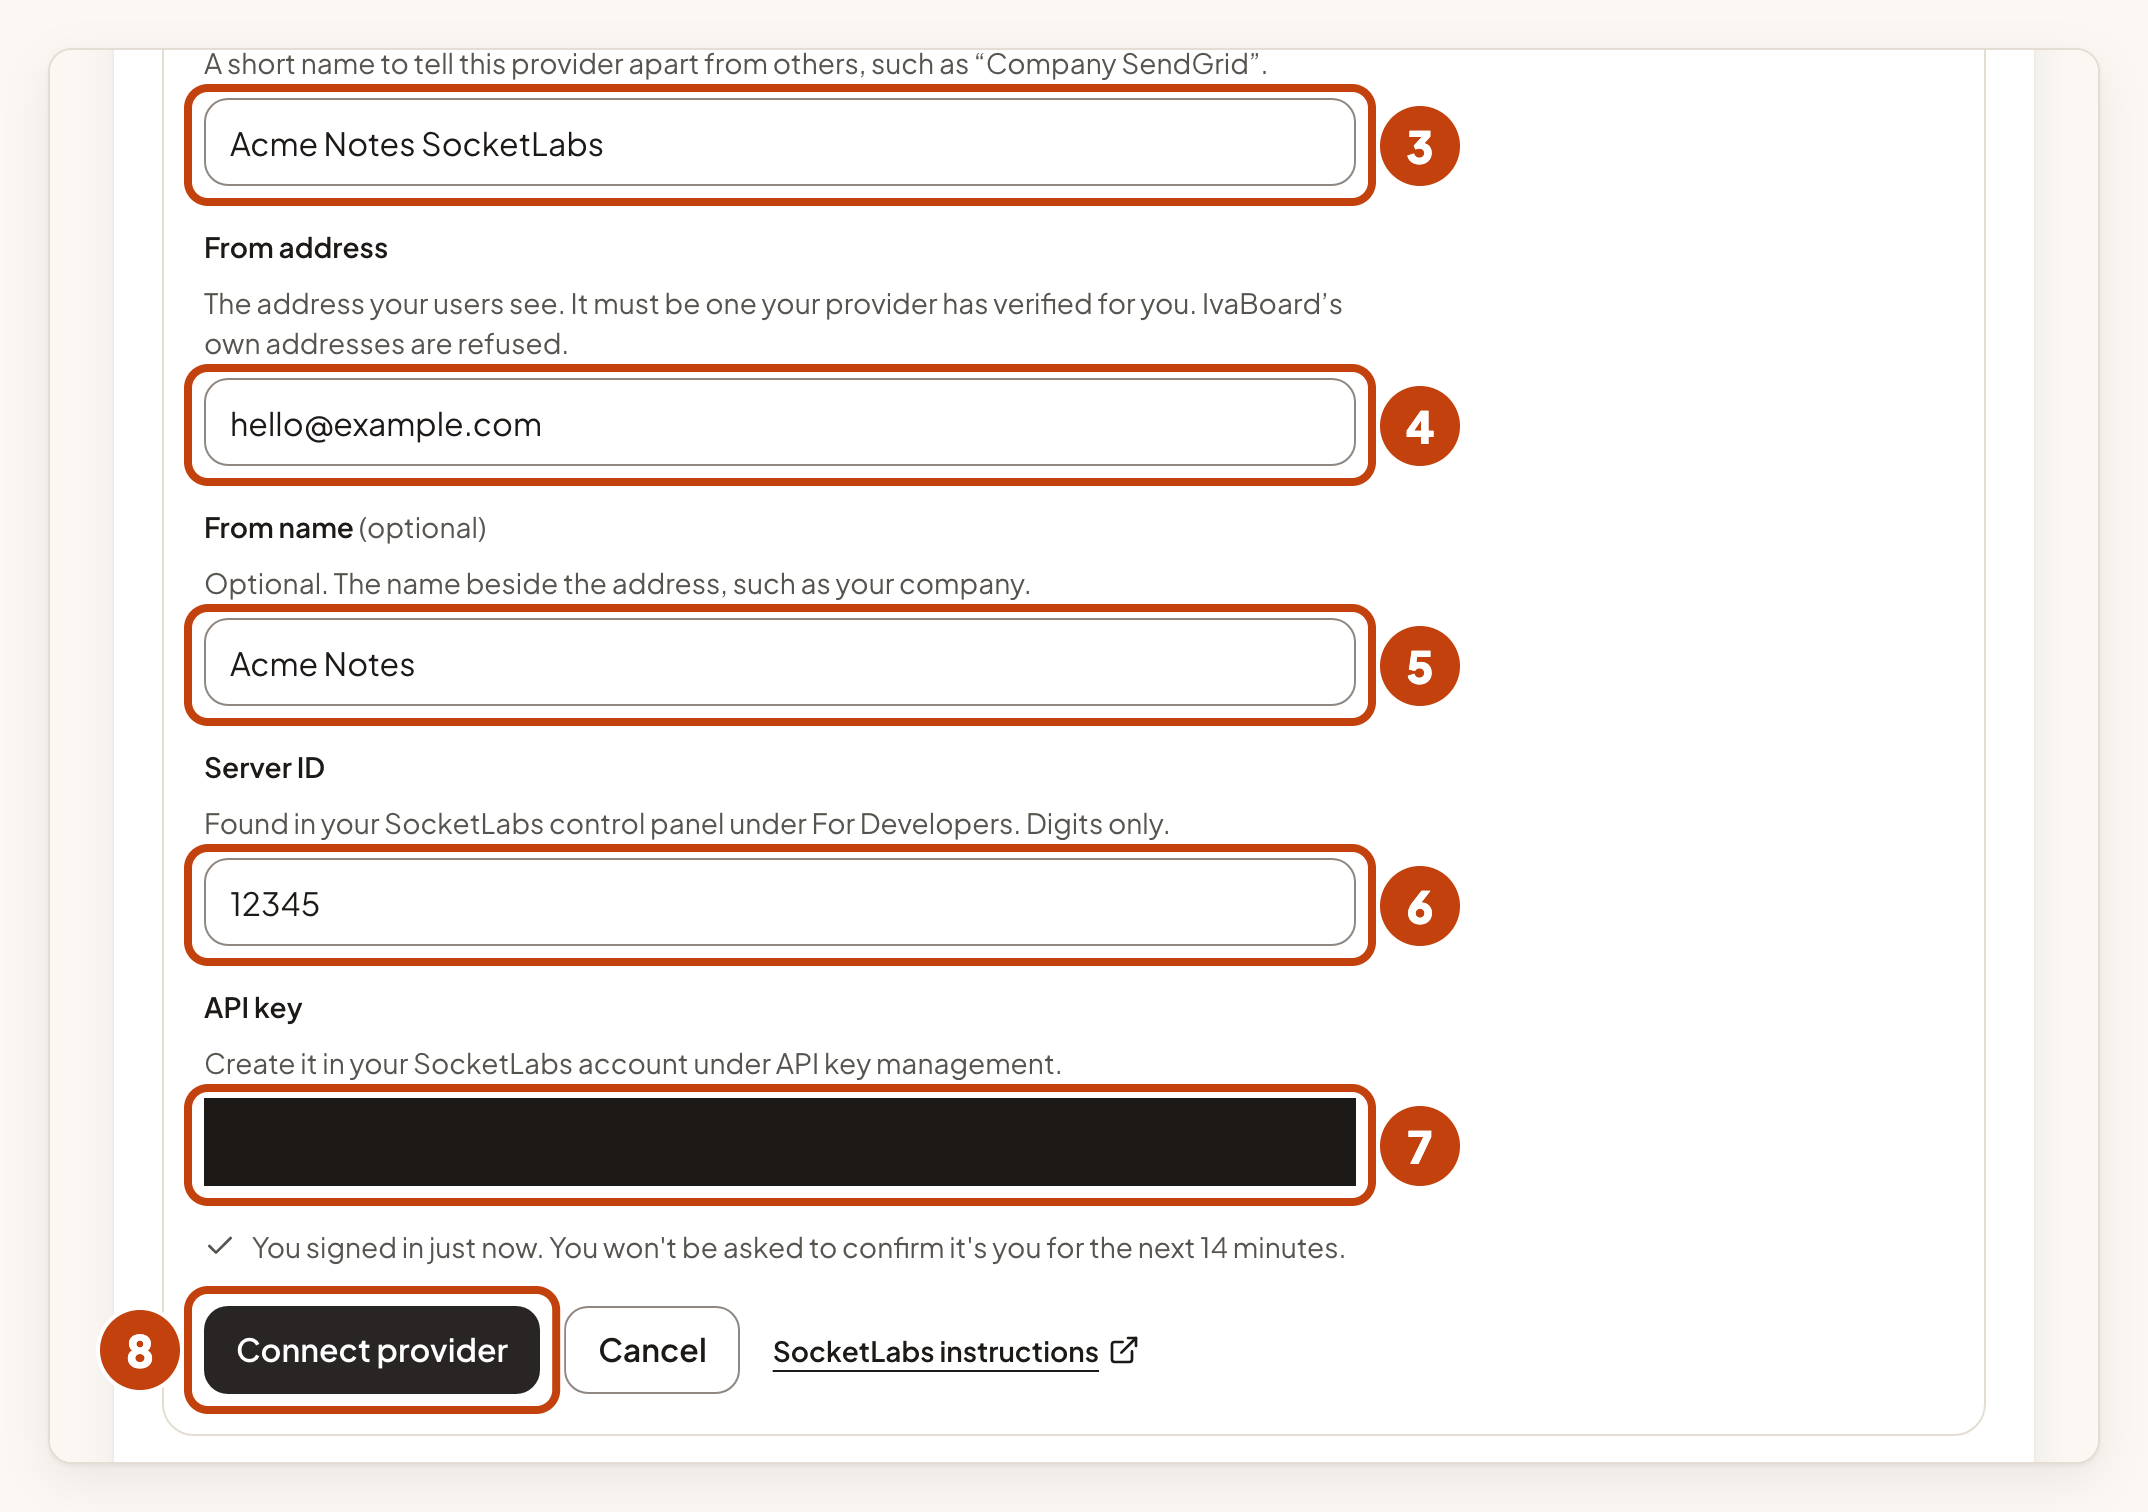
Find the Server ID in your SocketLabs control panel under For Developers. Create the API key in your SocketLabs account under API key management.
IvaBoard saves the key securely. After that it shows only its last few characters.
Check the connection and send a test email
- Select Check connection on your SocketLabs card.
- The result shows on the card within about a minute. If it does not, reload the page.
- Select Send a test email once the check has passed.
- Reload the page to see the result.
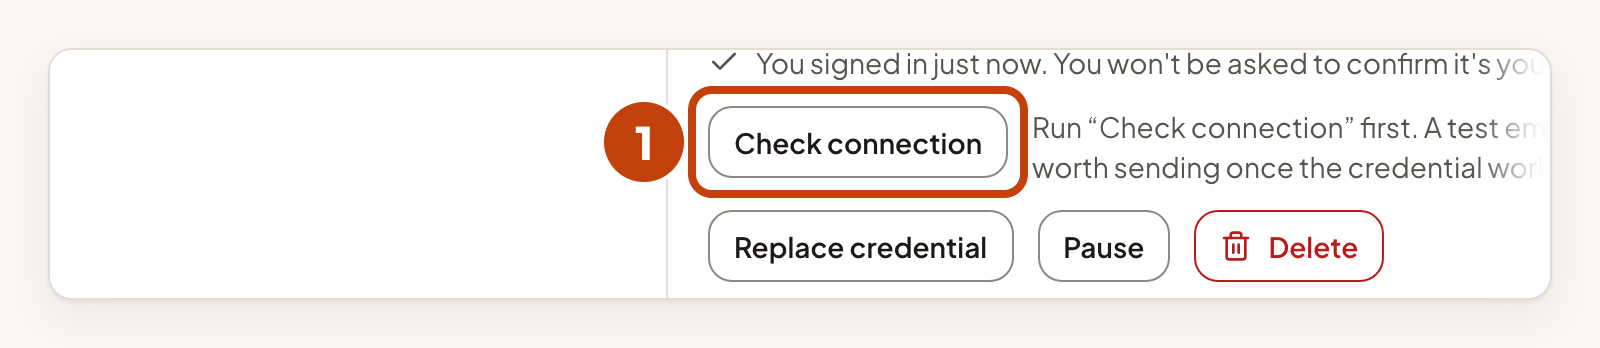
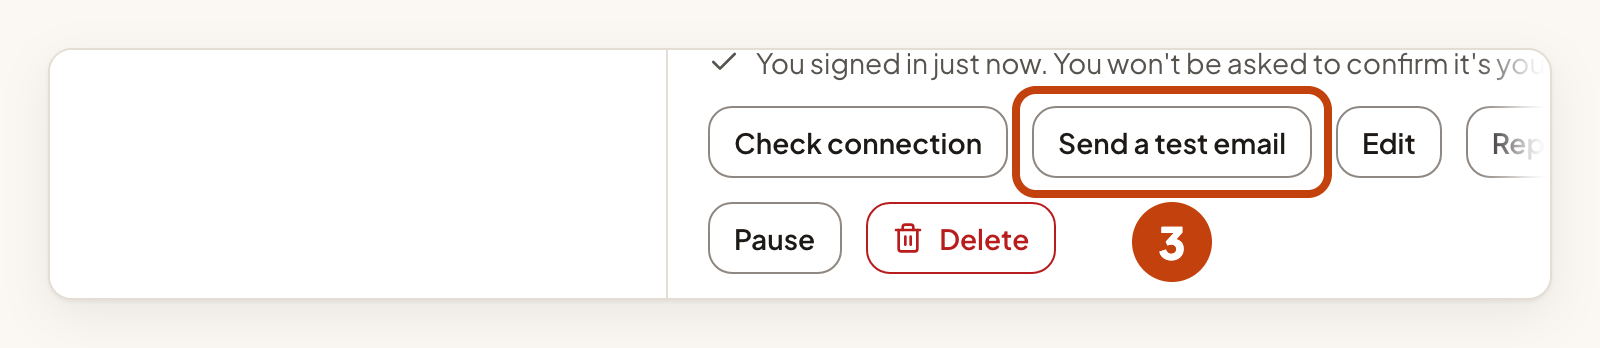
The test email goes to your own verified address, not to your users. When both pass, the card shows Active. Then choose SocketLabs for a product in its email sender settings. Connect your email provider explains how.
If the card says "The provider refused the credential", select Replace credential on the card, paste a new key and check the connection again. If it says "The provider refused the From address", select Edit on the card and use an address that SocketLabs has verified.
Bounce reports
Bounce reports are not available for this provider yet. SocketLabs's own suppression list applies. Check it in SocketLabs if an address keeps failing.
Example
For example, Sam connects SocketLabs for Acme Notes. Sam types Acme Notes SocketLabs in Name, [email protected] in From address and 12345 in Server ID. Then Sam pastes the API key into API key, selects Connect provider and checks the connection.
