Slack and Microsoft Teams notifications
Chat notifications post a short message to a Slack or Microsoft Teams channel when something happens in one of your products. Your team sees new feedback where they already work, without opening the console.
Who can use it
Every plan. Only workspace owners and admins can add or change a channel. Other team members see a note that says so.
What is sent
You choose which messages a channel gets. Each one is off until you tick it:
- A new idea is posted
- A new public comment is added
- An idea changes status
- A survey is answered: the survey name, the score and the written answers, with email addresses removed.
- Someone joins a waitlist: which waitlist and when. Who joined is sent only when the channel turns on Show who joined (name and email). Only a person's first join.
Idea, comment and status messages send only what your public portal shows. Survey answers and first waitlist joins are sent even when your portal is private. Ideas waiting for review, ideas on a private board and hidden ideas send nothing. Internal notes are never sent. No message says who posted or answered. Names and email addresses go only to channels that turn on Show who joined (name and email). Changelog entries and digests are not sent.
Before you start
Create an incoming webhook address for the channel in your chat tool. The add form has a How do I get this address? list for each tool.
- Slack: the address starts with
https://hooks.slack.com/services/. - Microsoft Teams: in the channel, add the Workflows app and choose the option that posts to a channel when a webhook request is received. Copy the address it shows.
Add a channel
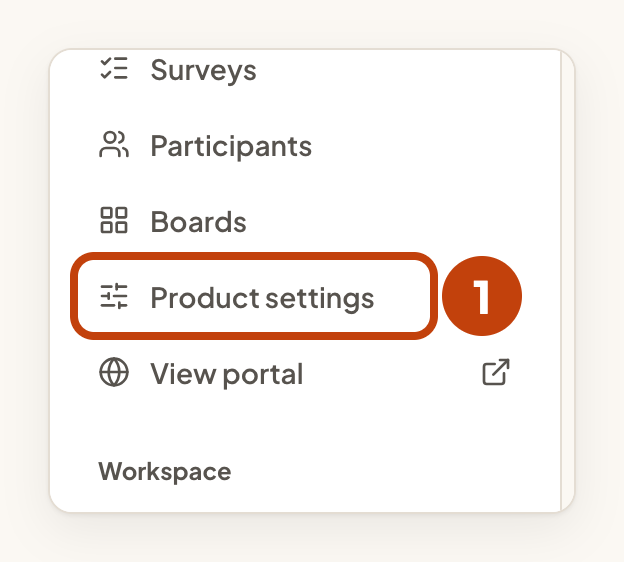
- Open Product settings for your product.
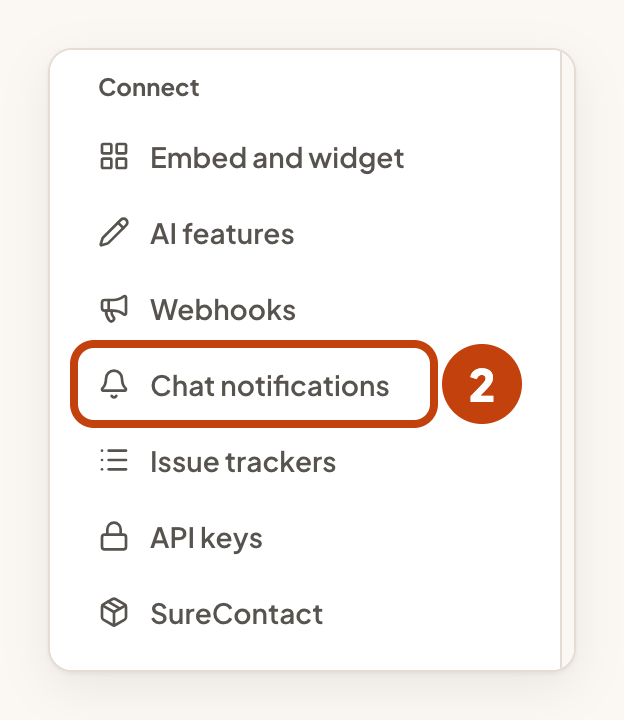
- Under Connect, select Chat notifications.
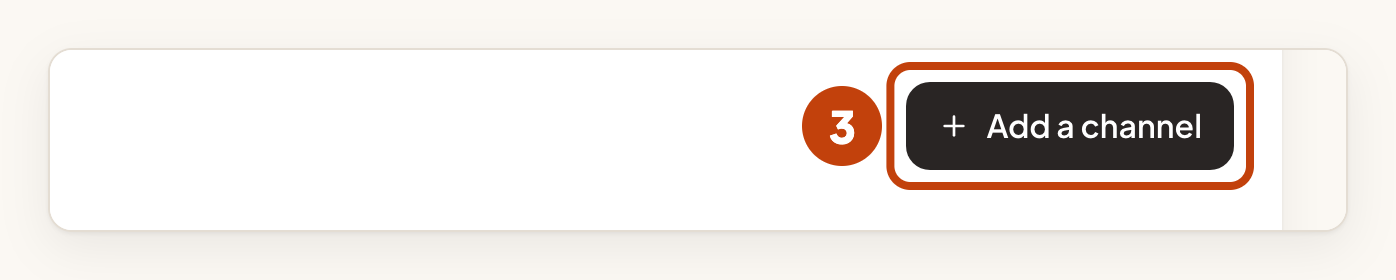
- Select Add a channel.
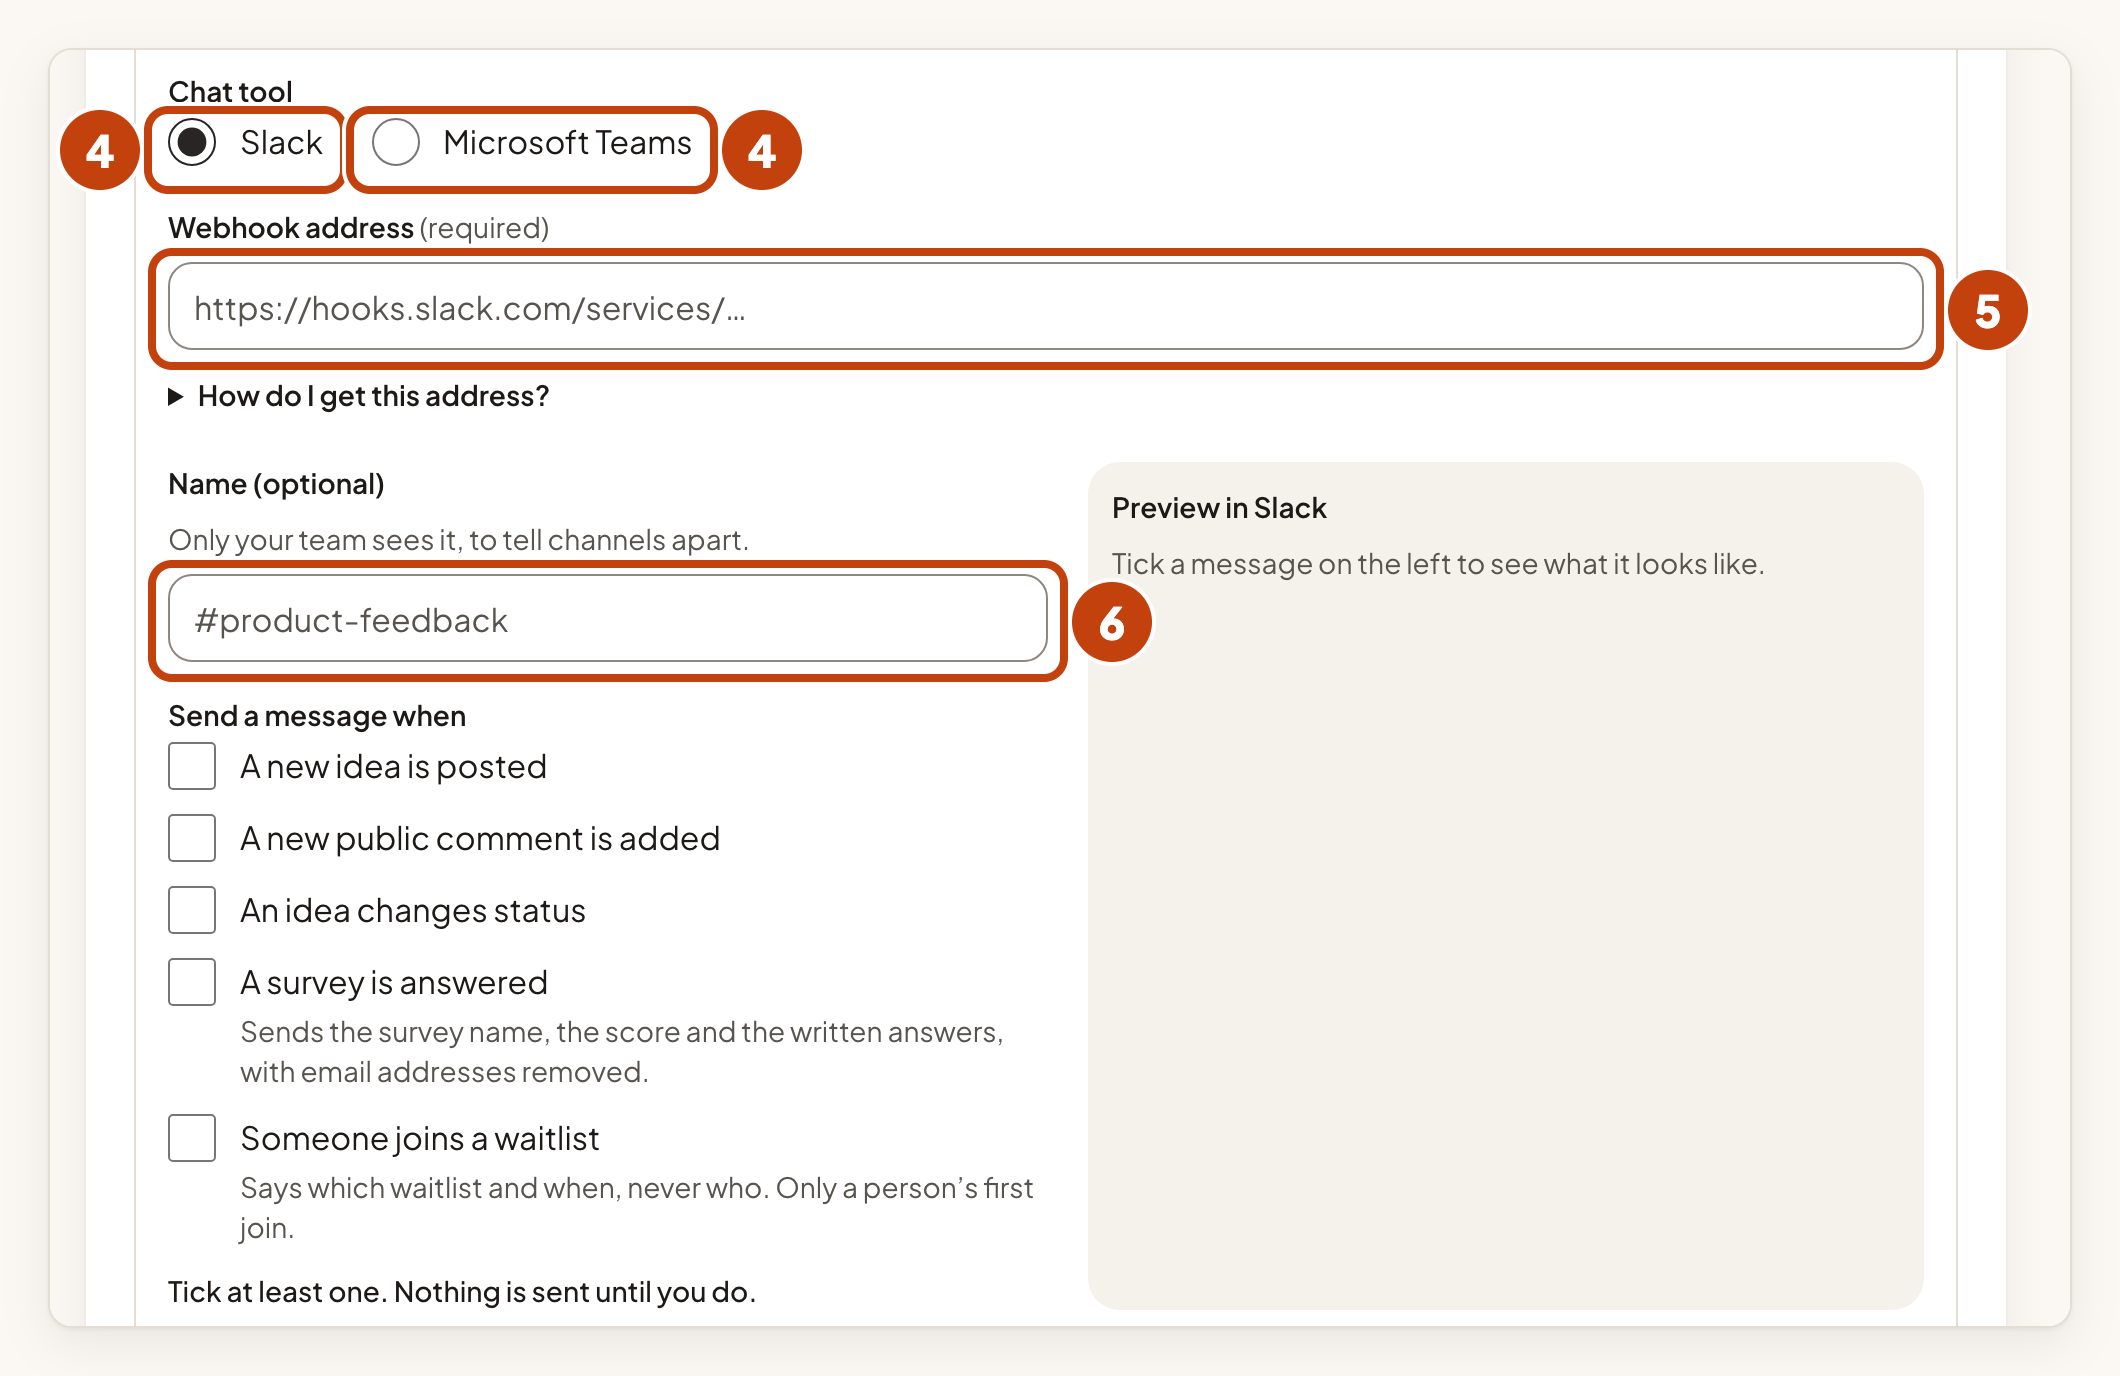
- Under Chat tool, select Slack or Microsoft Teams.
- Paste the address into Webhook address.
- Optionally, type a name in Name (optional), such as the channel name.
- Under Send a message when, tick at least one message, such as A new idea is posted.
- Select Add channel.
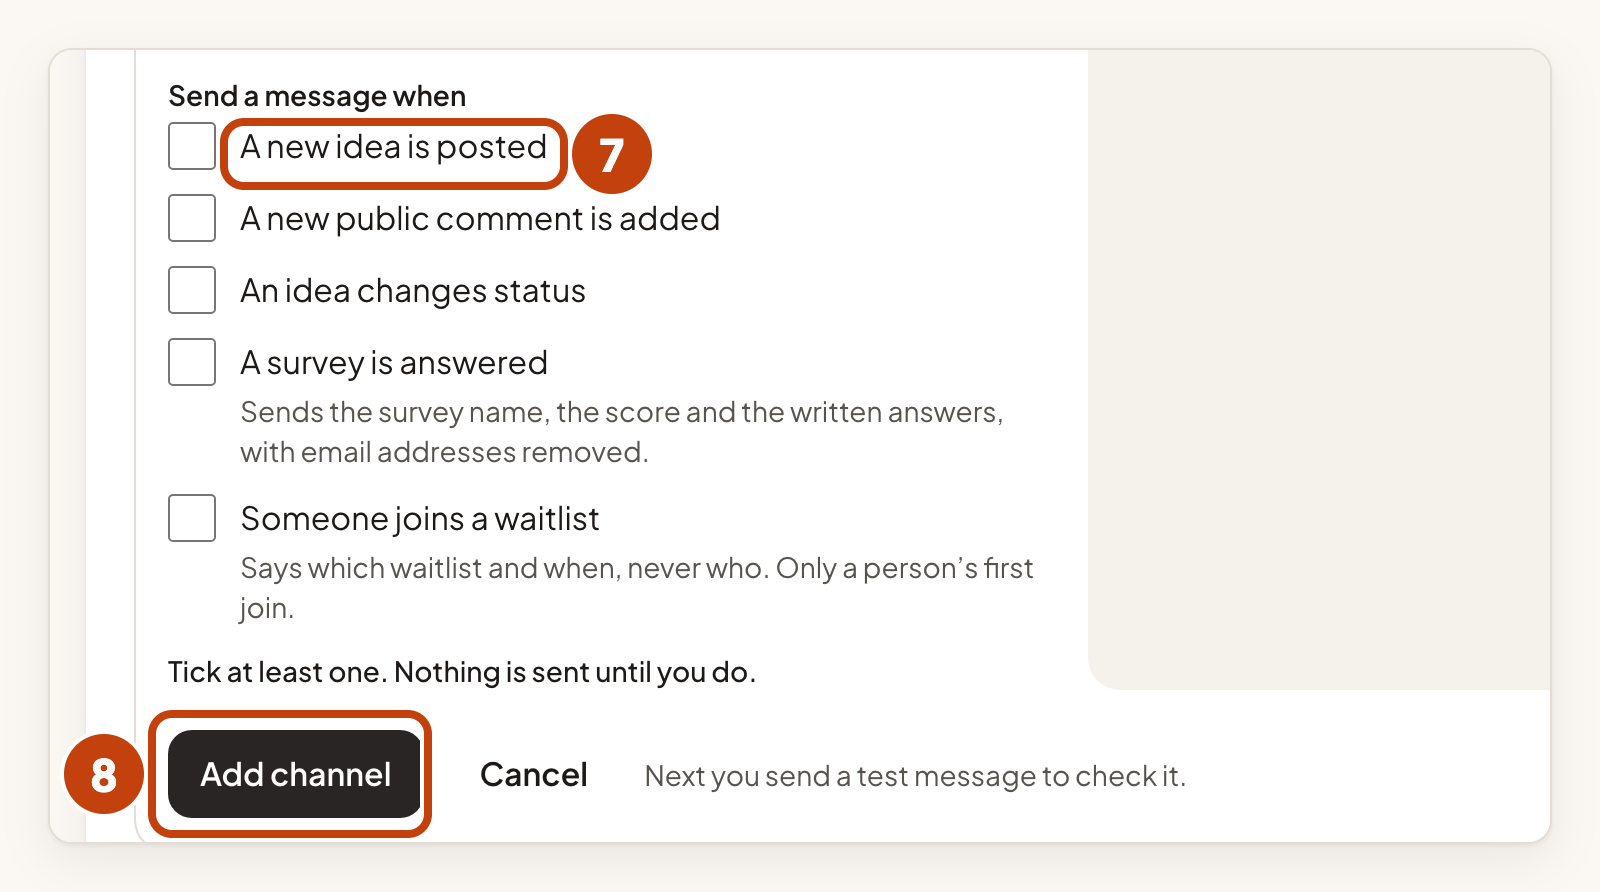
A channel sends nothing until you tick at least one message. You can have up to five channels for each product.
Show who joined a waitlist
By default, a waitlist message says which waitlist and when. The Show who joined (name and email) box is off by default and is set for each channel. To add the person's name and email to each signup message in a channel:
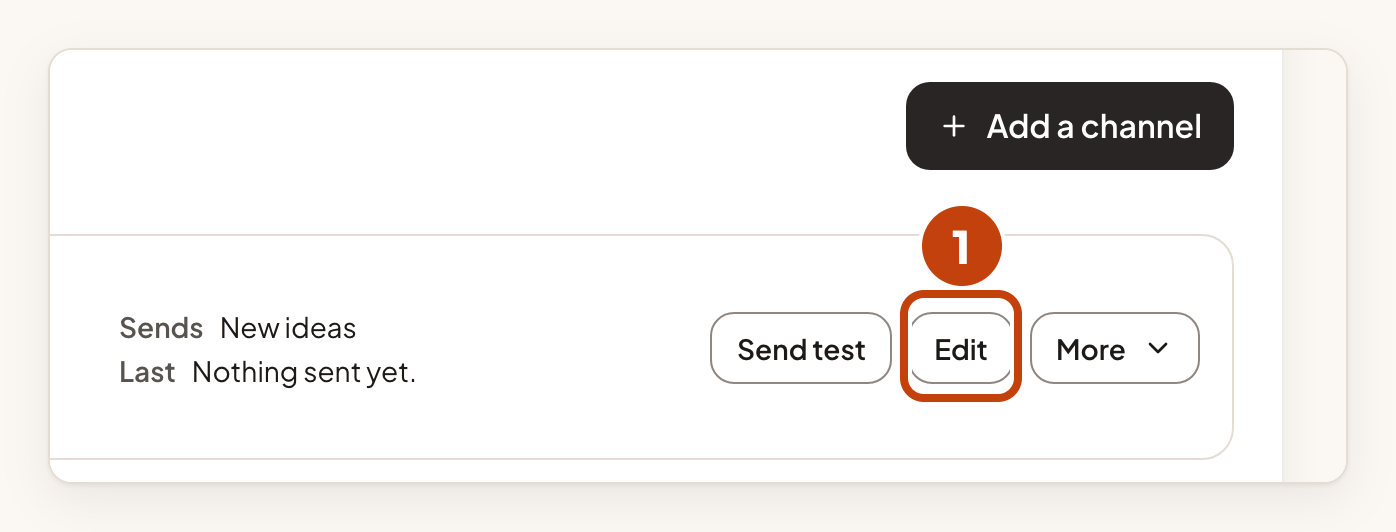
- Select Edit on the channel's row.
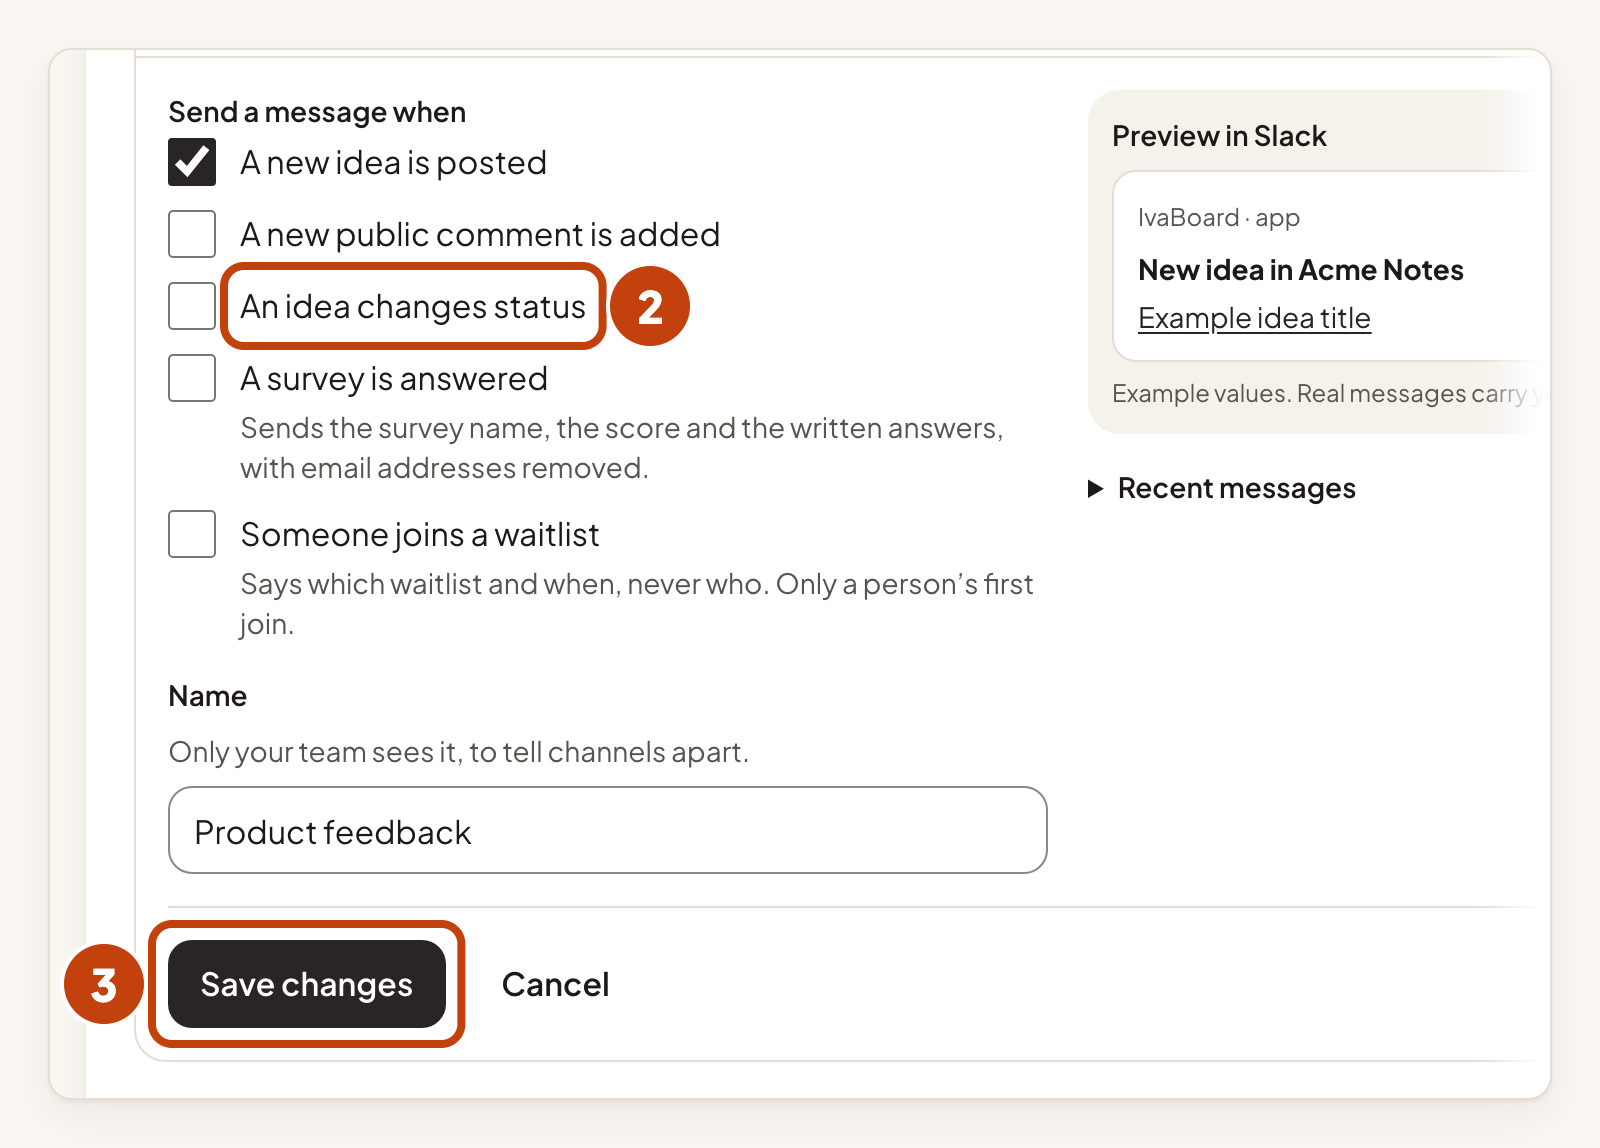
- Tick Someone joins a waitlist.
- Tick Show who joined (name and email).
- Select Save changes.
Only a workspace owner or admin can turn this on. Anyone who can manage channels can turn it off. Everyone who can read the channel will see the names and email addresses.
Send a test message
- Select Send test on the channel's row.
- Select Edit on the same channel.
- Open Recent messages to see the result of each message under Result.
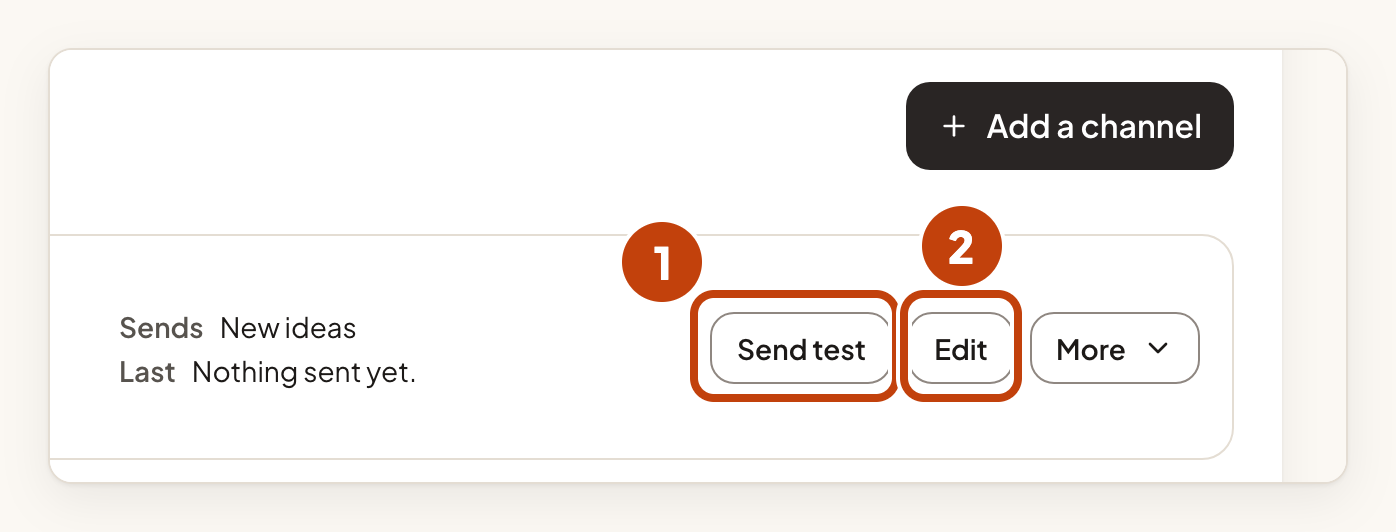
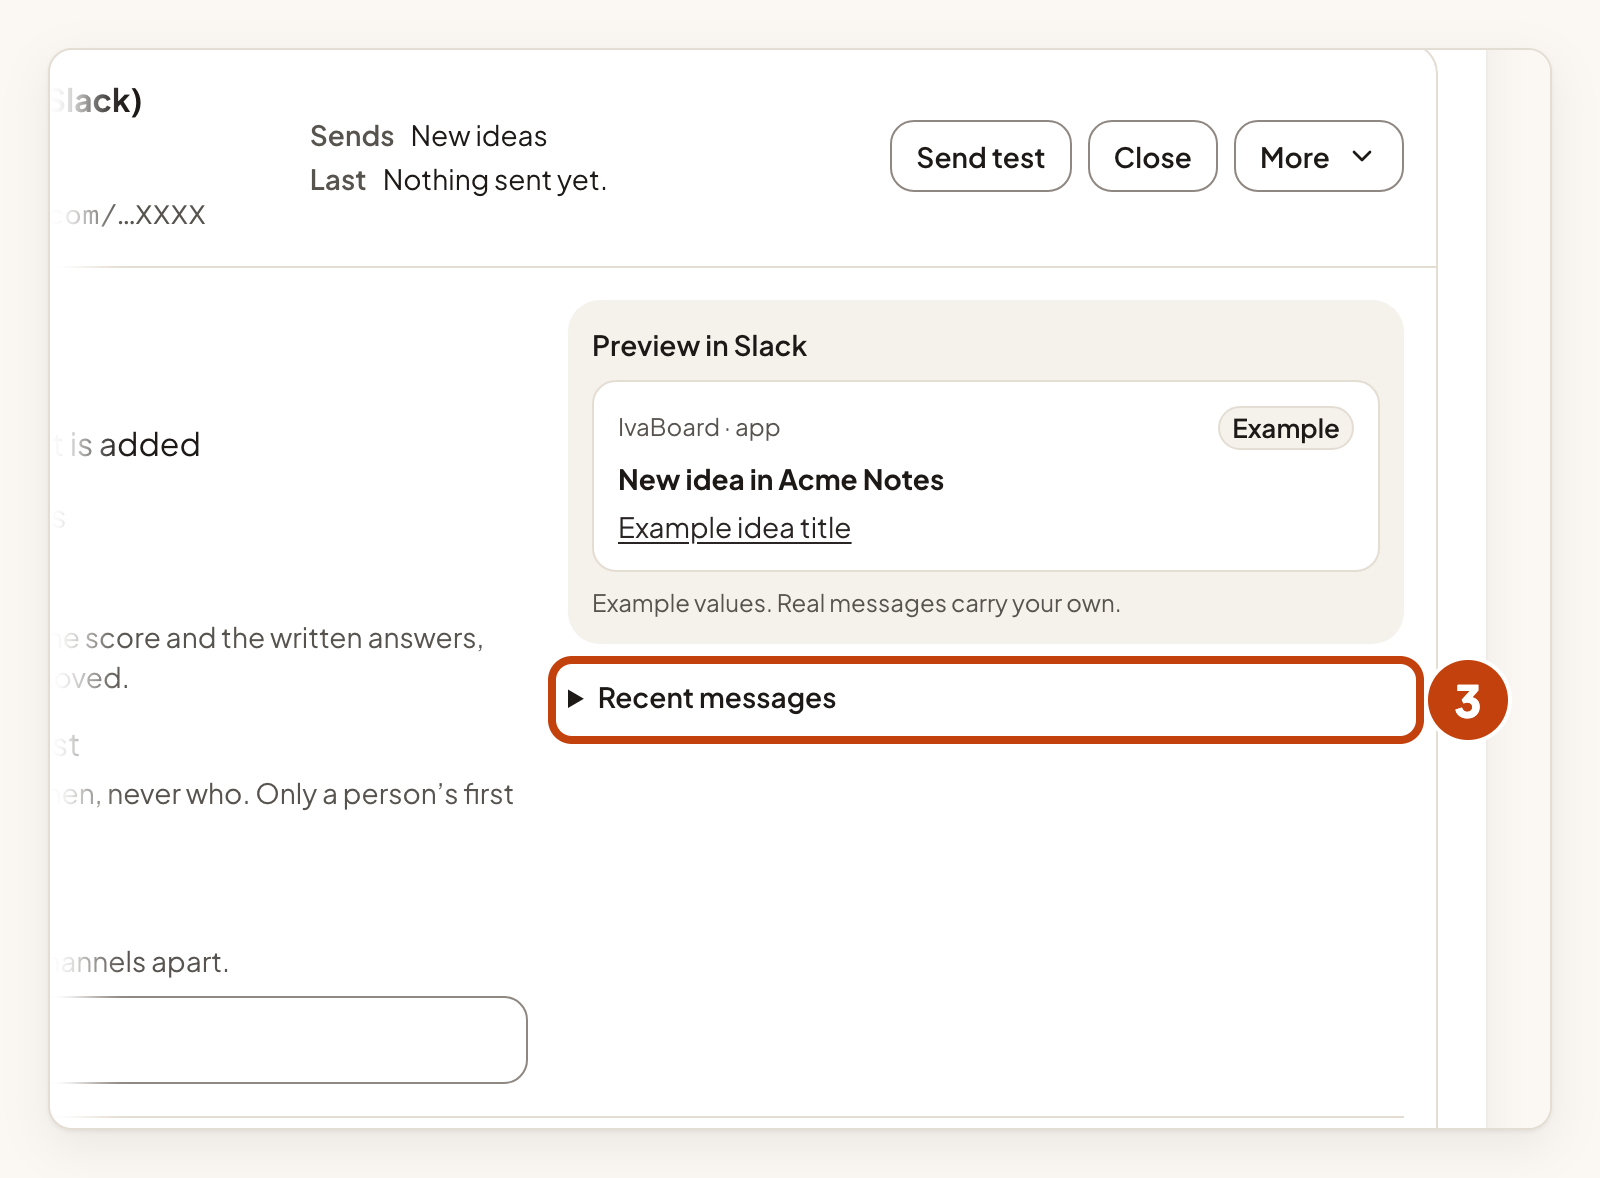
Delivered means the chat tool accepted the message. Not delivered means it did not. You can send a test once every 30 seconds.
Pause or resume a channel
- Select More on the channel's row.
- Select Pause.
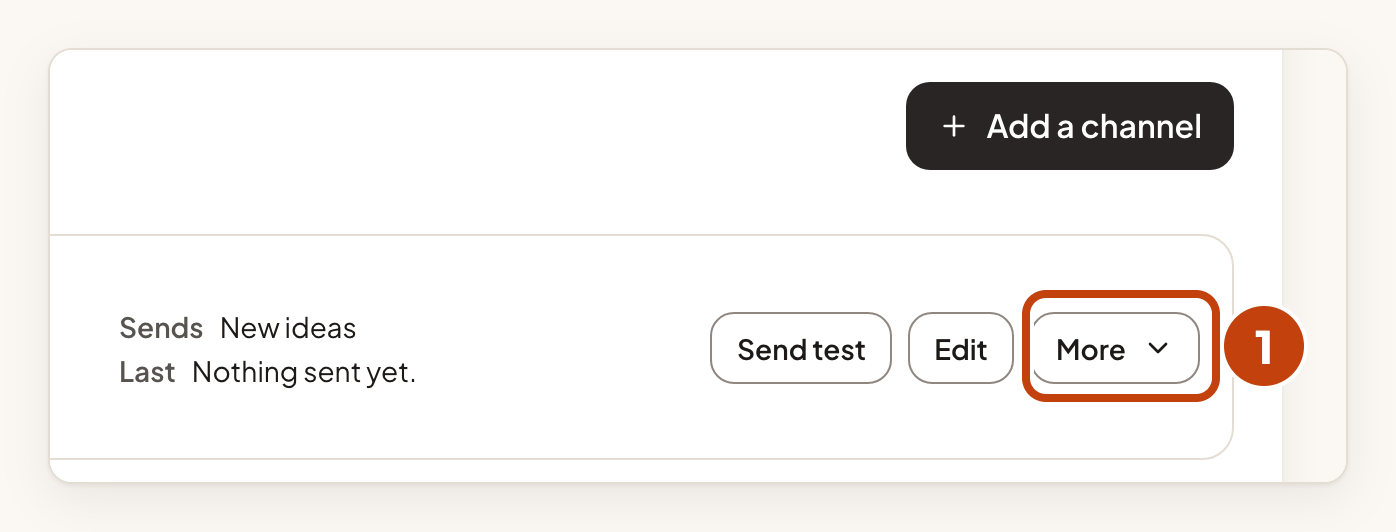
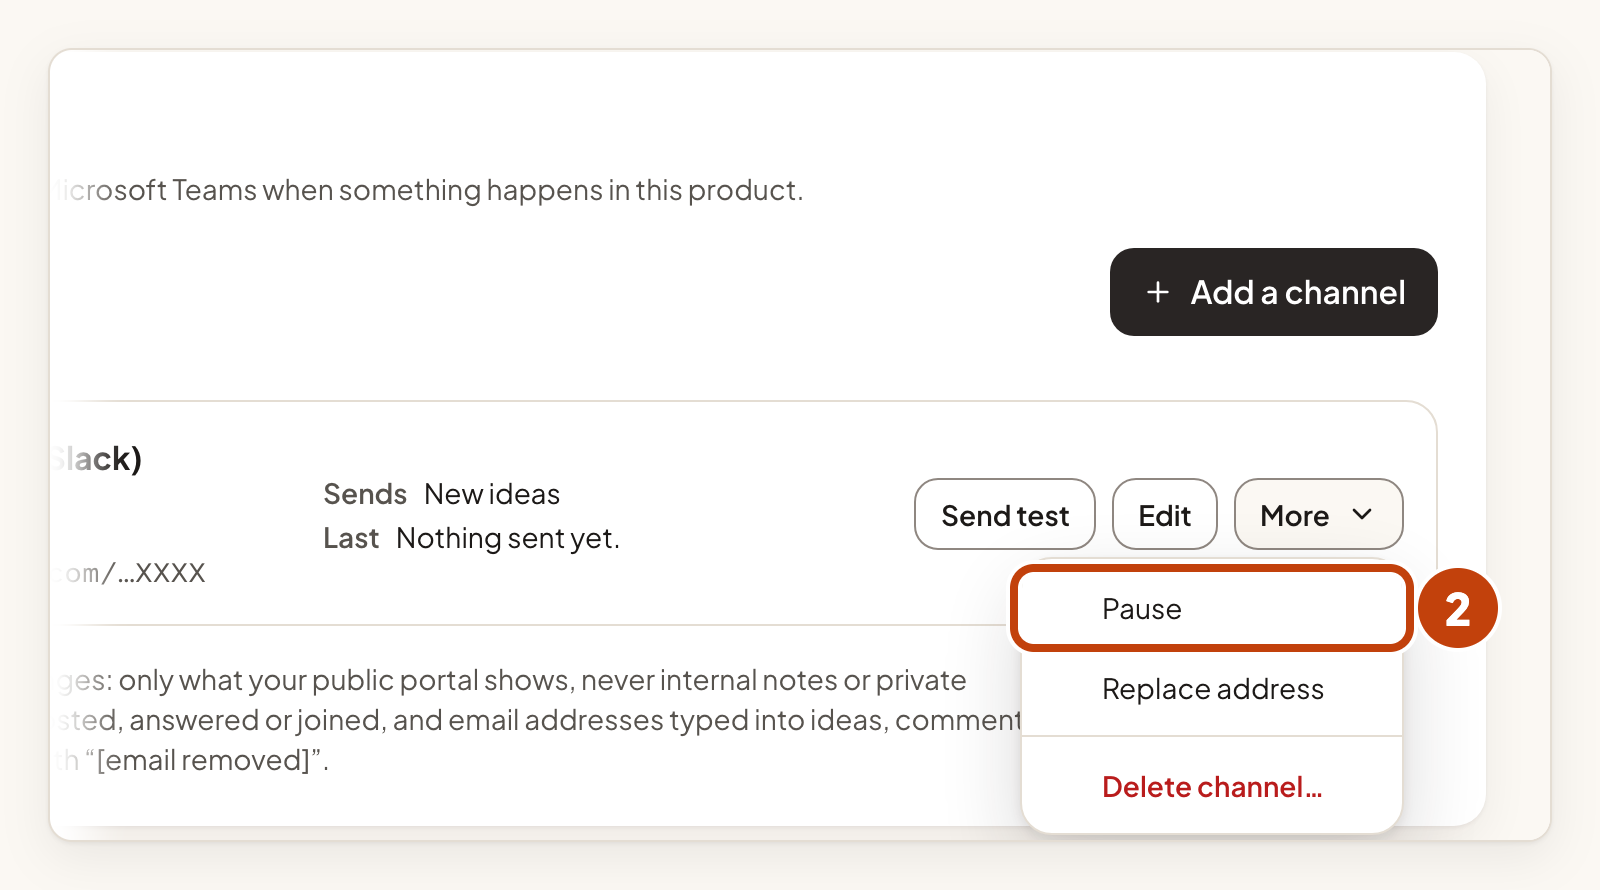
Pausing stops messages but keeps your settings. To start again, select Resume on the channel's row.
Replace the address
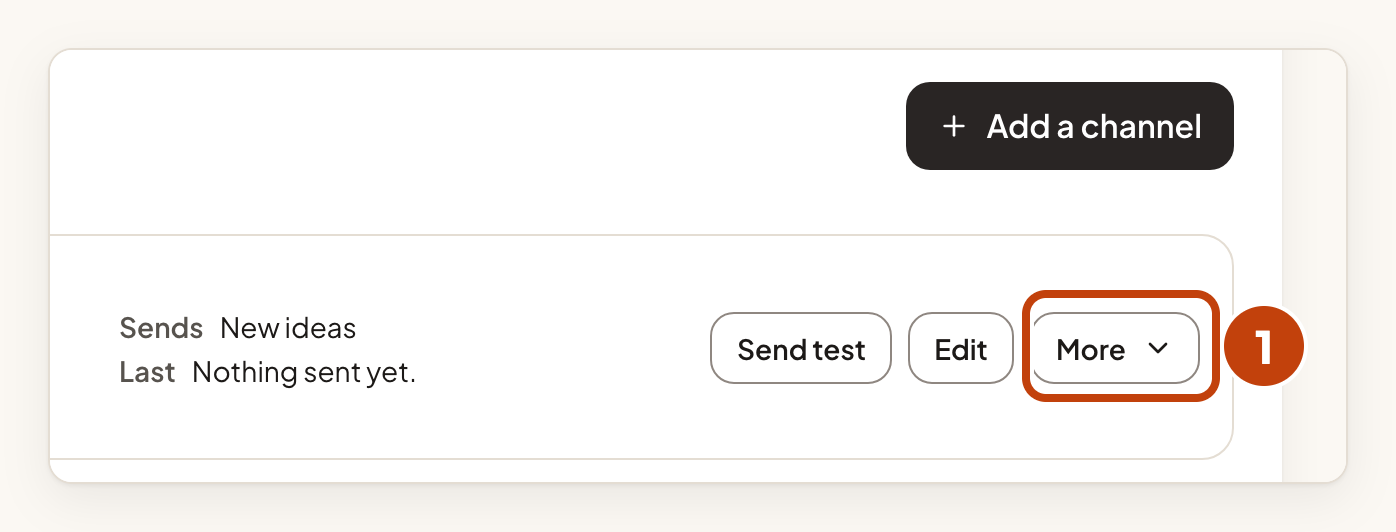
- Select More on the channel's row.
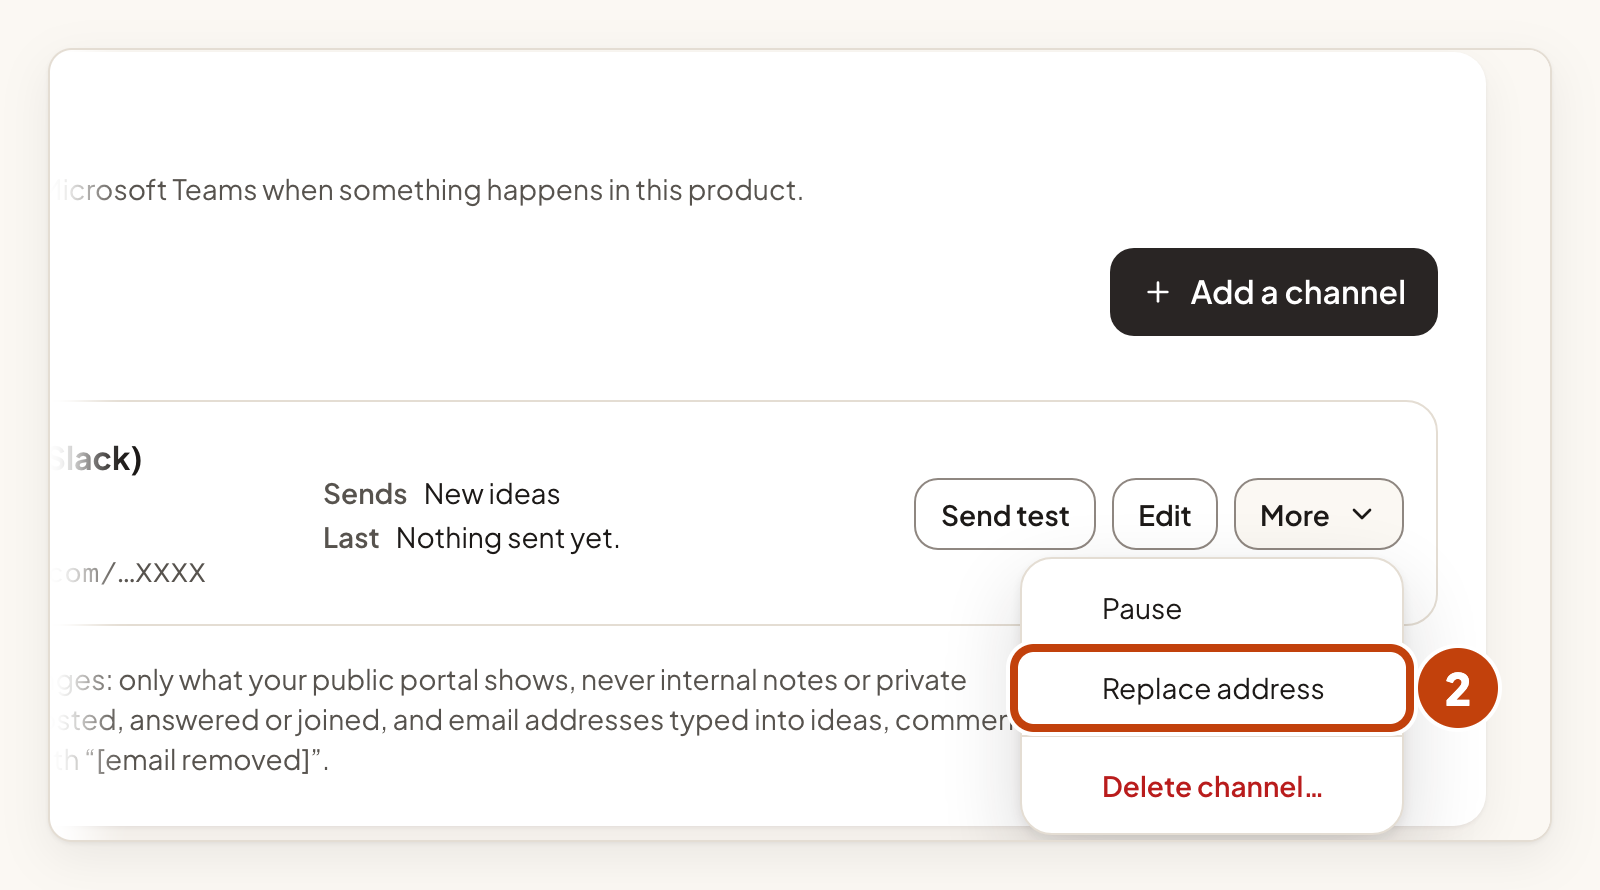
- Select Replace address.
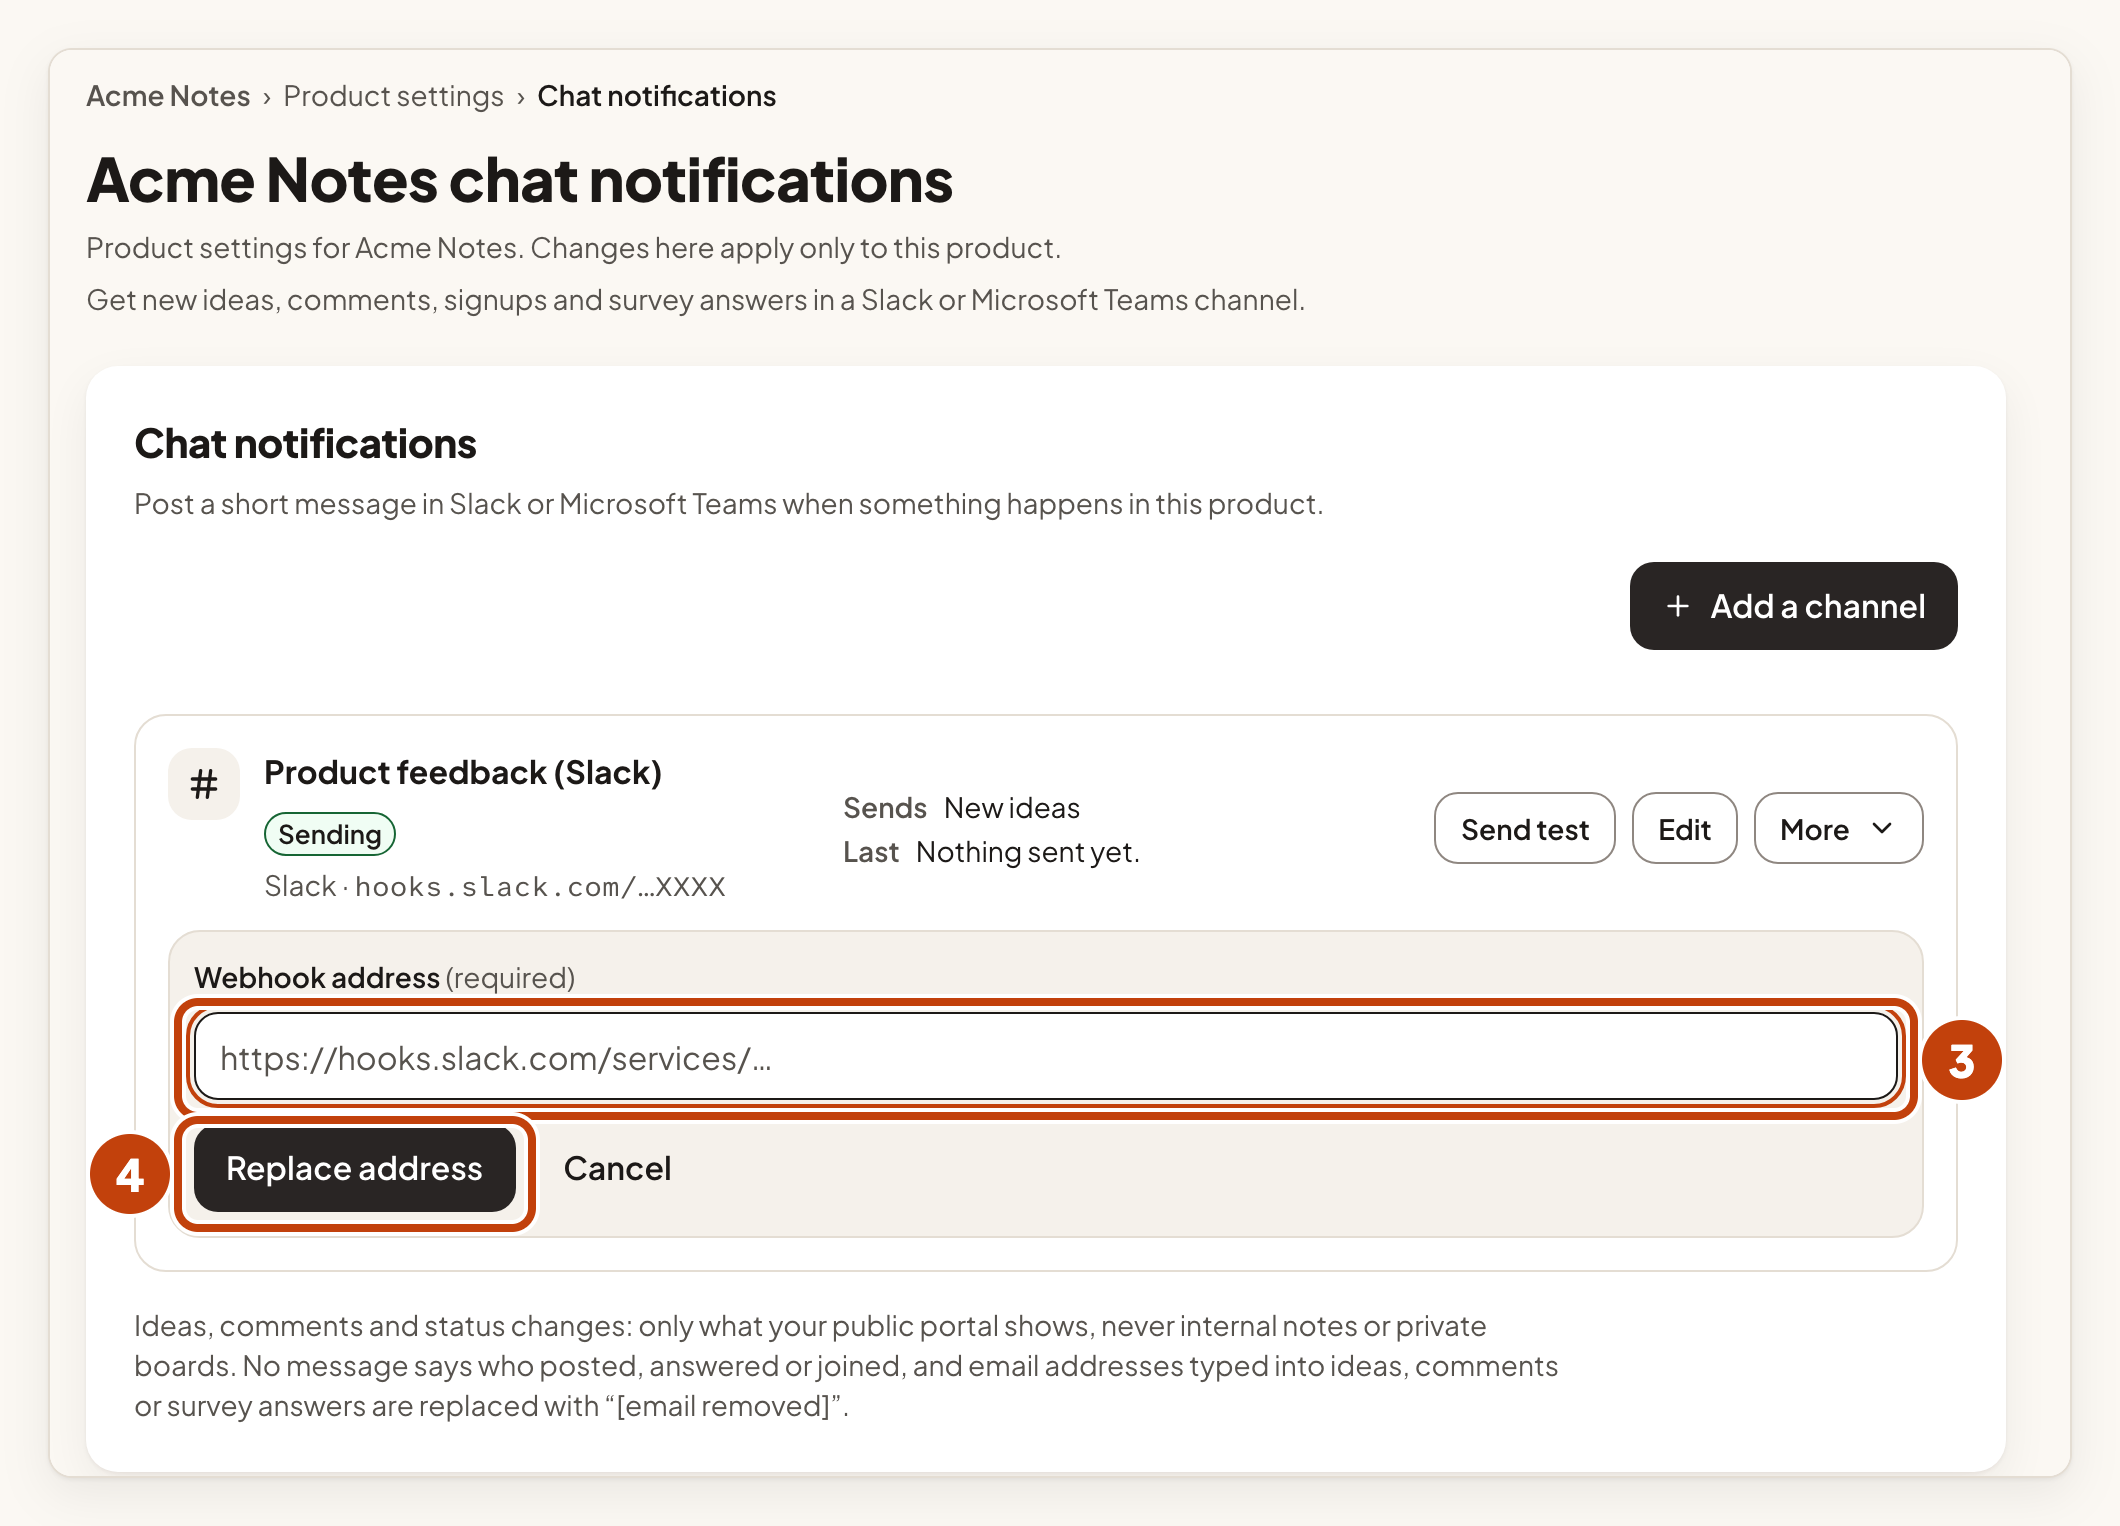
- Paste the new address into Webhook address.
- Select Replace address.
Change what a channel sends
- Select Edit on the channel's row.
- Tick or untick the messages under Send a message when.
- Select Save changes.
Delete a channel
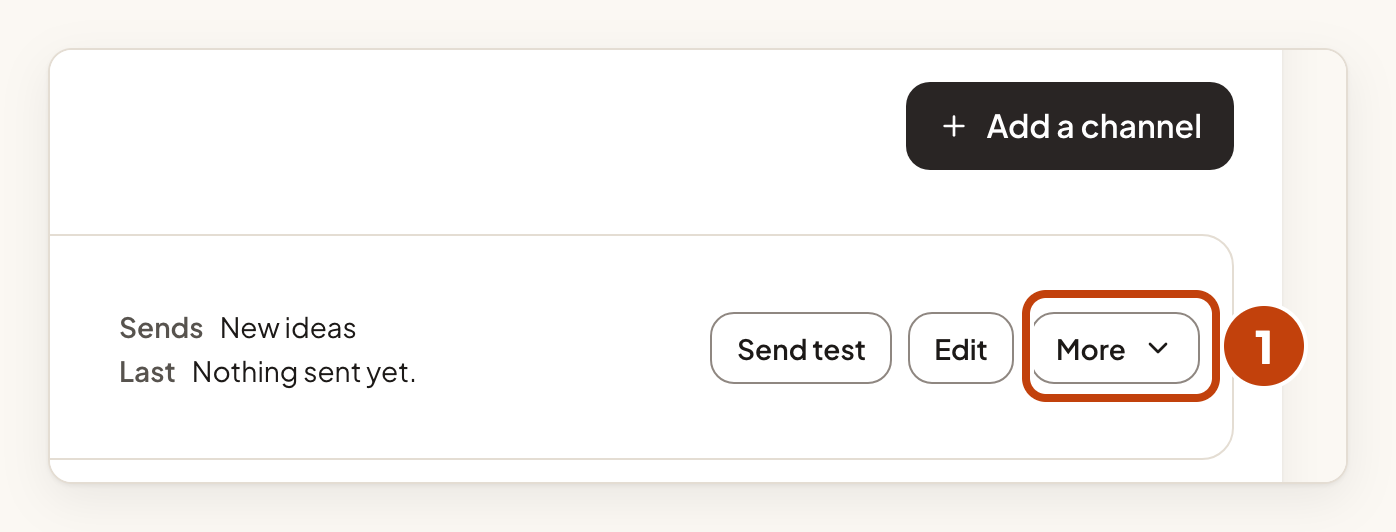
- Select More on the channel's row.
- Select Delete channel….
- Select Delete channel to confirm.
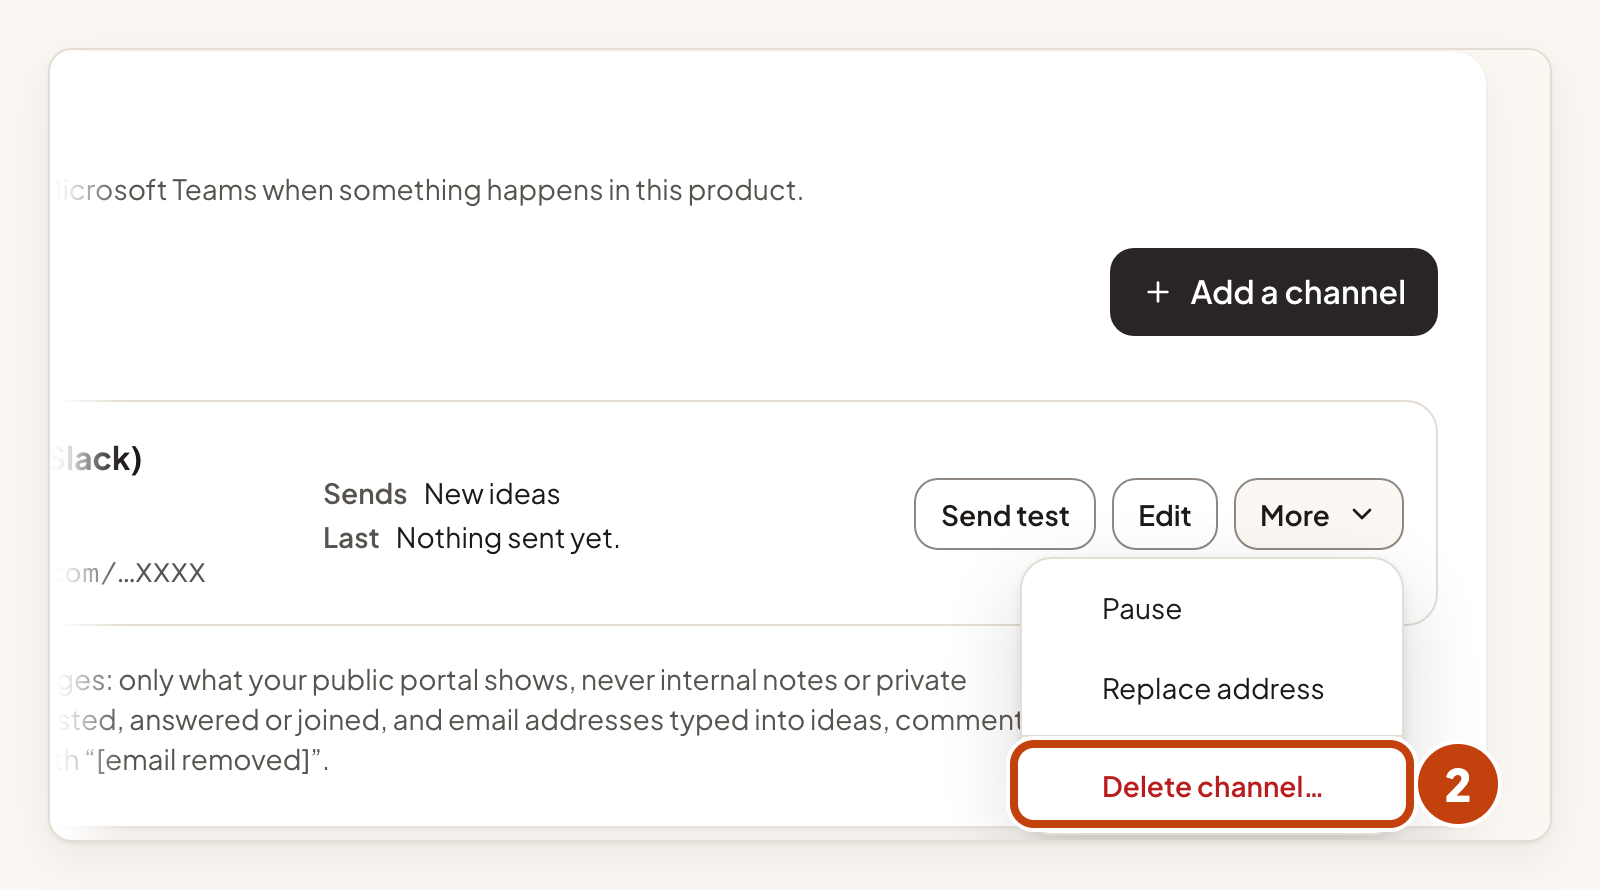
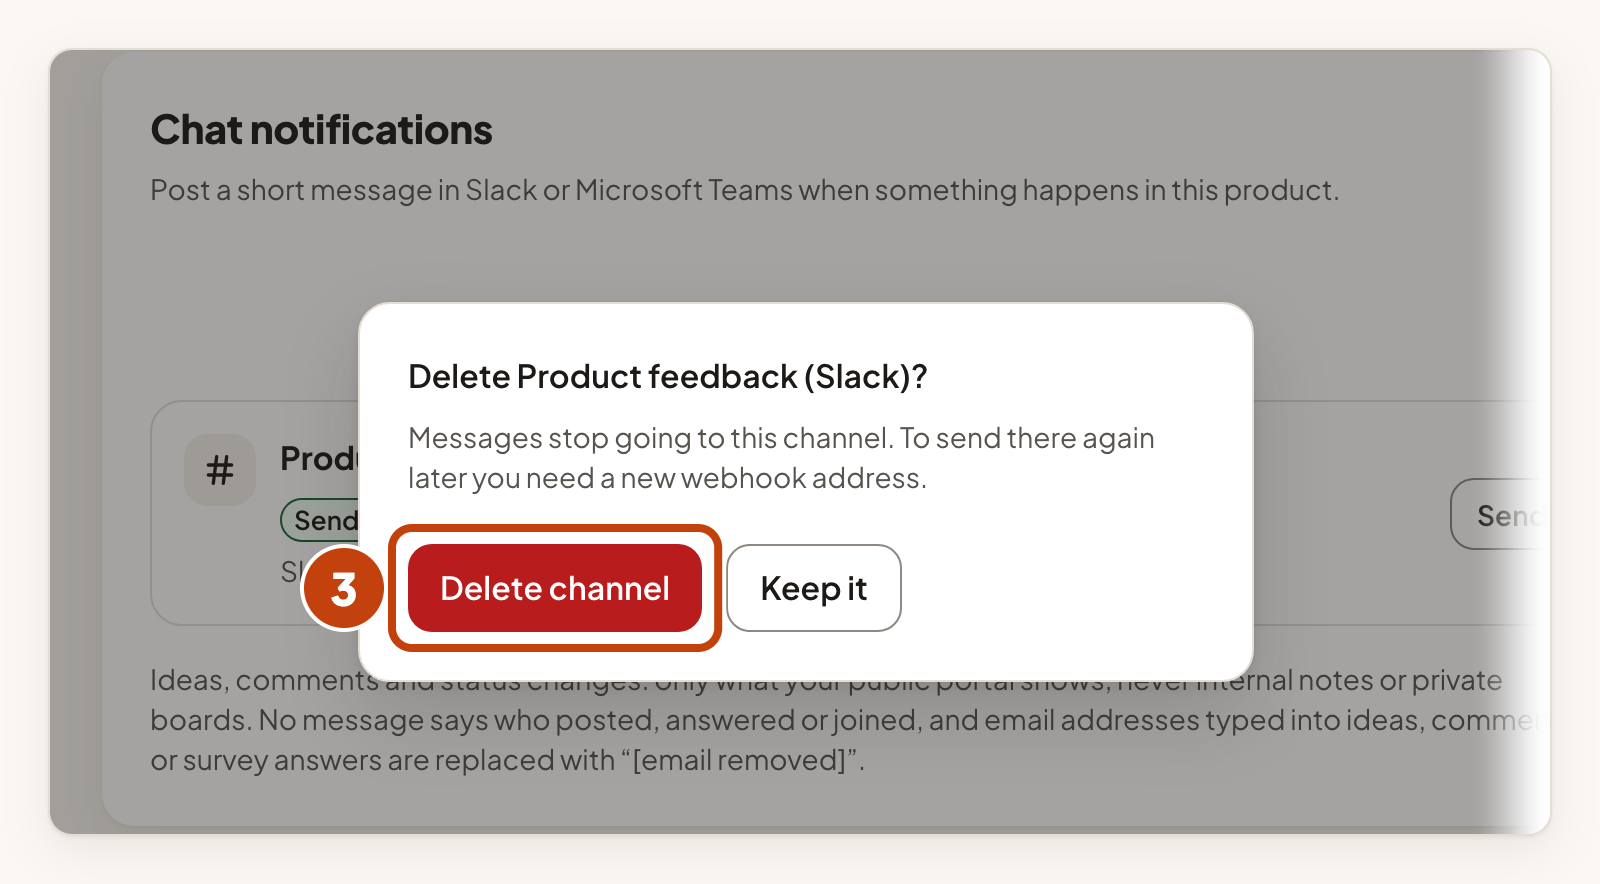
To keep the channel, select Keep it instead.
Messages stop going to a deleted channel. To send there again later, add the channel with a new webhook address.
If messages stop
If five messages in a row cannot be delivered, IvaBoard stops the channel for you. The row says Stopped and explains why, so a broken address does not keep retrying. Follow the steps the row shows under To start sending again: check or replace the address, send a test message, then select Resume.
If nothing arrives, check these first:
- The row says Nothing yet: tick at least one message. Tick a message under Send a message when.
- The row shows Paused. Select Resume.
- The row shows Having trouble. Open Edit, then Recent messages, to see why the chat tool refused a message.
Messages follow what your portal shows. An idea waiting for review, on a private board, or hidden does not send a message.
Example
Sam Taylor, an owner of Acme Labs, adds a Slack channel for Acme Notes. Sam pastes the webhook address into Webhook address, names the channel #acme-notes, ticks A new idea is posted and selects Add channel. Then Sam selects Send test. Under Recent messages, the test shows Delivered.
