Add your own fields to ideas
Custom fields let your product ask its own questions on ideas, such as plan, platform or company size. Your team fills them in on each idea and can filter the inbox by Choose one, Choose several and Yes or no fields.
Who can use it
Every plan. Owners, Admins and Managers can add, change, archive and delete fields. Owners, Admins, Managers and Moderators can fill in the values on an idea. Viewers can read the fields but cannot change them.
Add a field
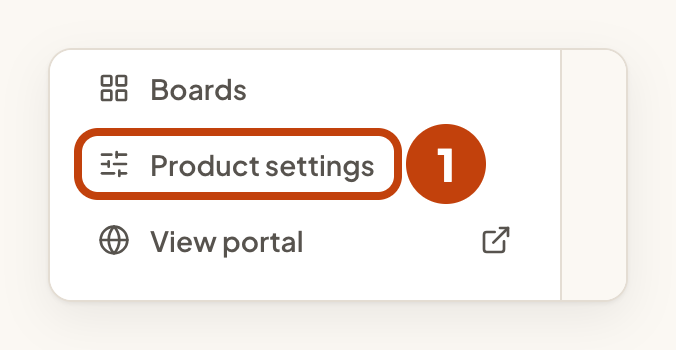
- Select Product settings in the sidebar.
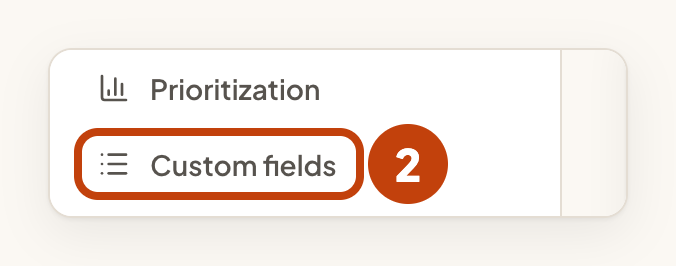
- Select Custom fields.
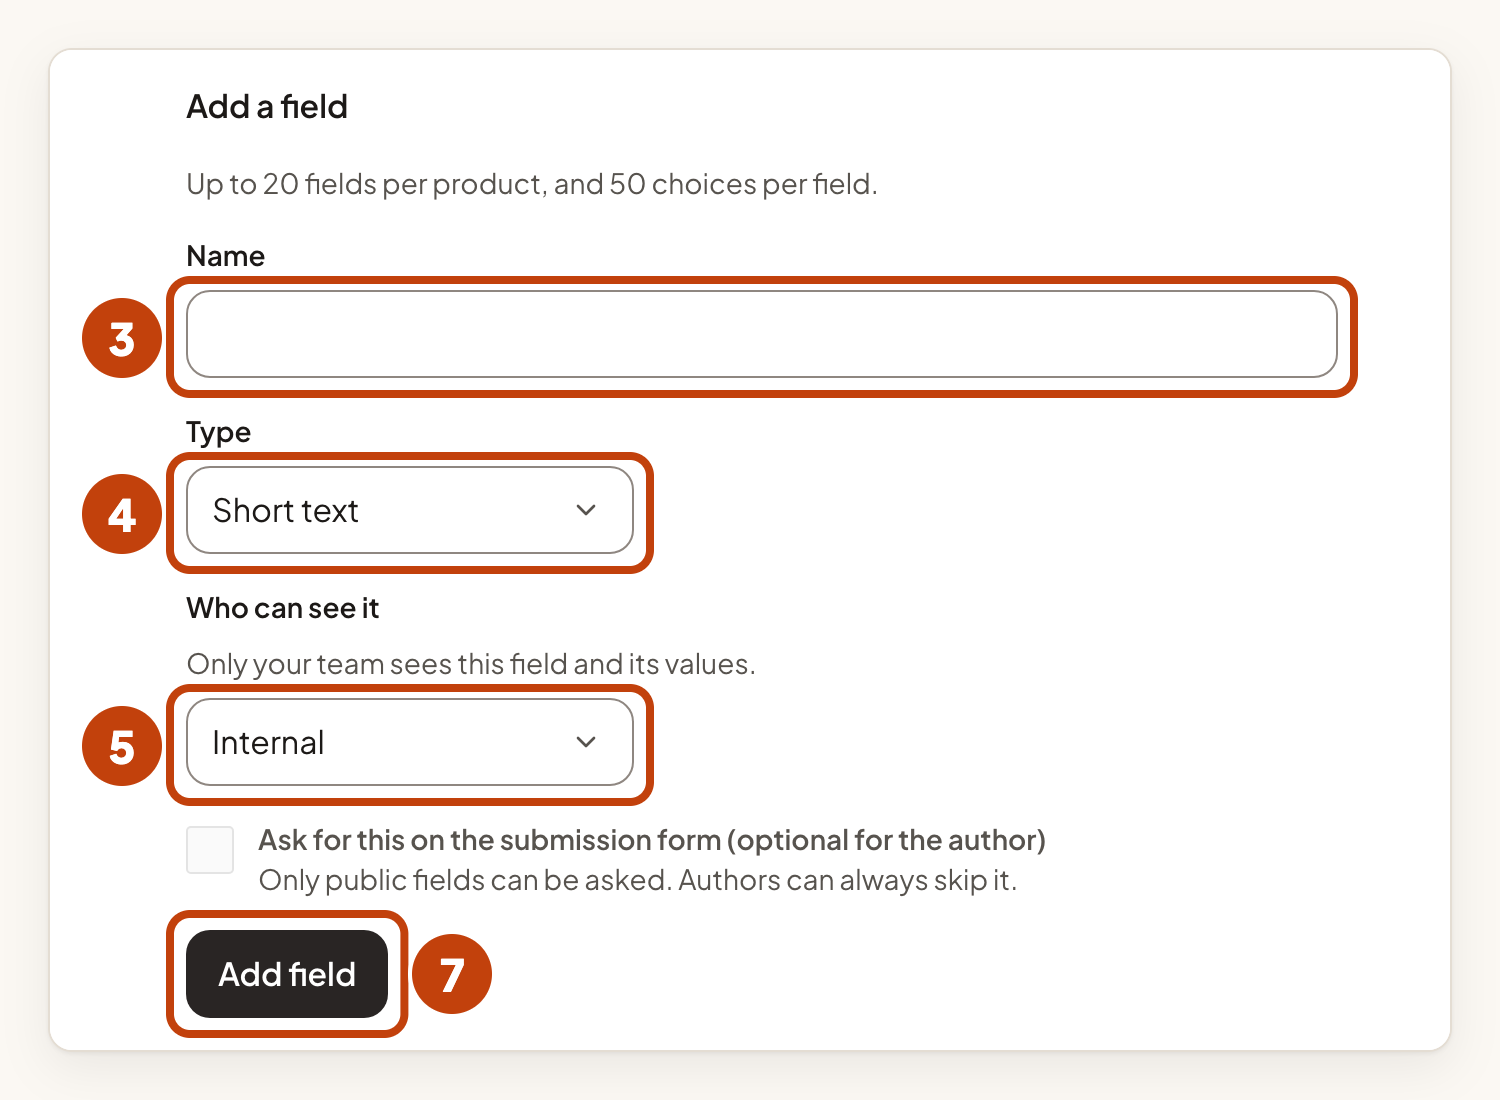
- Under Add a field, type the field's name in Name. Use up to 40 characters.
- Choose a Type: Choose one, Choose several, Short text, Number or Yes or no.
- Under Who can see it, select Internal or Public.
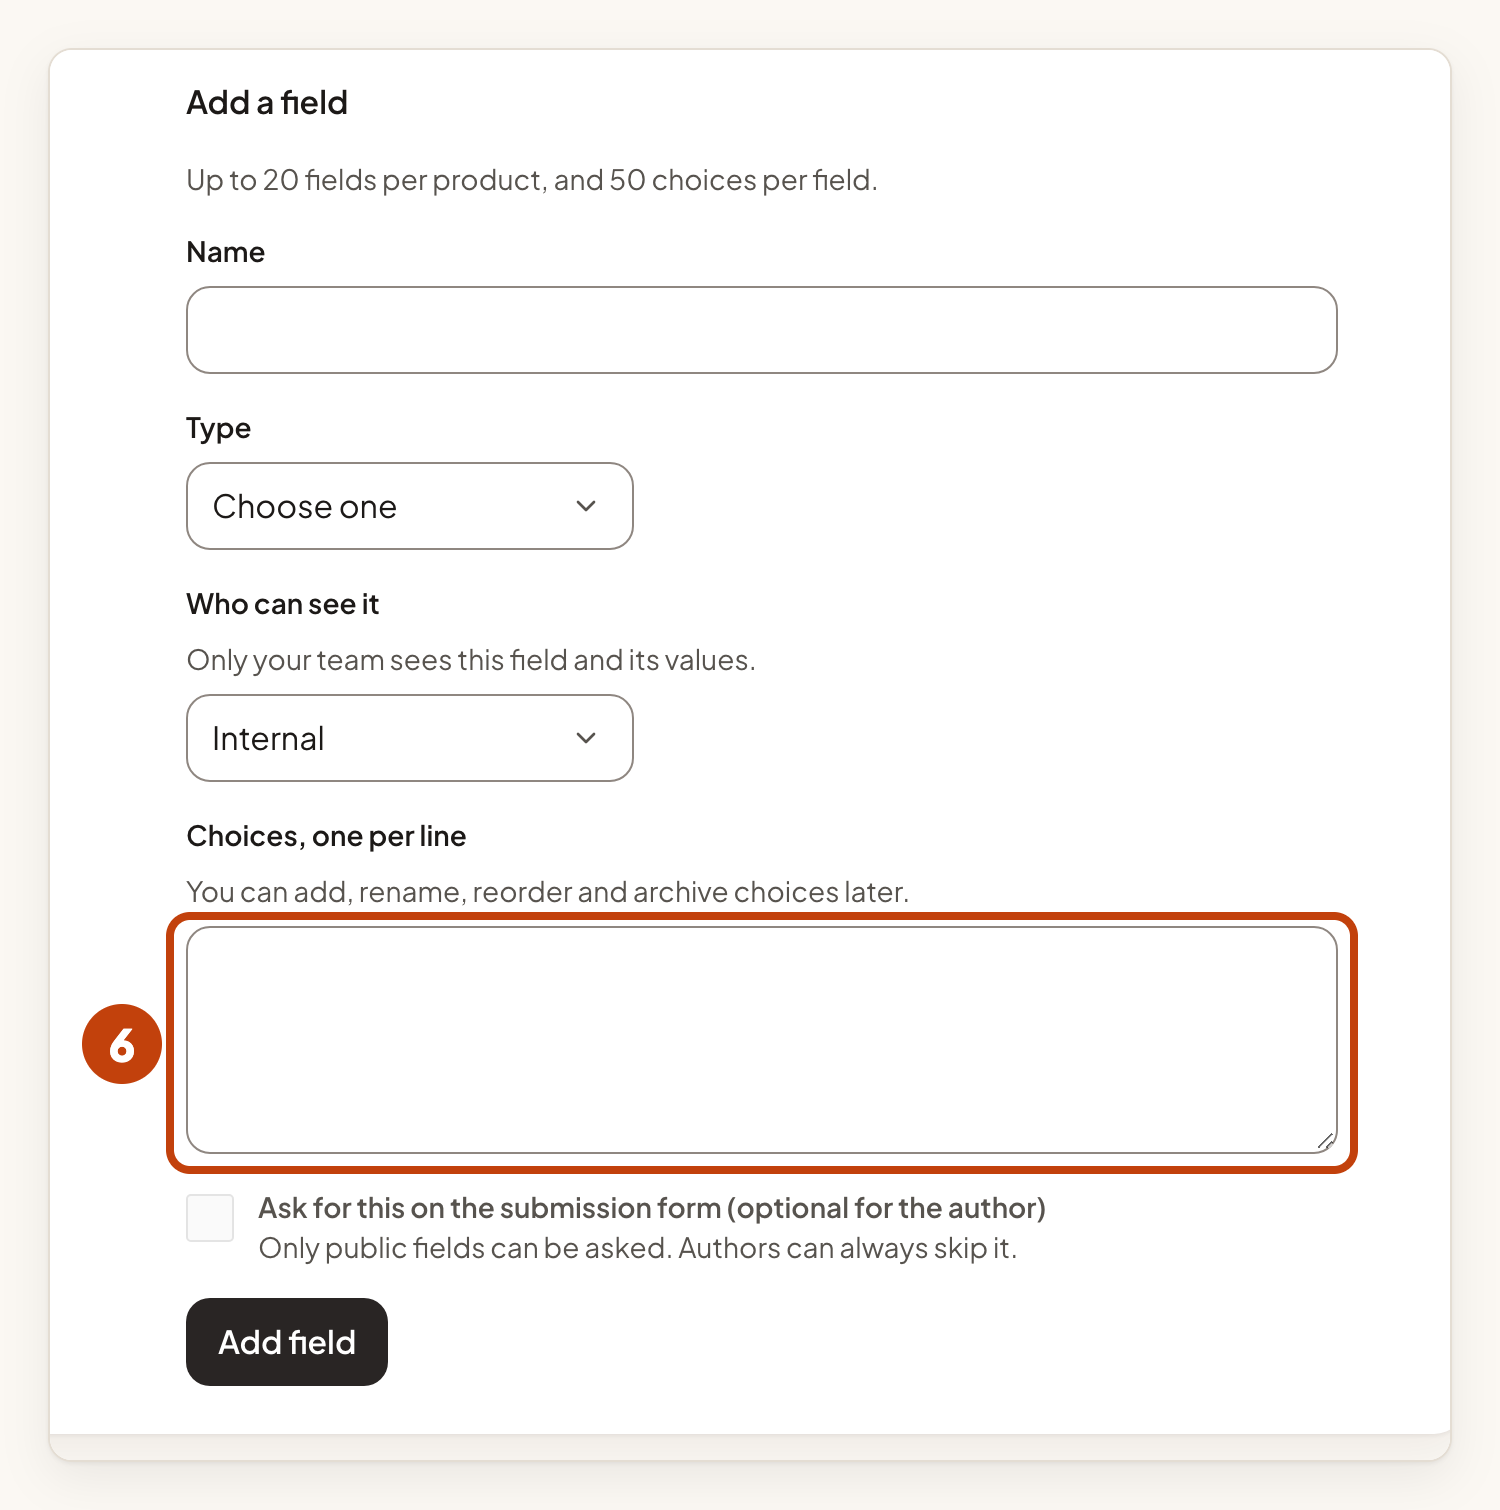
- For Choose one or Choose several, type each choice on its own line under Choices, one per line.
- Select Add field.
A product can have up to 20 fields, and up to 50 choices for each field. Short text holds up to 200 characters.
Making a field public shows its label and every value to anyone who can see the idea on your portal. Check the existing values first.
A public field appears on the idea page of your portal only. It does not appear in embeds, the widget, webhooks or the API.
For a public field, you can tick Ask for this on the submission form (optional for the author). The person posting the idea is asked the question, but they can always skip it.
Fill in values on an idea
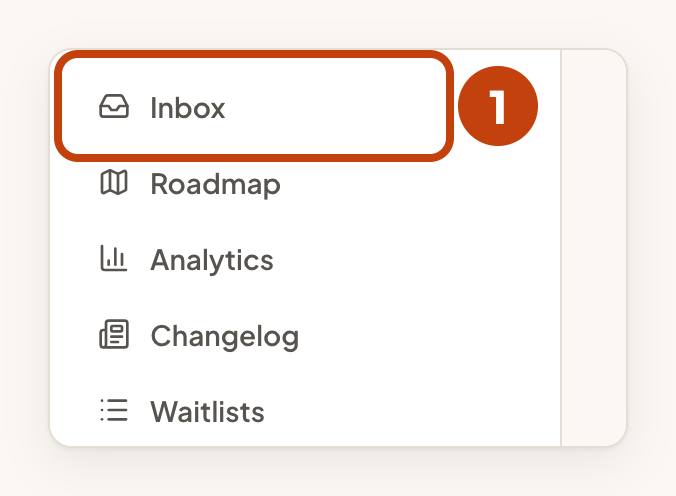
- Open the product's Inbox.
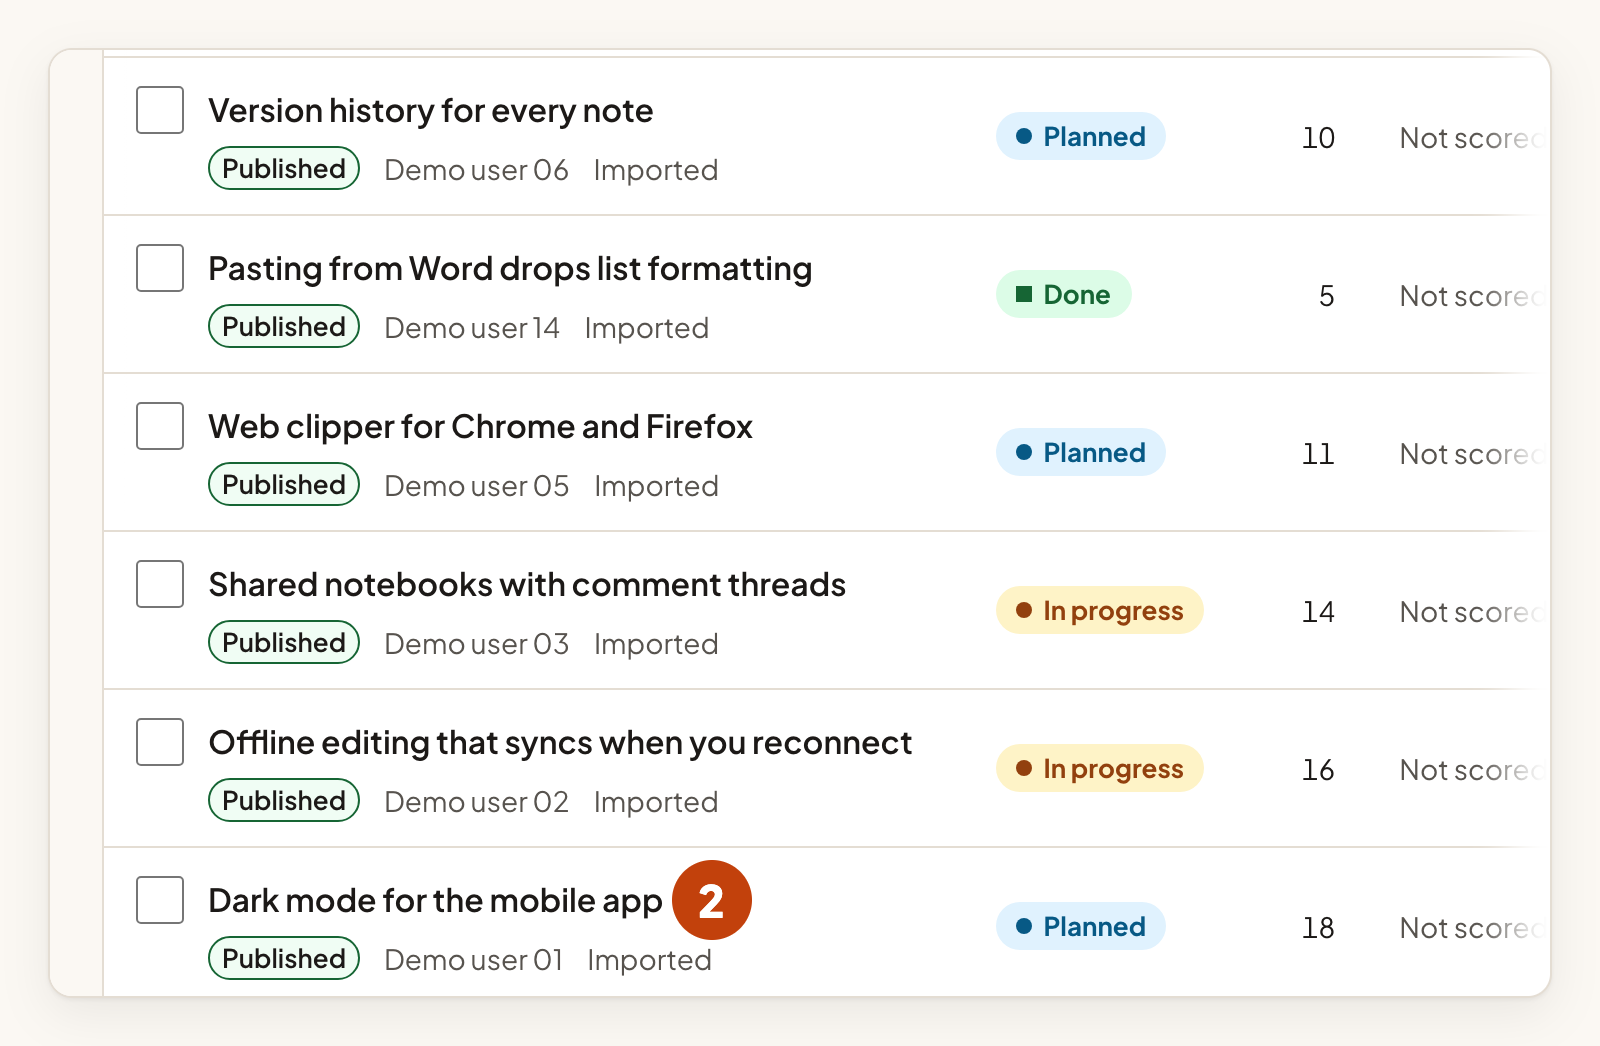
- Select the title of the idea in the Inbox.
- Set each value under Custom fields.
- Select Save fields.
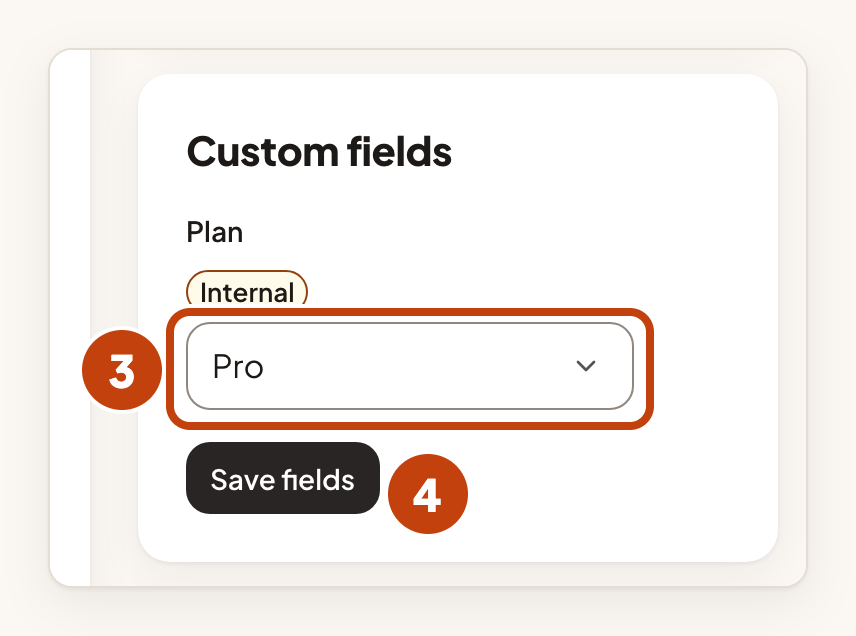
To clear a value, choose Not set.
Filter the inbox by a field
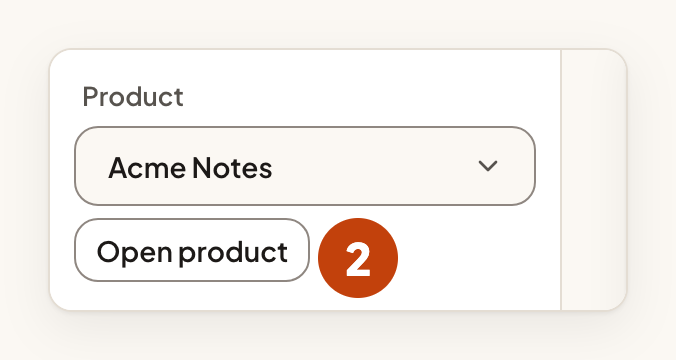
- Under Product in the sidebar, choose your product.
- Select Open product.
- Under Custom field, choose a field and a value.
- Select Apply filters.
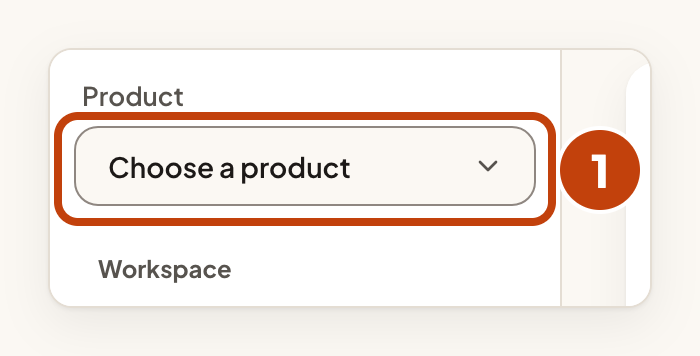
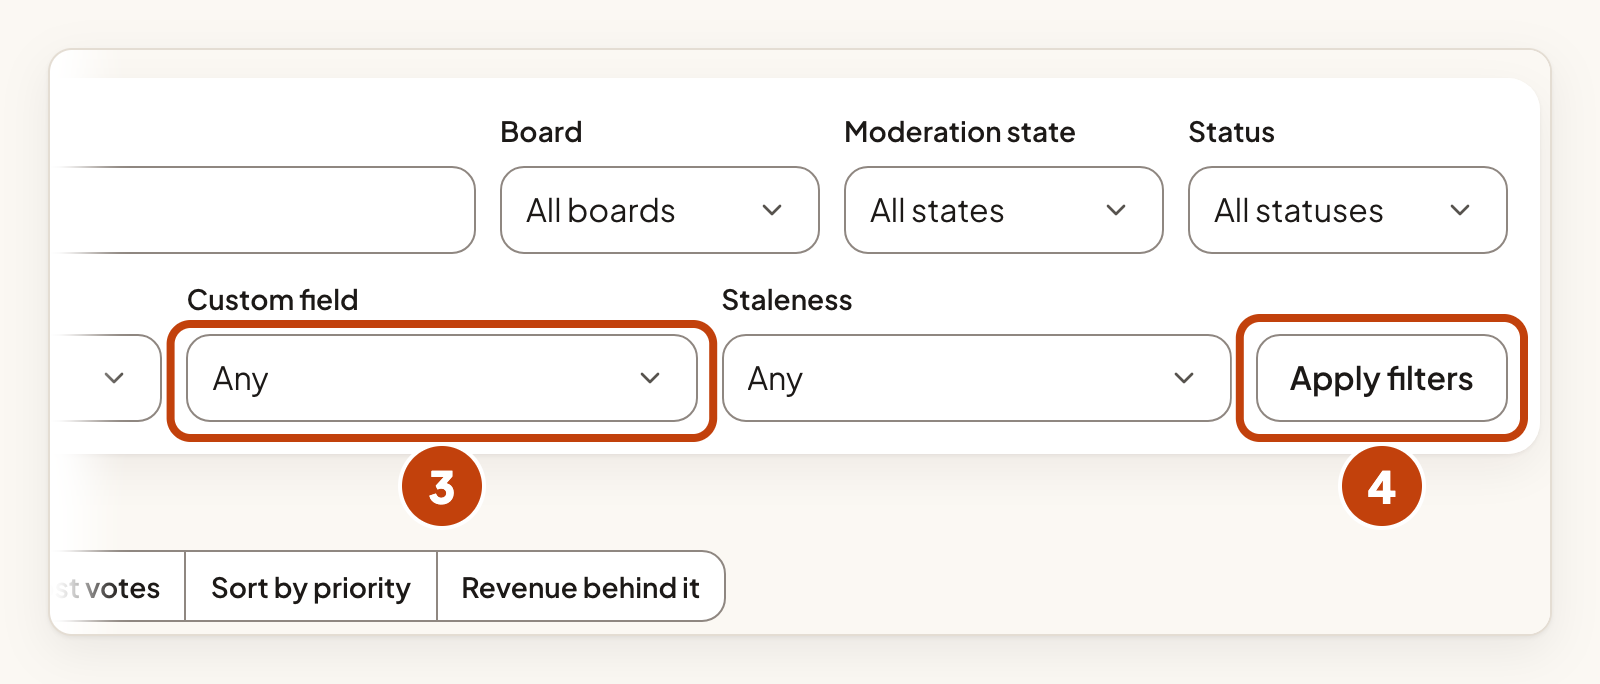
Filtering by a field works for one product at a time. Your CSV export also has a column for each field.
Change or remove a field
Next to a field, you can:
- rename it, with Rename,
- move it up or down, with Move up or Move down,
- make it public or internal, with Make public or Make internal,
- archive it, with Archive, or restore it, with Restore.
Archiving keeps the values already on ideas and hides the field from new use. A choice can also be renamed, moved and archived.
Remove a field for good
- Select Archive next to the field.
- Select Delete next to the archived field.
- Select Delete field to confirm.
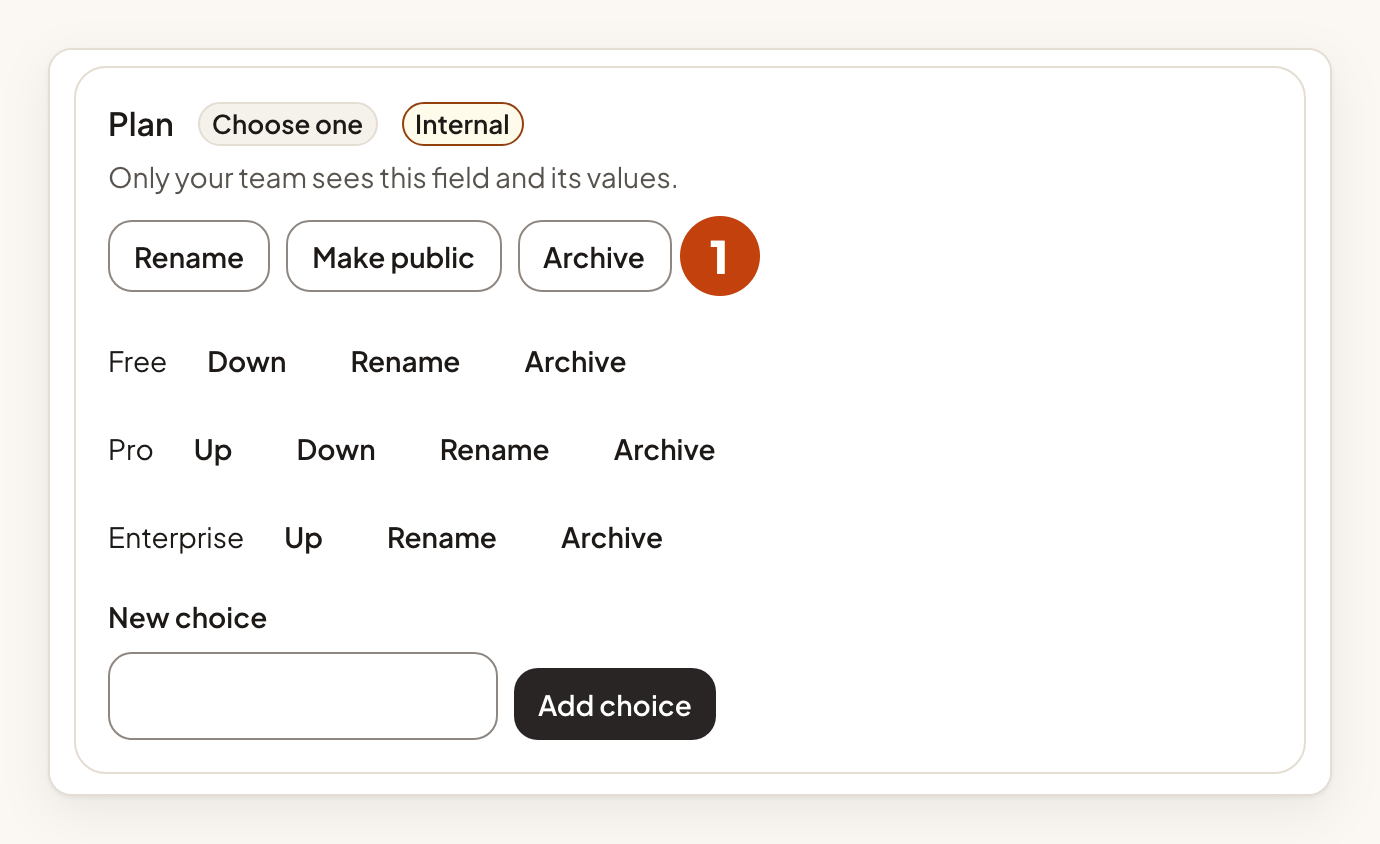
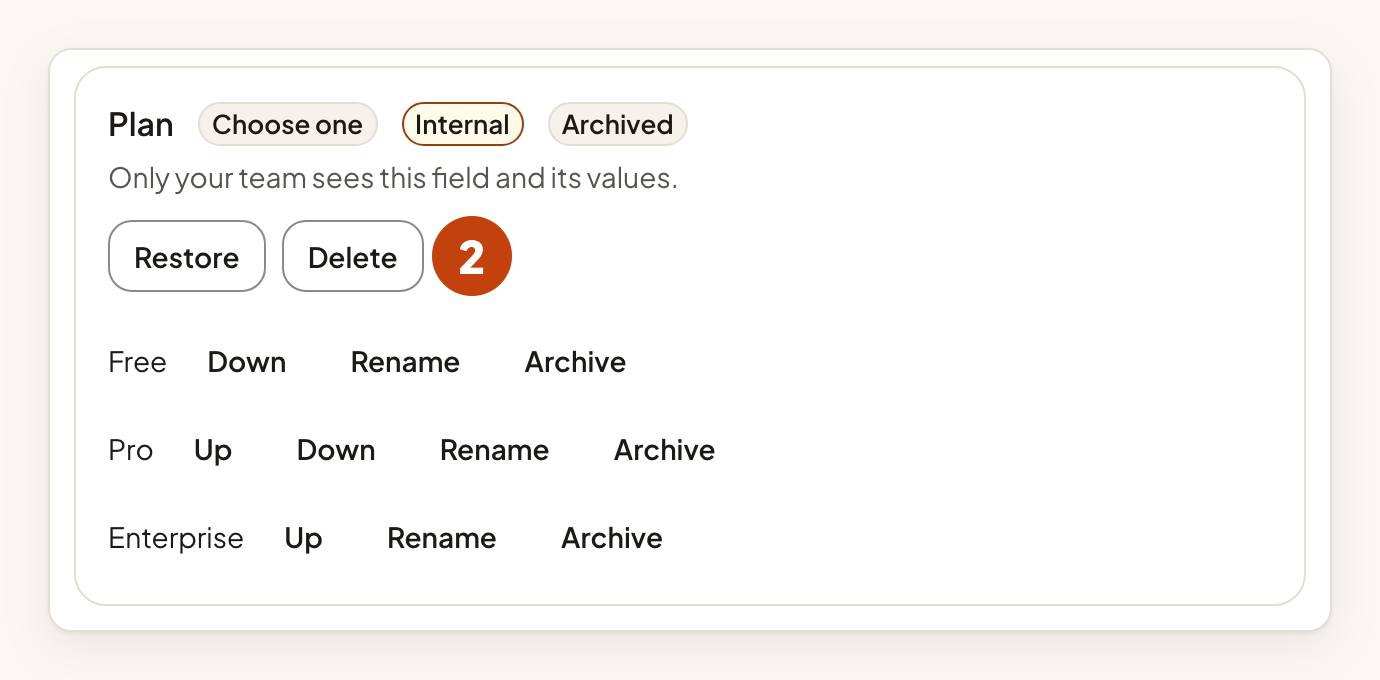
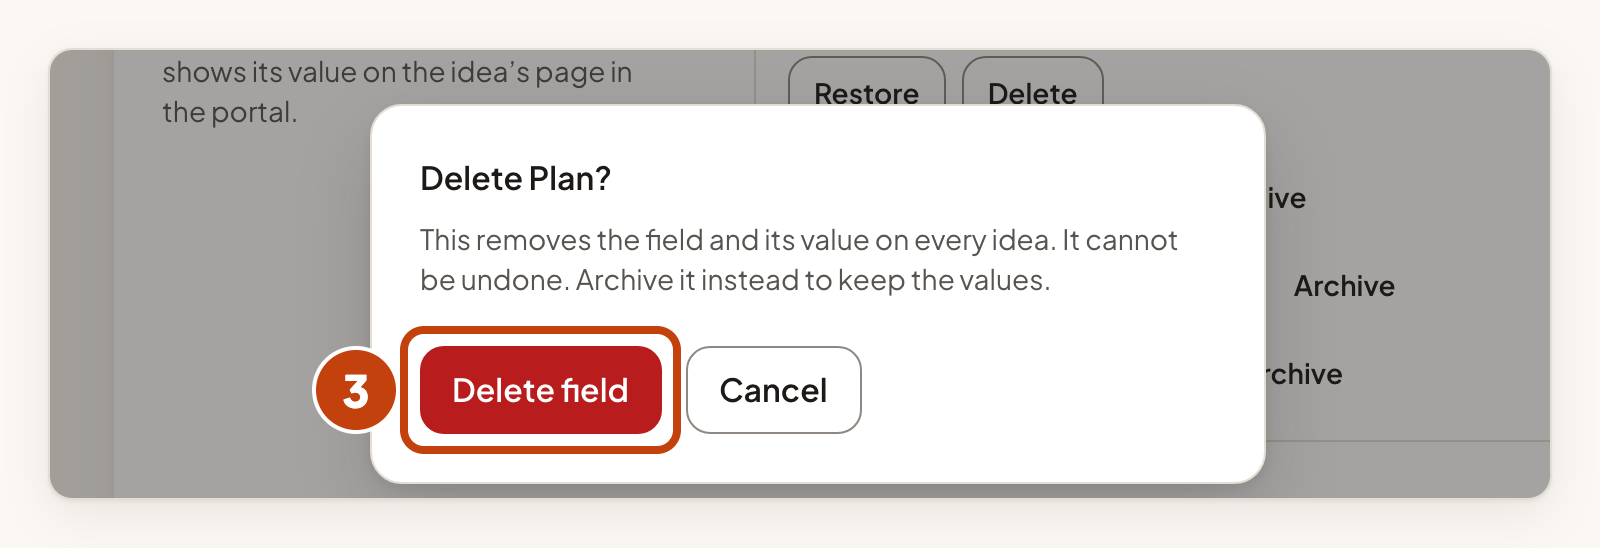
Deleting a field removes its value from every idea, and this cannot be undone. Archive a field instead if you want to keep its values.
Example
For example, Acme Notes adds a field called "Plan" with the choices Free, Pro and Enterprise. Sam, on your team, sets the value to Pro on the idea "Dark mode for the mobile app". Later, your team filters the inbox by Plan to see every Pro request.
