Waitlists for early access
A waitlist is an early-access list on your portal. People create an account or sign in to save their place. Each person sees their place in line, and you invite people in batches.
Joining a waitlist also joins your portal. Your portal then shares the person's email address with your team.
Who can use it
An owner, an admin or a product manager can create, change, close and delete waitlists, invite people and download the list. A moderator or a viewer can read the waitlists. A viewer cannot see email addresses.
Every plan includes waitlists. You can have up to 20 waitlists per product. Your portal must be launched before a waitlist's public page opens.
Create a waitlist
- Open your product.
- Select Waitlists in the console menu.
- Enter a Name, such as Mobile app beta. IvaBoard fills in the Web address from the name.
- Enter a Description (optional). It shows on the waitlist's page.
- Choose a Linked idea (optional) if the list belongs to a feature request.
- Select Create waitlist.
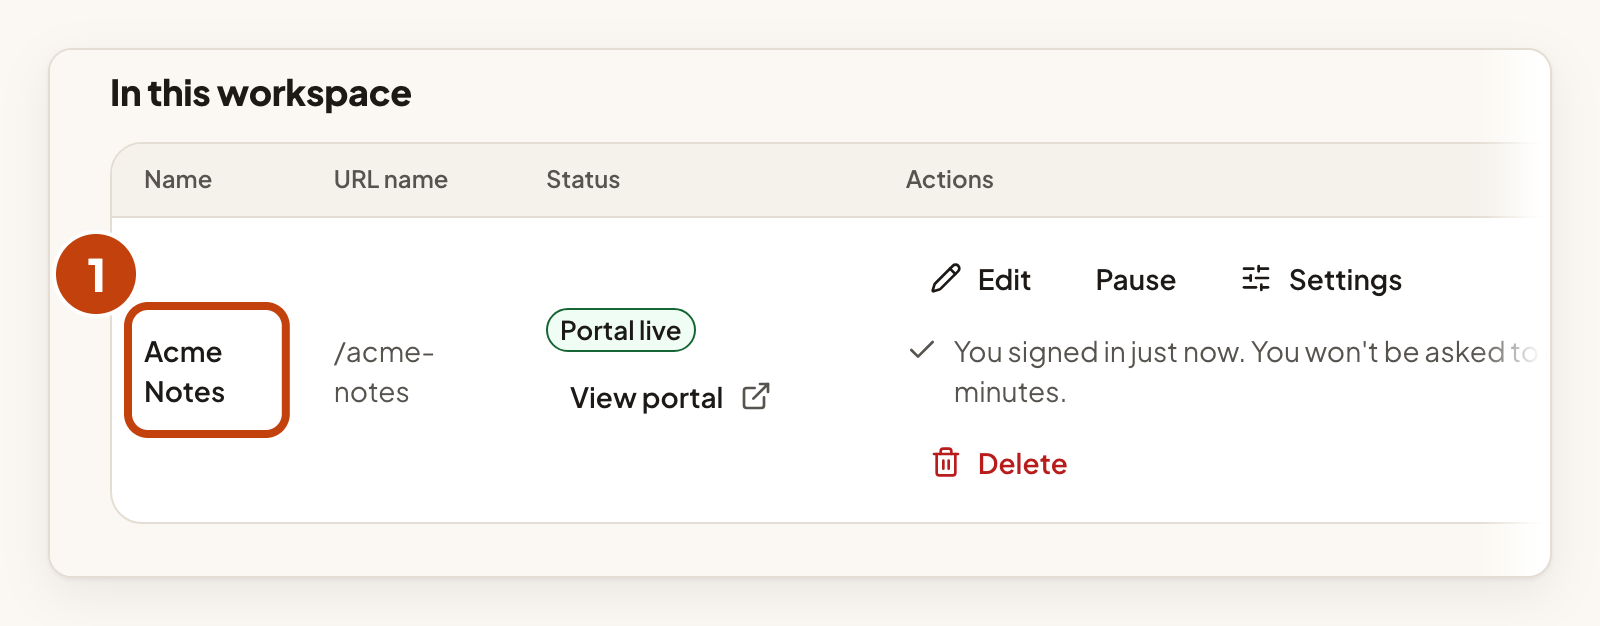
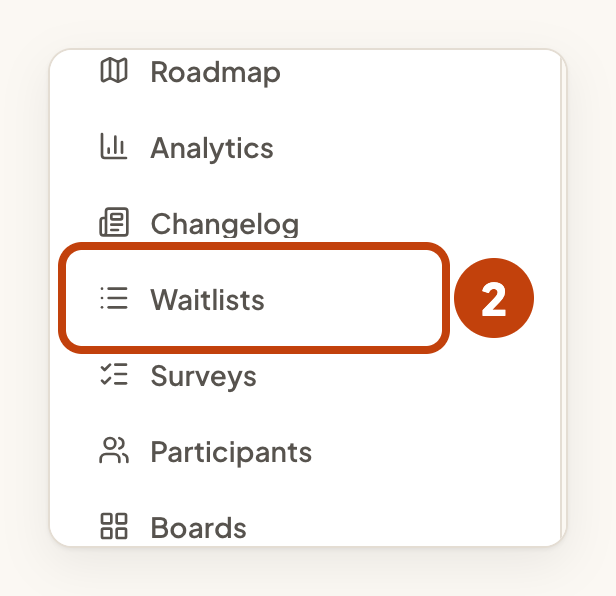
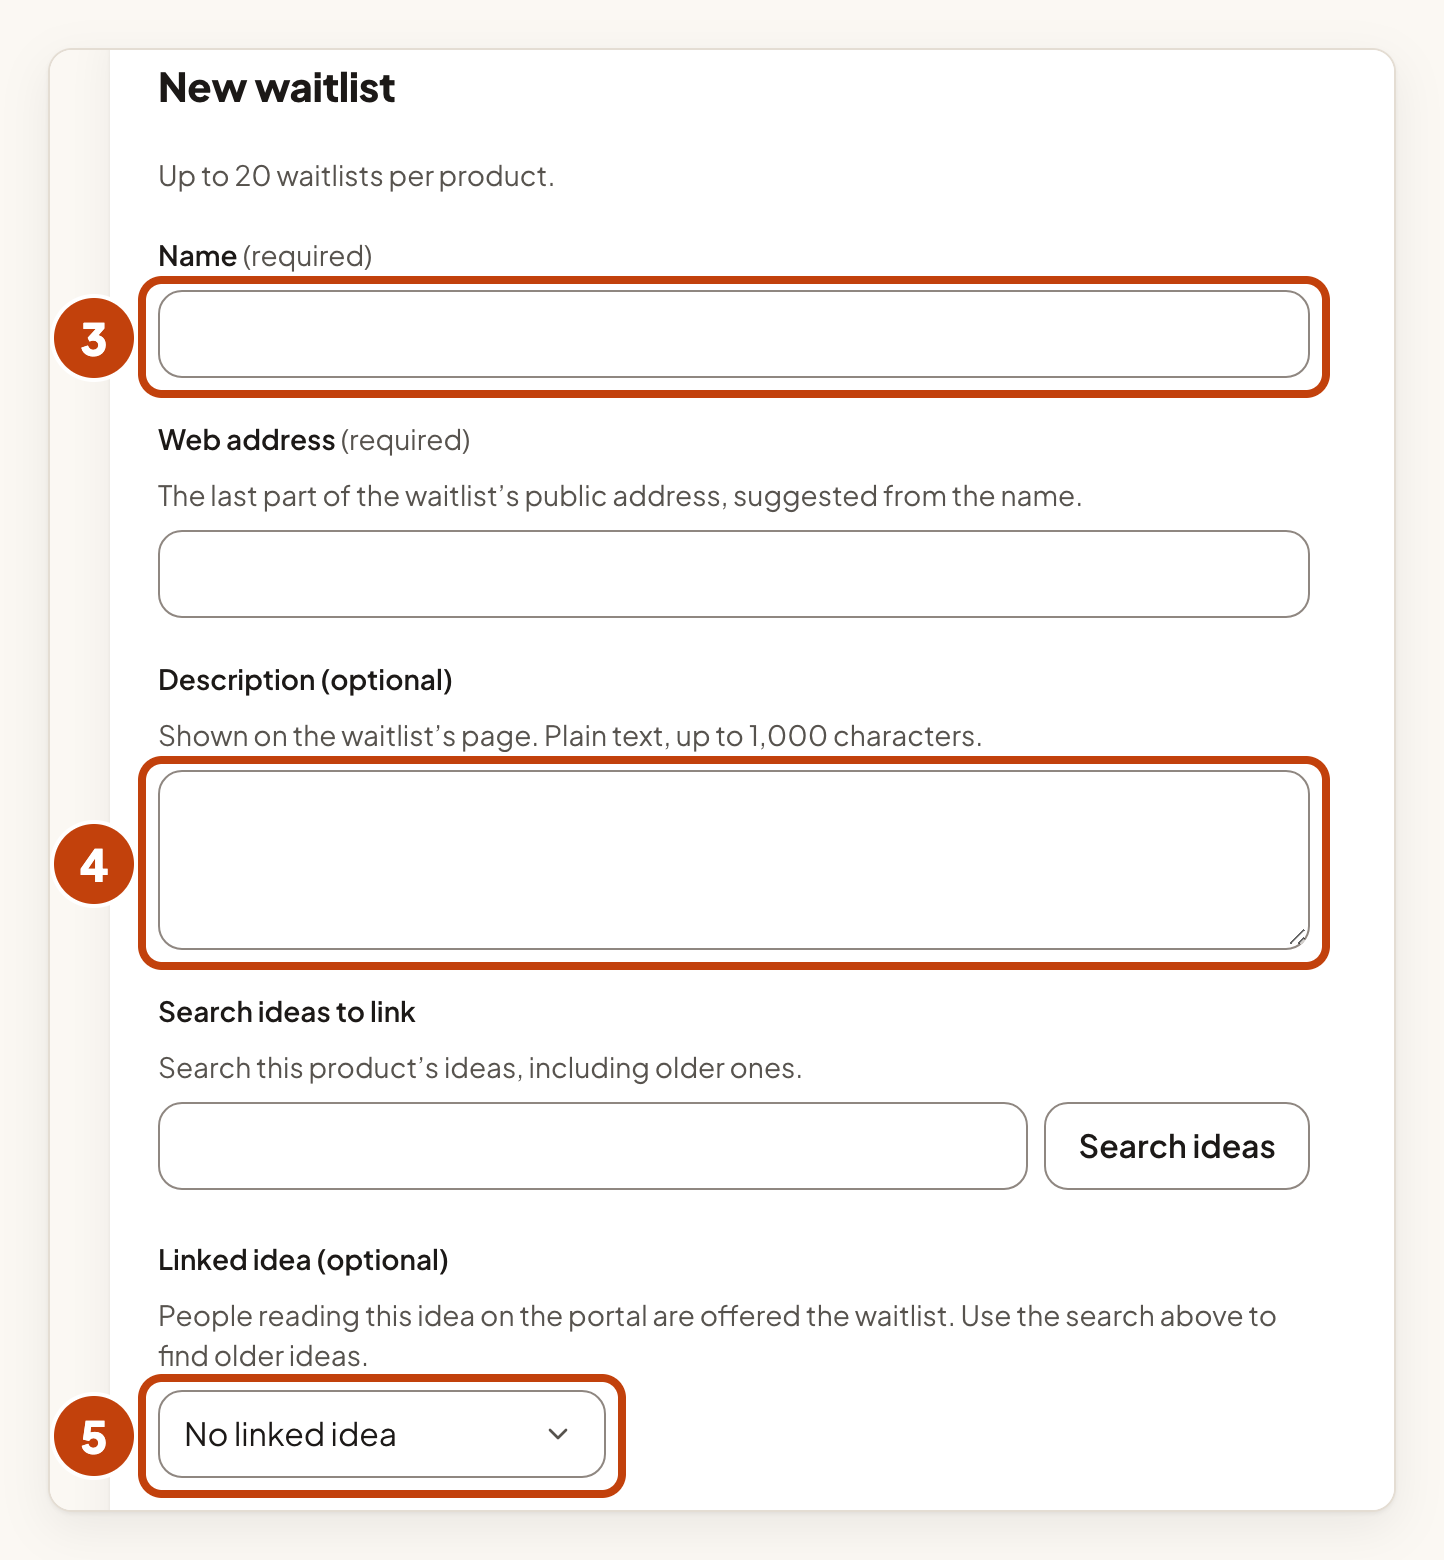
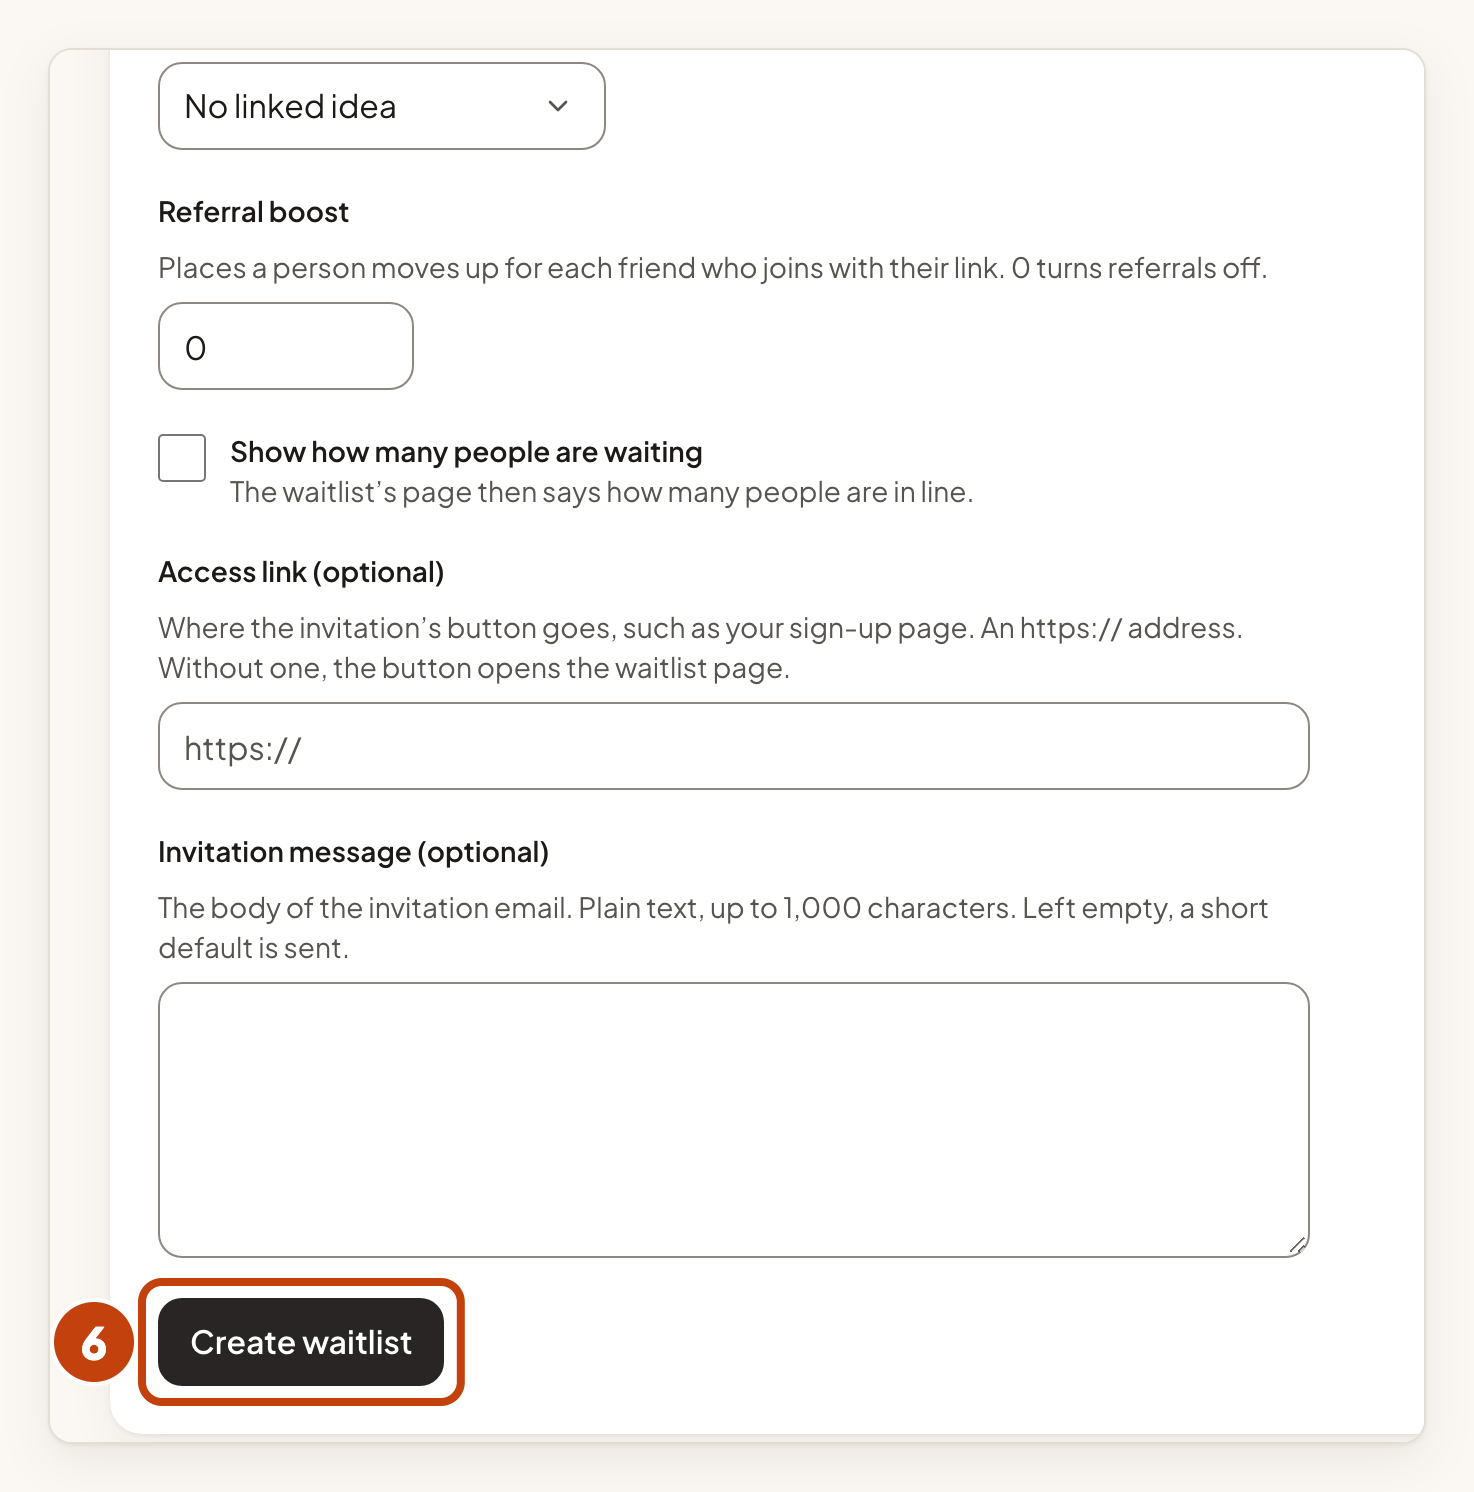
IvaBoard then opens the new waitlist.
Share the public page
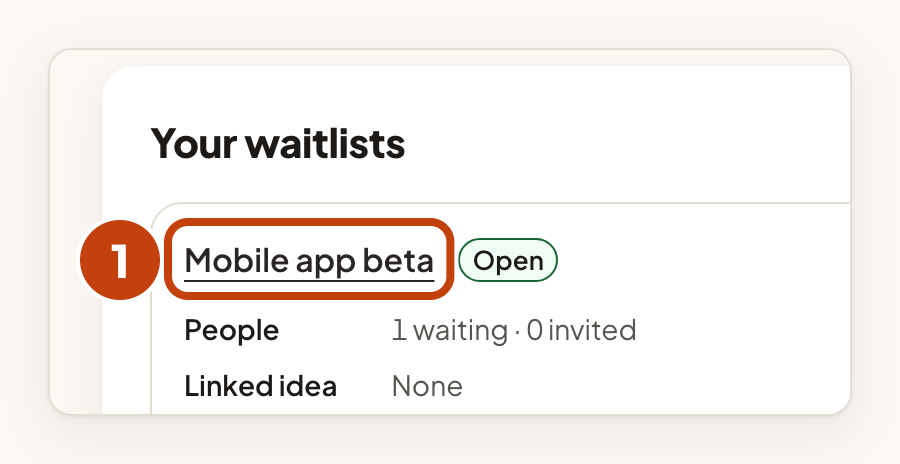
- Open the waitlist from Waitlists.
- Select Copy next to the web address at the top of the waitlist.
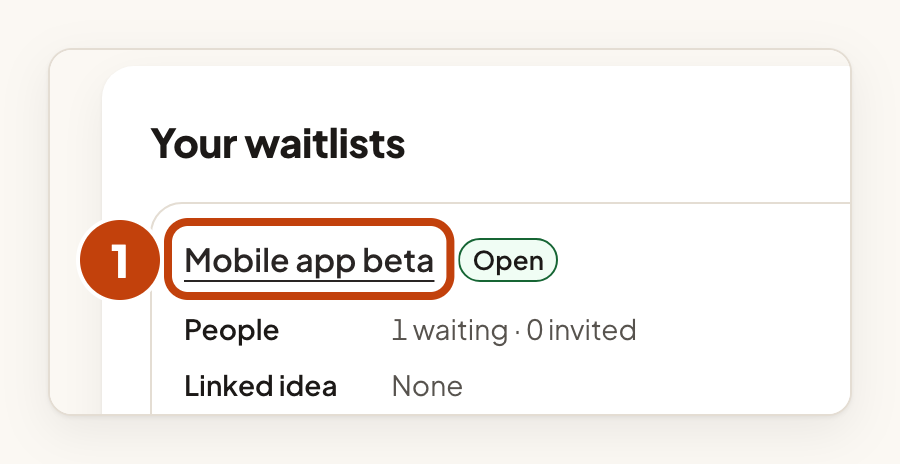
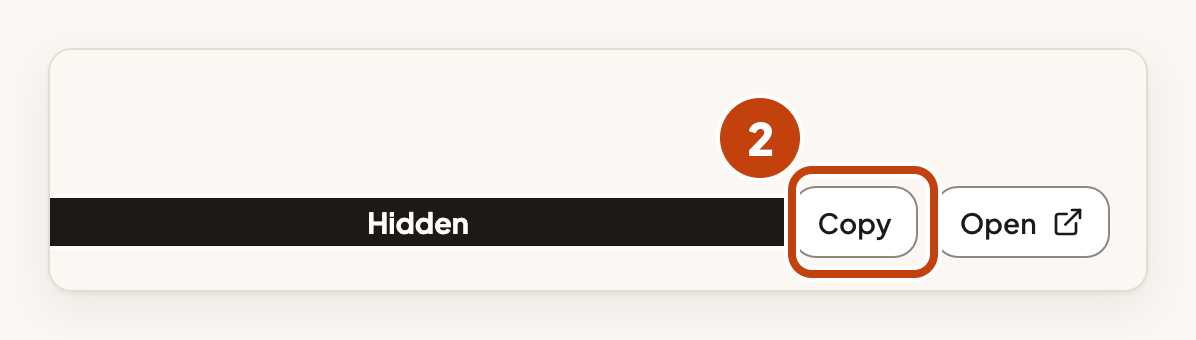
Send the link to the people you want to join. The link opens nothing until your portal is launched.
Change the settings
- Open the waitlist from Waitlists.
- Select Settings in the waitlist's tabs.
- Change the fields you need.
- Select Save settings.
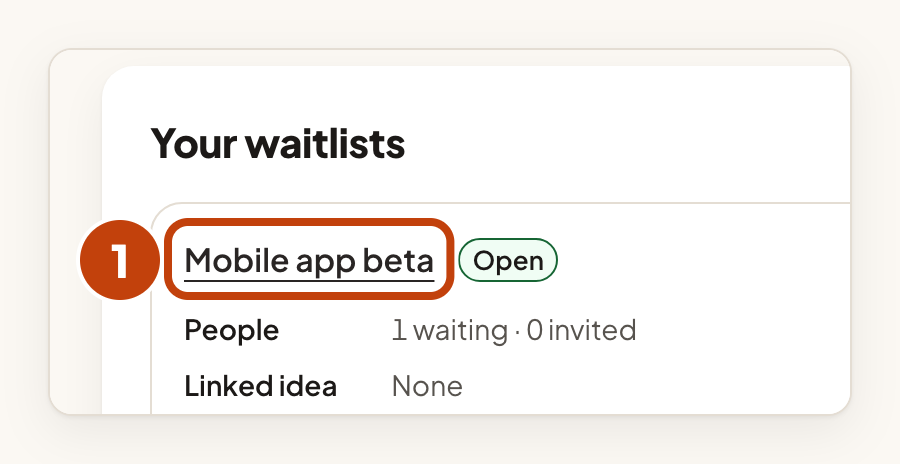
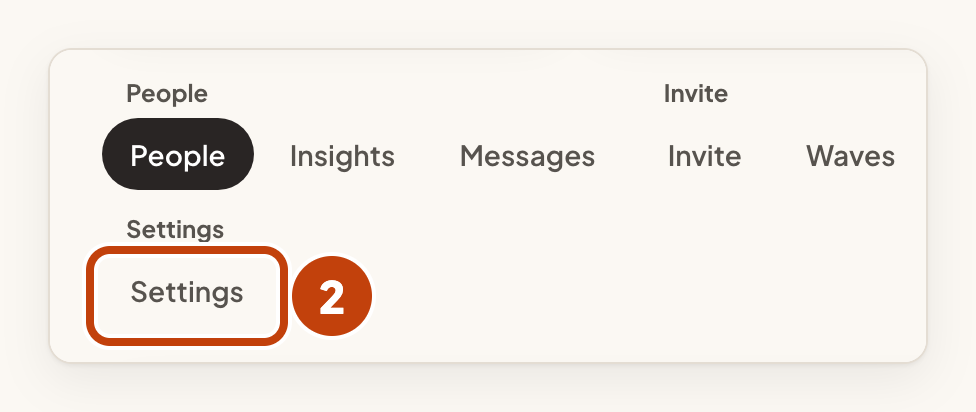
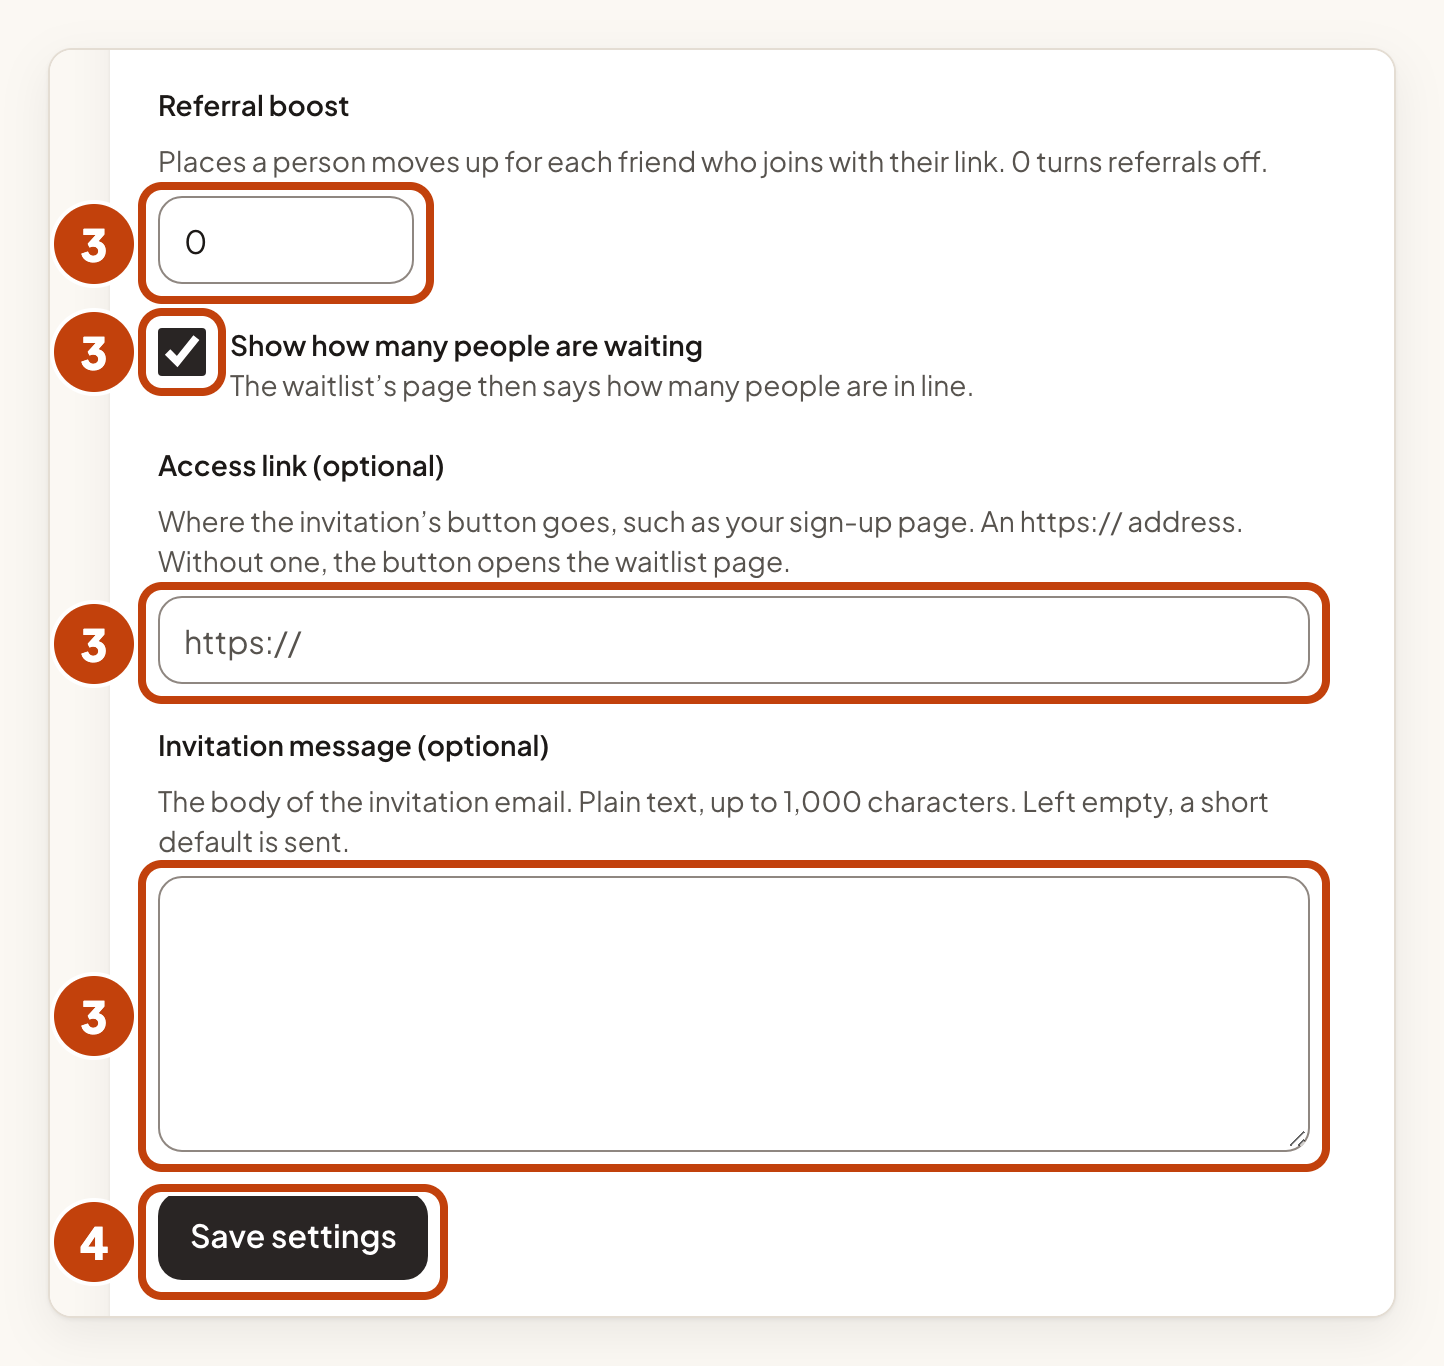
The same fields appear when you create a waitlist. On Settings, you can also change the Name, the Web address, the Description (optional) and the Linked idea (optional).
- Referral boost: the number of places a person moves up for each friend who joins with their link. 0 turns referrals off.
- Show how many people are waiting: the waitlist's page then says how many people are in line.
- Access link (optional): where the button in the invitation email goes. It must be an
https://address. Without one, the button opens the waitlist page. - Invitation message (optional): the text of the invitation email. Without one, a short default is sent.
Link a waitlist to an idea
A linked idea shows an Early access card on its page while the waitlist is open. People already on a closed waitlist still see it. The card links to the waitlist, so the people who asked for a feature can join first. Deleting the idea only removes the link.
Invite people
- Open the waitlist from Waitlists.
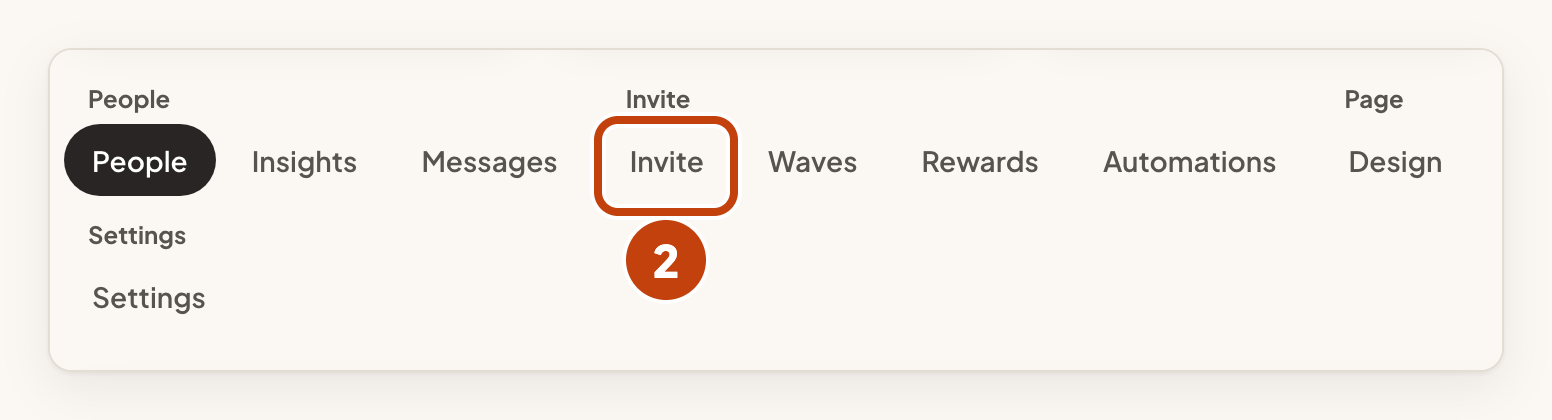
- Select Invite in the waitlist's tabs.
- Enter a number in How many people to invite, from 1 to 500.
- Select Invite next people.
- Select Send invitations in the dialog.
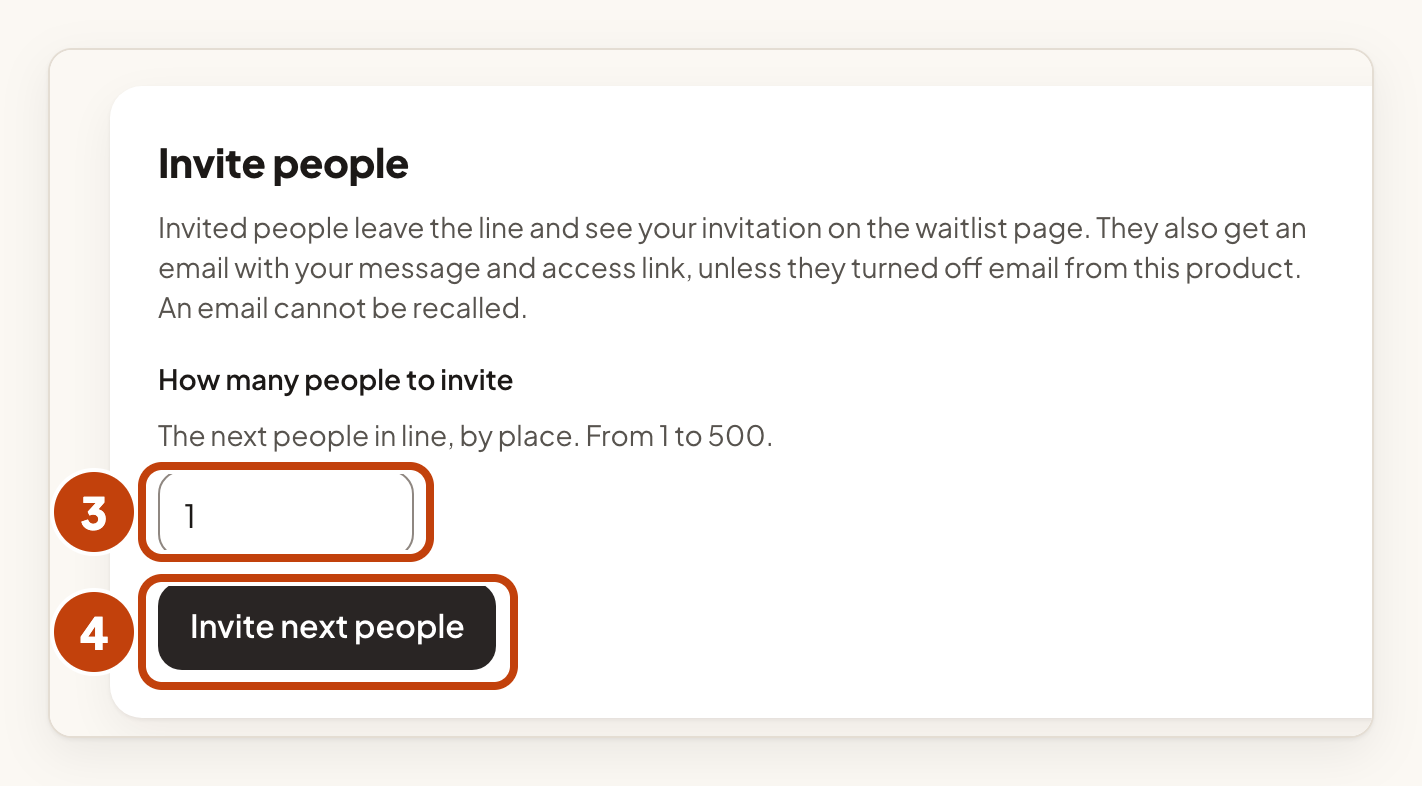
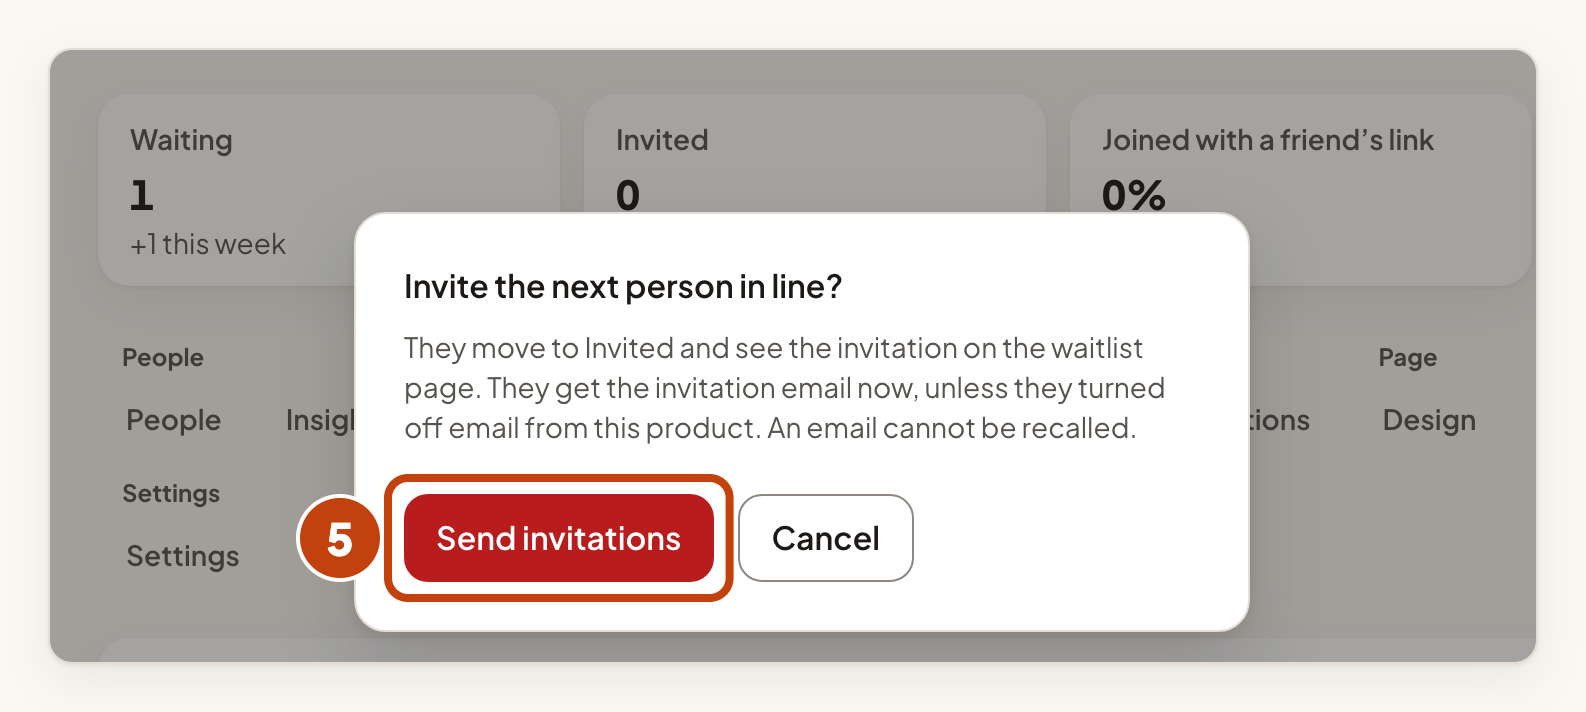
Invited people leave the line. A wave you schedule on the Waves tab sends its invitations by itself: a background job runs every hour, so people leave the line within about an hour of the time you chose. They see your invitation on the waitlist page and get your email with your message and access link. They do not get the email if they turned off email from this product.
To invite people you choose, open the People tab, select the box next to each person, then select the button that starts with Invite selected. Confirm in the dialog.
An invitation email cannot be recalled, so check your message first.
Manage the list
- Use Search people to find someone by name, by email address or by a written answer. Email addresses are hidden if your access does not allow them.
- Select Download CSV to get everyone on the waitlist, with their place, email, referrals and dates.
- Select Close waitlist to stop new sign-ups. People already on the list keep their place. Select Reopen waitlist to take sign-ups again.
To delete a waitlist:
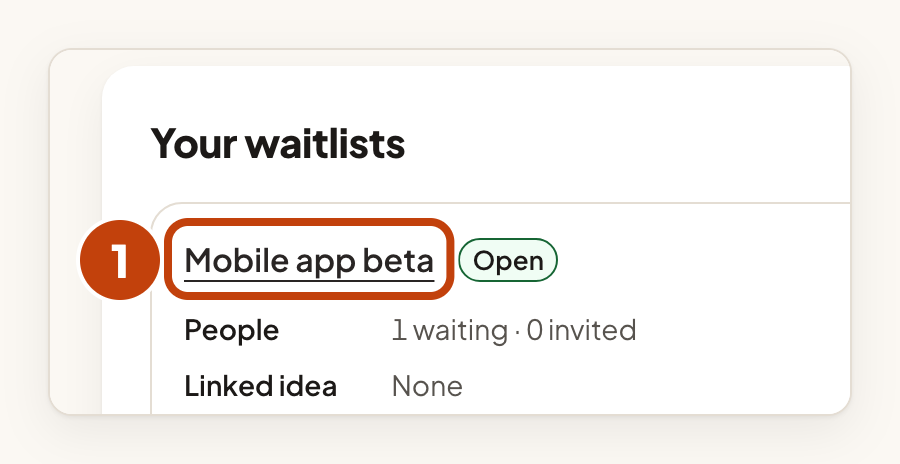
- Open the waitlist from Waitlists.
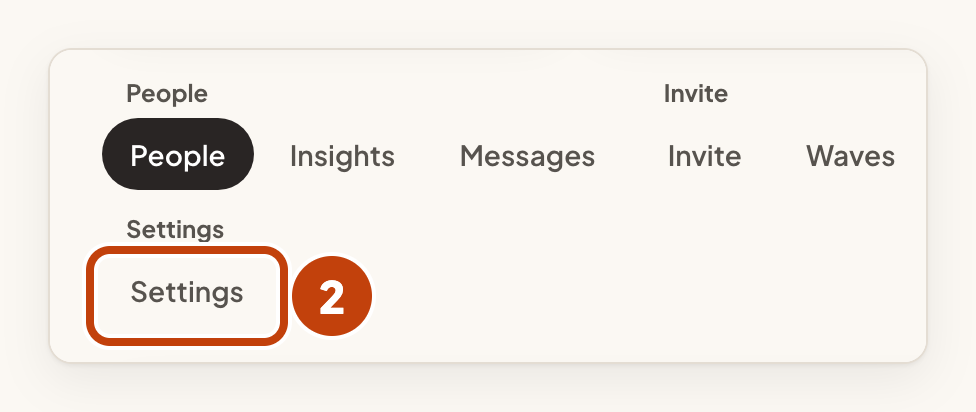
- Select Settings in the waitlist's tabs.
- Select Delete waitlist.
- Select Delete waitlist in the dialog.
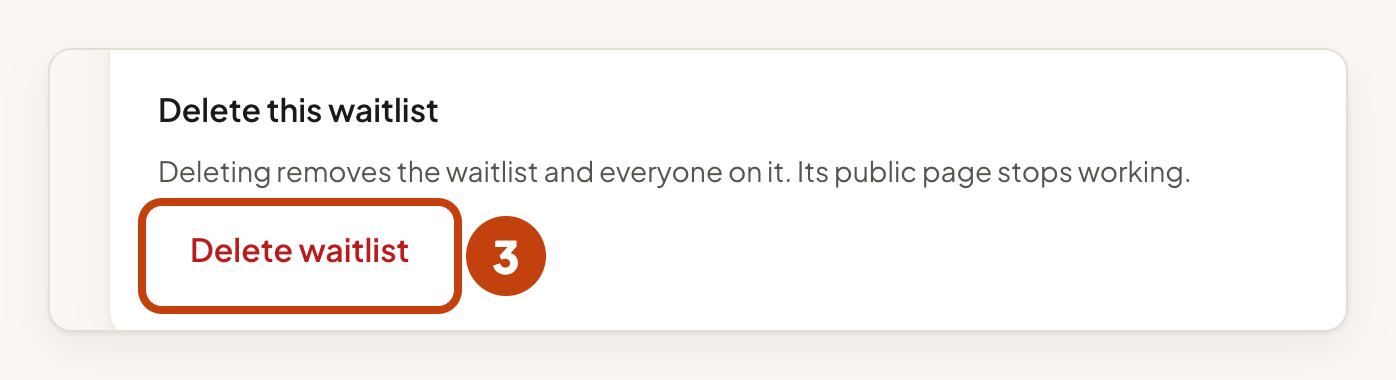
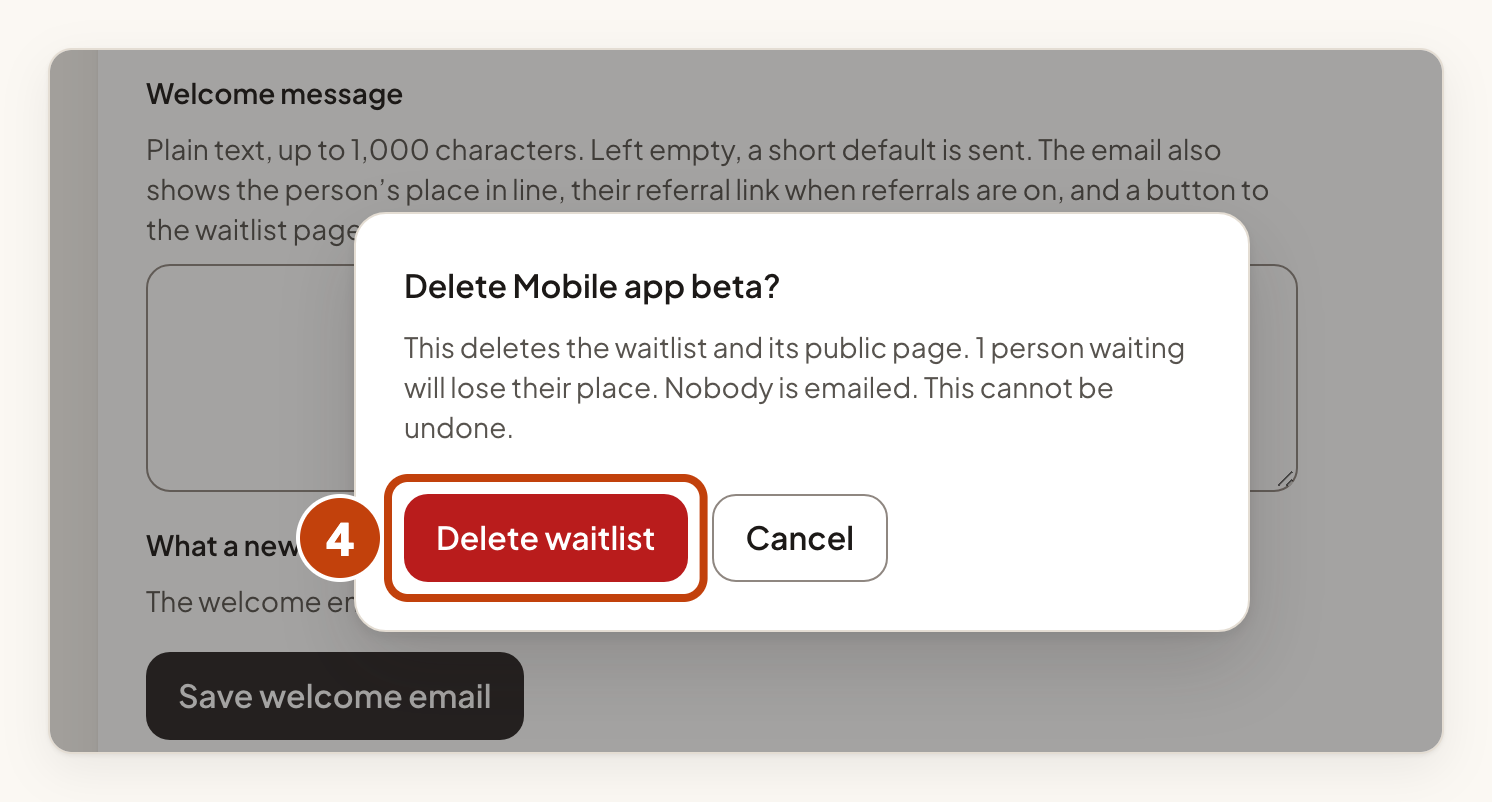
Deleting removes the waitlist and everyone on it. Its public page stops working.
Example
For example, Sam creates a waitlist named Mobile app beta for Acme Notes. The web address becomes mobile-app-beta. Sam copies the link and shares it with early users. Later, Sam invites the next 10 people in line.
