Getting started with IvaBoard
This guide takes you from your first sign-in to a live portal where your customers can post and vote on ideas. Plan for about an hour. You can stop after any step and carry on later.
Want a quick look first? Open Video tutorials and watch the short product tour or a task video. More step-by-step videos are coming soon.
Who can use it
Owners and admins can do every step. A team member can change a product's boards and settings only with Manager access to that product. Only owners and admins create products, invite people and launch a portal.
How you get your workspace
After your payment is confirmed, your workspace is created automatically, usually within a few minutes, and we email you an invitation to become its owner. Wait for our email. Then follow the steps below, in order.
If the email has not arrived, check your spam folder. If it is still missing one business day after your payment, write to [email protected].
Create your account
- Open the invitation email.
- Select Accept invitation in the email.
- Select Create your account on the invitation page.
- Fill in Your name.
- Fill in Password.
- Select Create account.
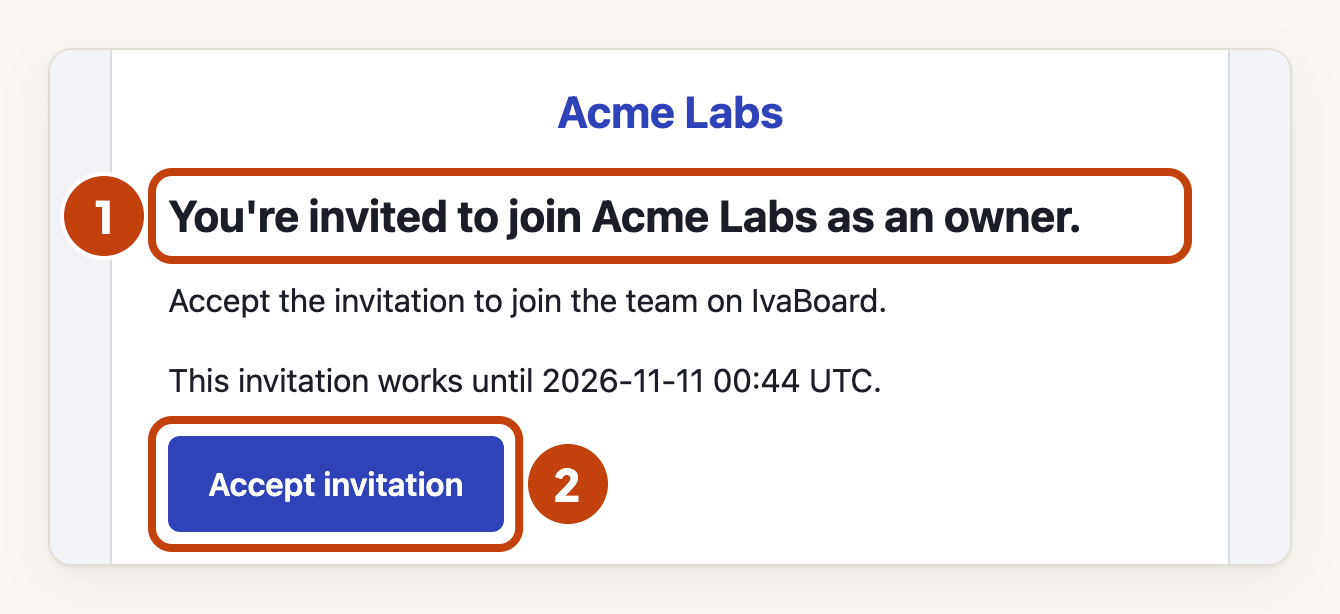
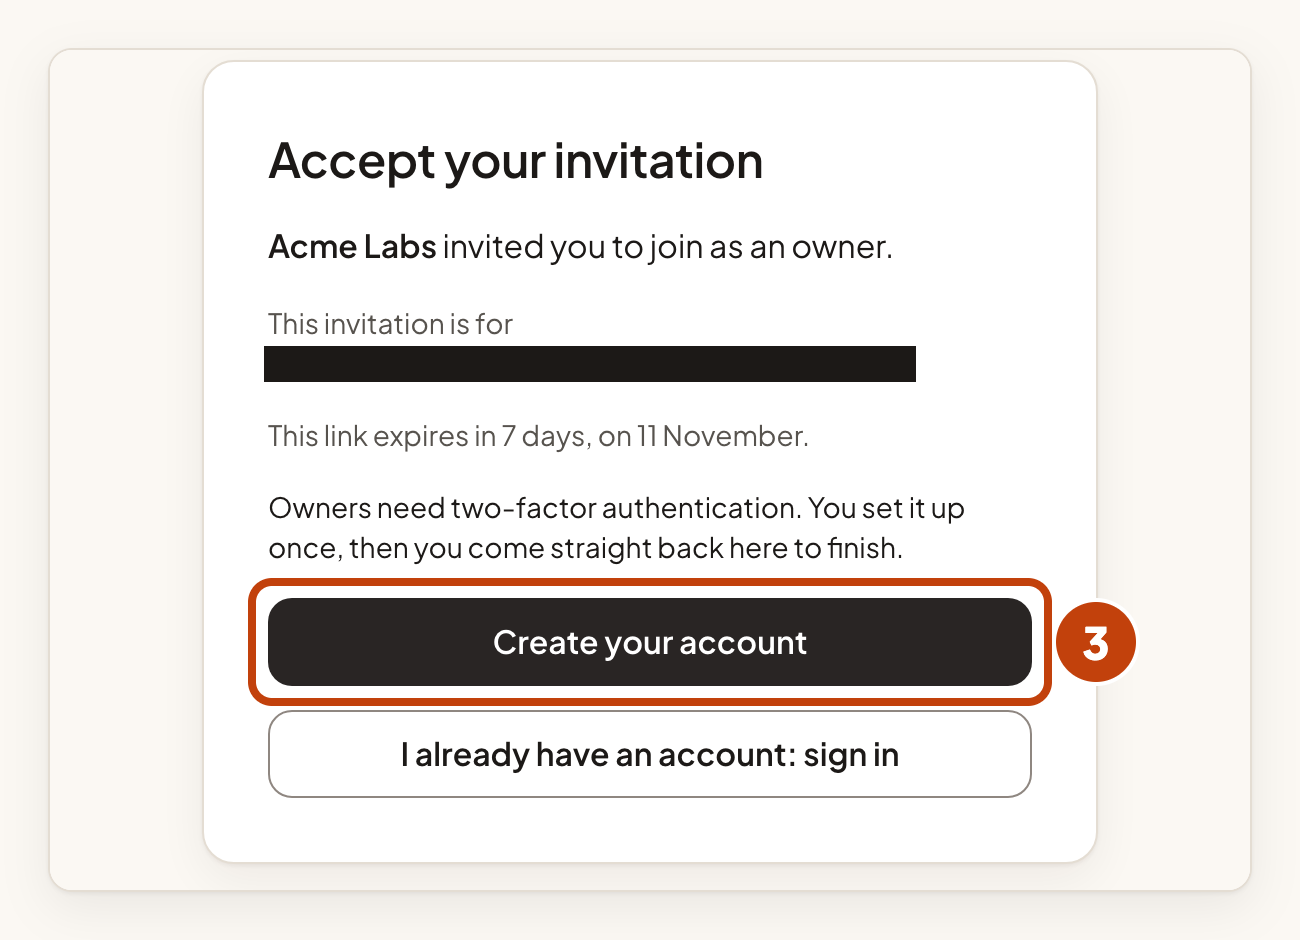
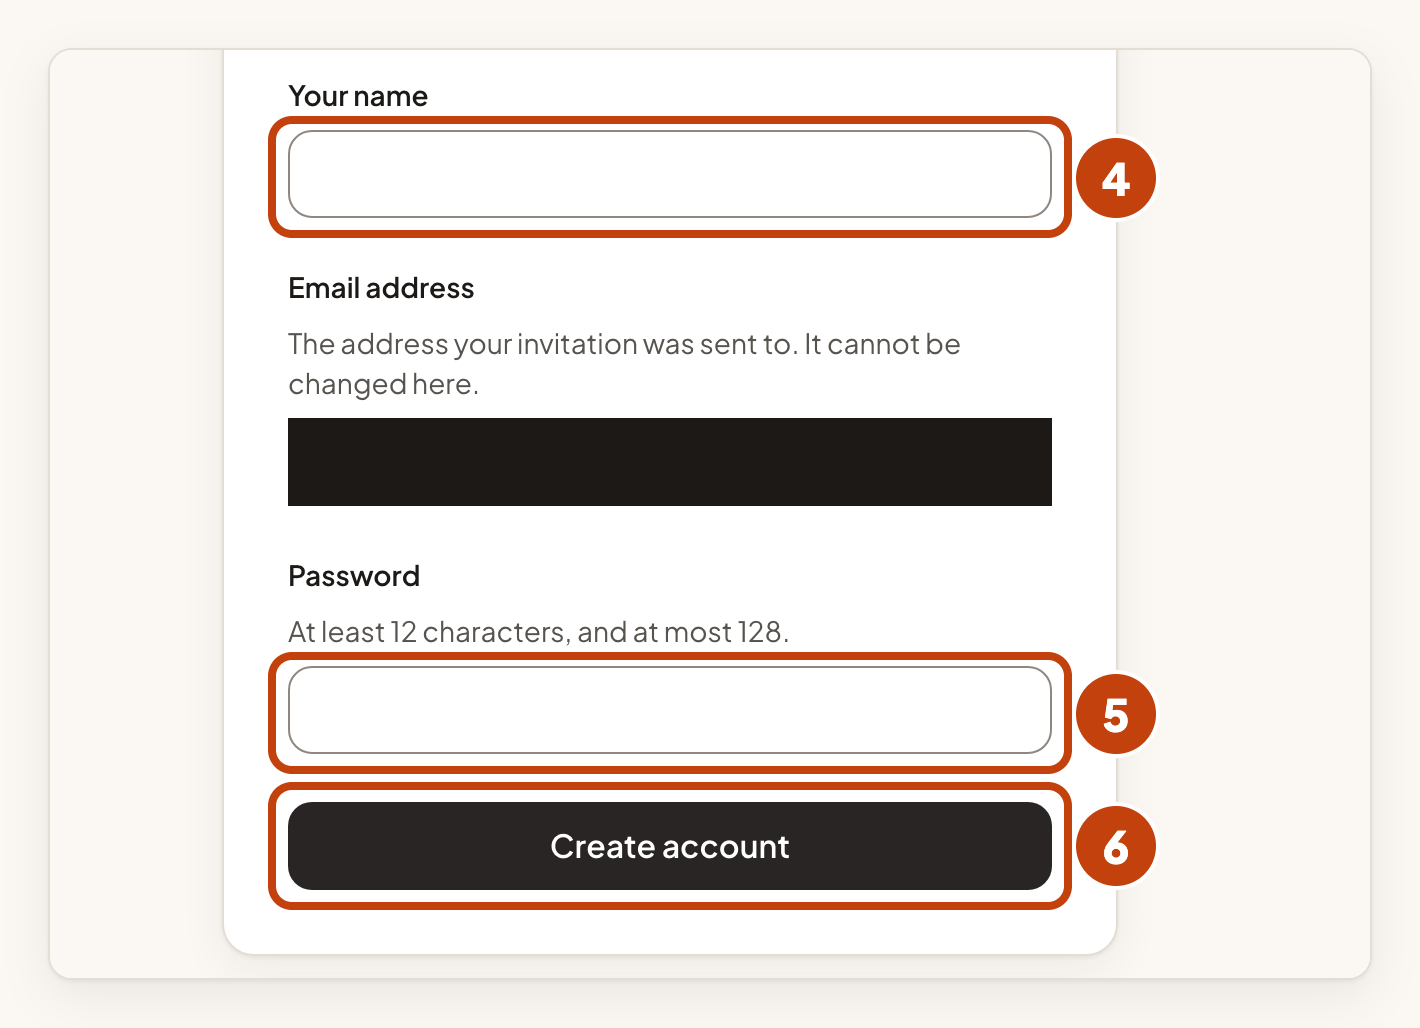
If you already have an IvaBoard account, select I already have an account: sign in on the invitation page instead. Then sign in as described below.
Verify your email address
- Open the confirmation email on this device.
- Select Verify email address in the email.
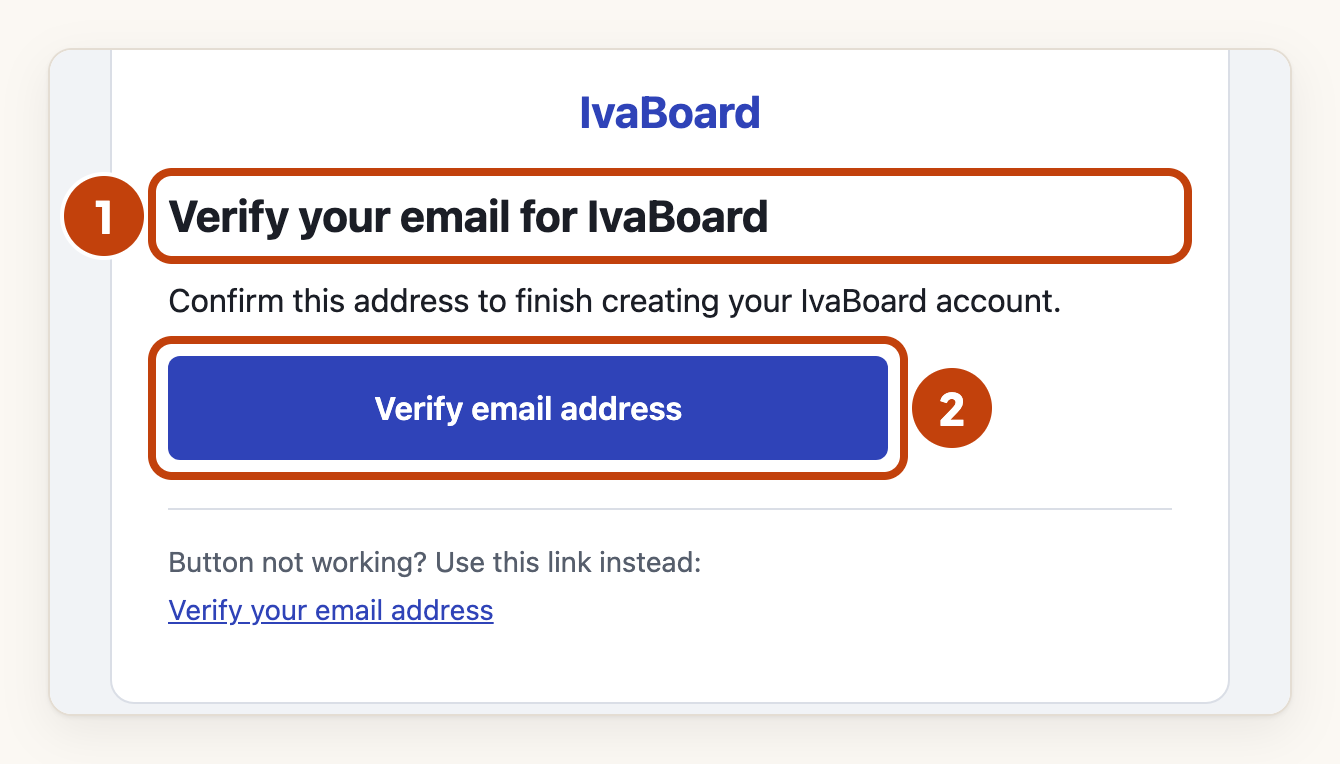
The sign-in page opens by itself. Use this device for the confirmation. The invitation is kept only on the device where you started.
Sign in
- Fill in Email address.
- Fill in Password.
- Select Sign in.
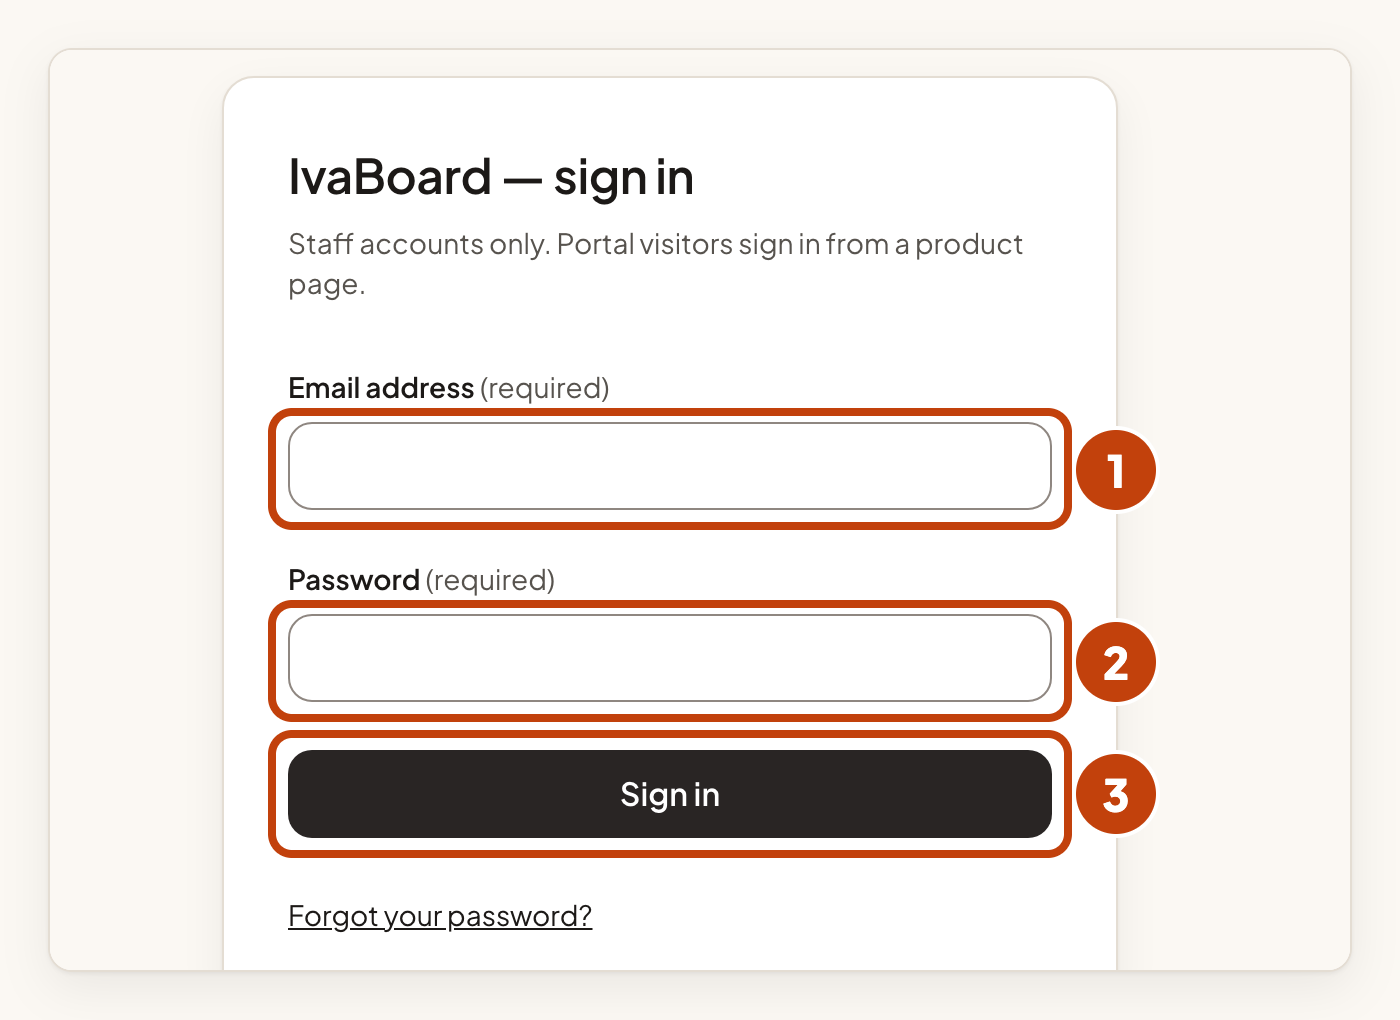
The invitation page opens again after you sign in. Owners and admins set up two-factor authentication first. So does anyone who is an owner or an admin in another workspace. Everyone else skips the next section and goes to Accept invitation below.
Set up two-factor authentication
Owners and admins set up two-factor authentication with an authenticator app. Set it up once. After that, signing in asks for a code from the app.
If you are an owner or an admin, you need to set up two-factor authentication before the console shows anything else. The invitation page offers Set up two-factor authentication for this. Finish it, then come back and accept the invitation.
- Select Set up two-factor authentication on the invitation page.
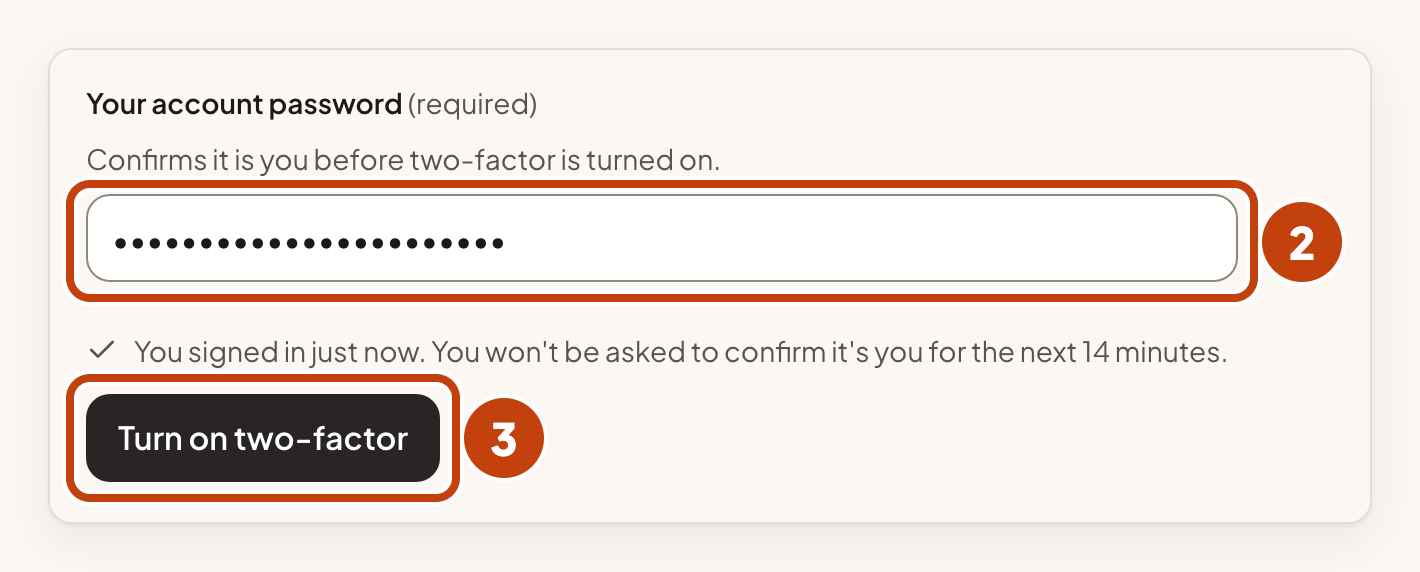
- Fill in Your account password.
- Select Turn on two-factor.
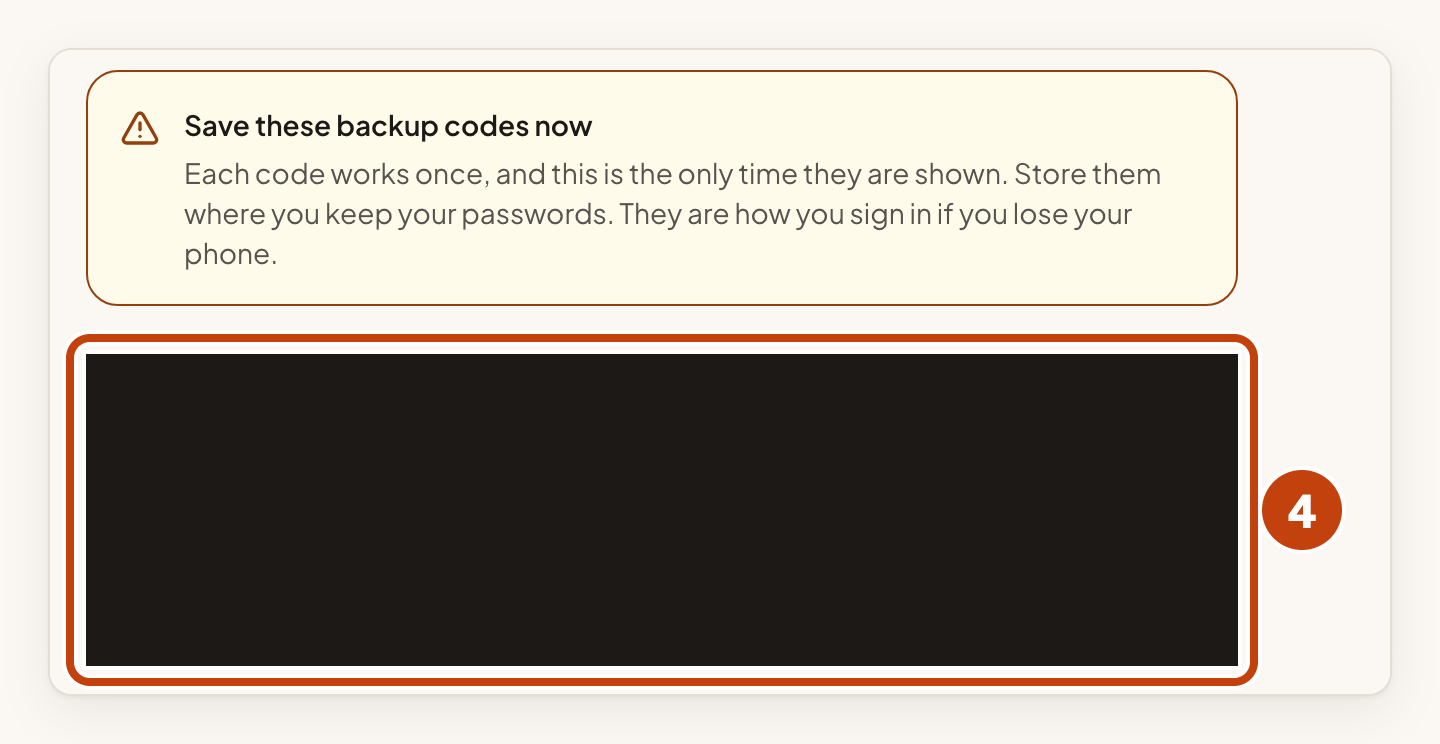
- Save the backup codes in a safe place. Each code works once.
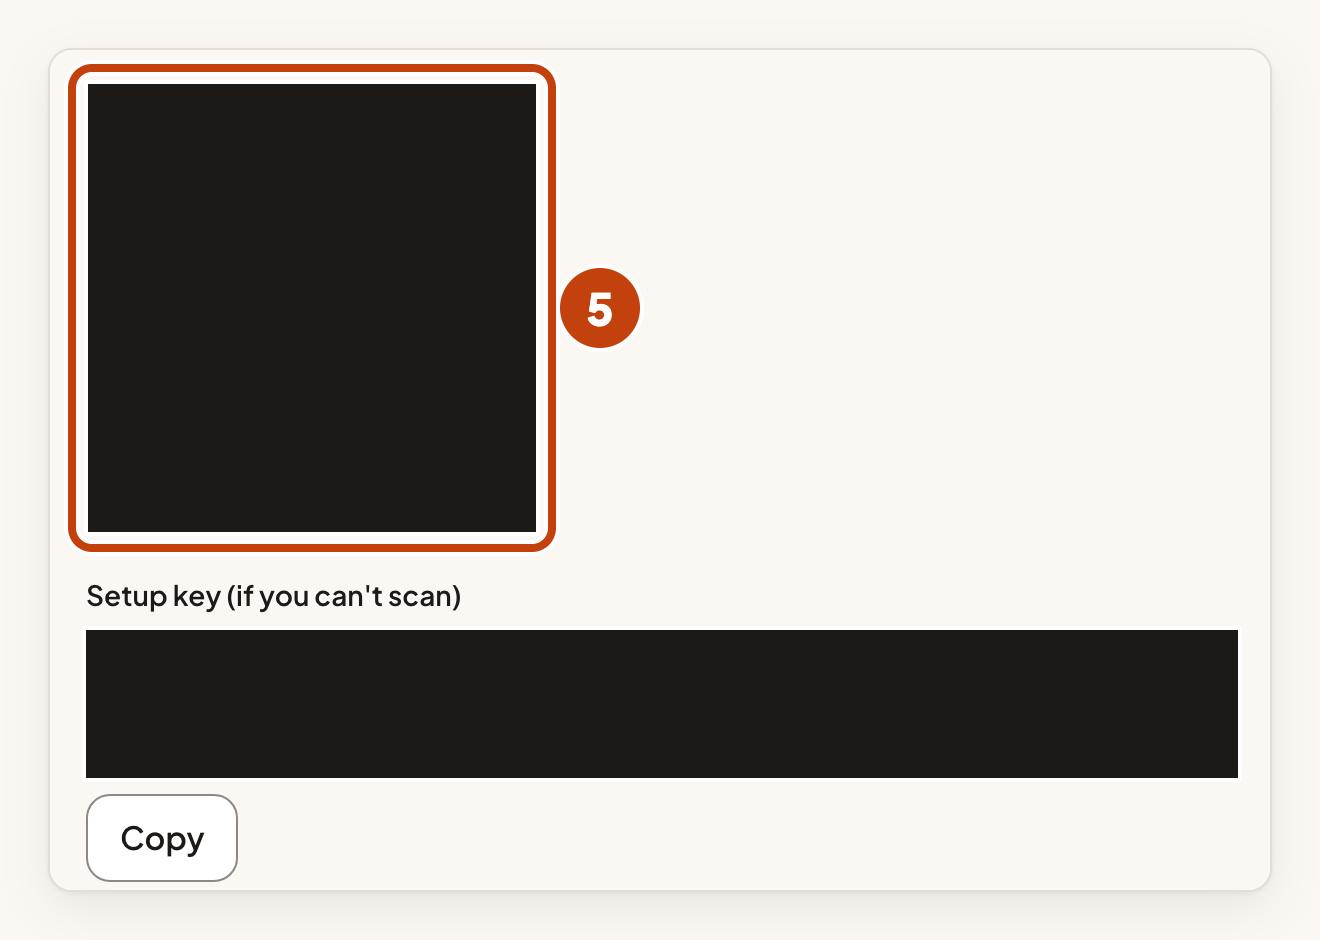
- Scan the QR code with your authenticator app. If you cannot scan it, type the setup key into the app.
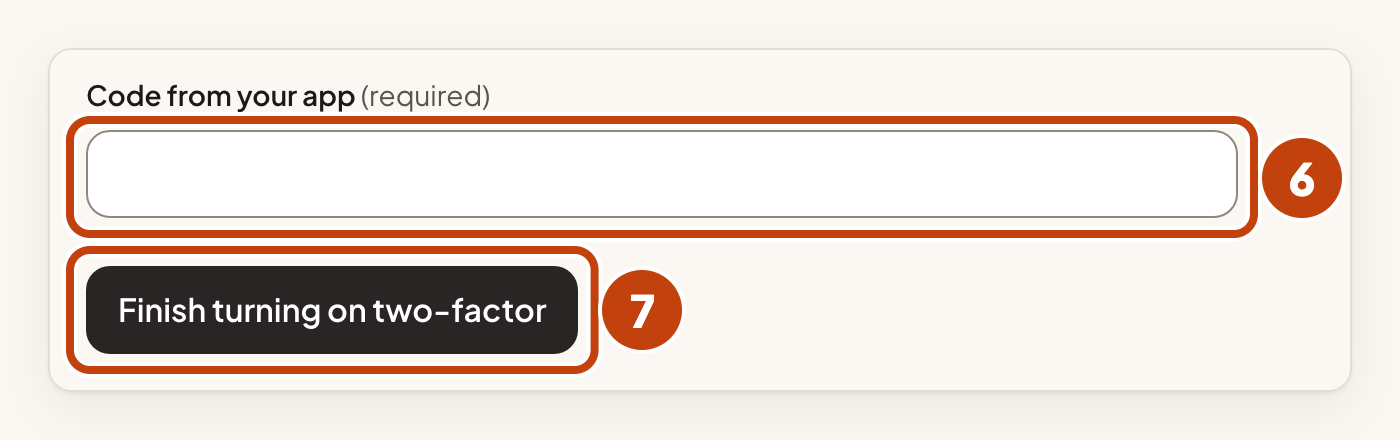
- Fill in Code from your app with the code the app shows.
- Select Finish turning on two-factor.
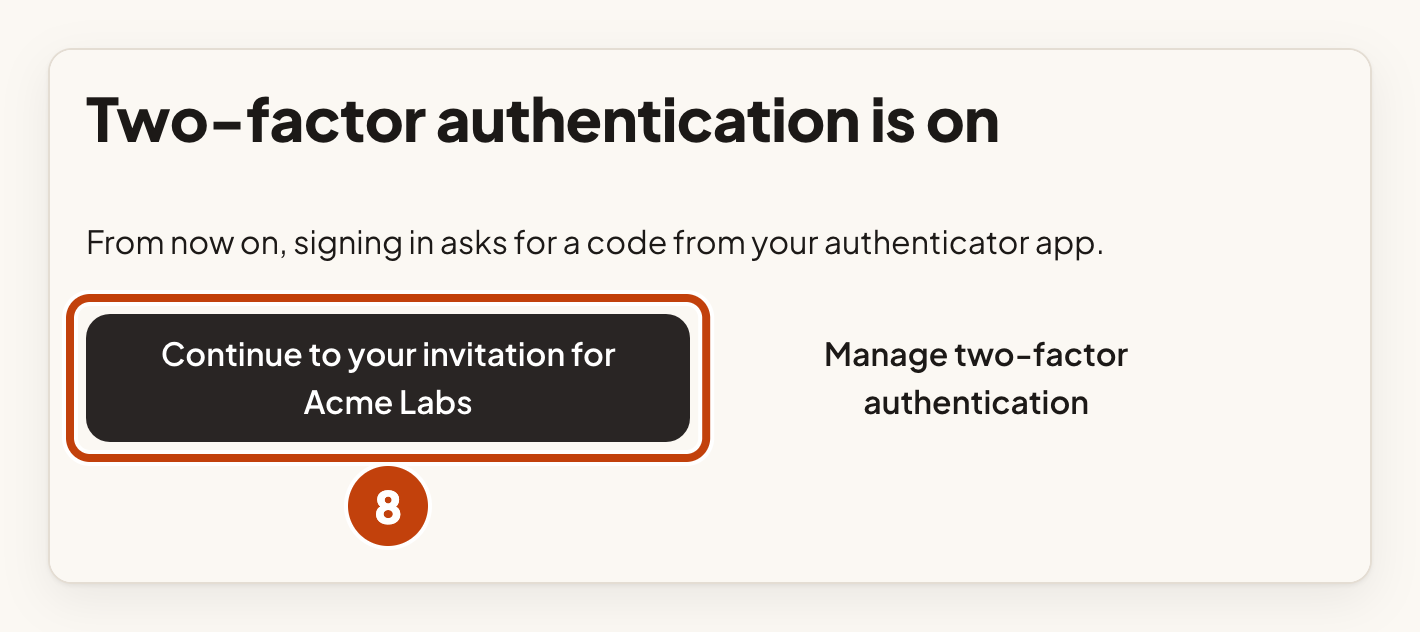
- Select Continue to your invitation. The button ends with your workspace name.
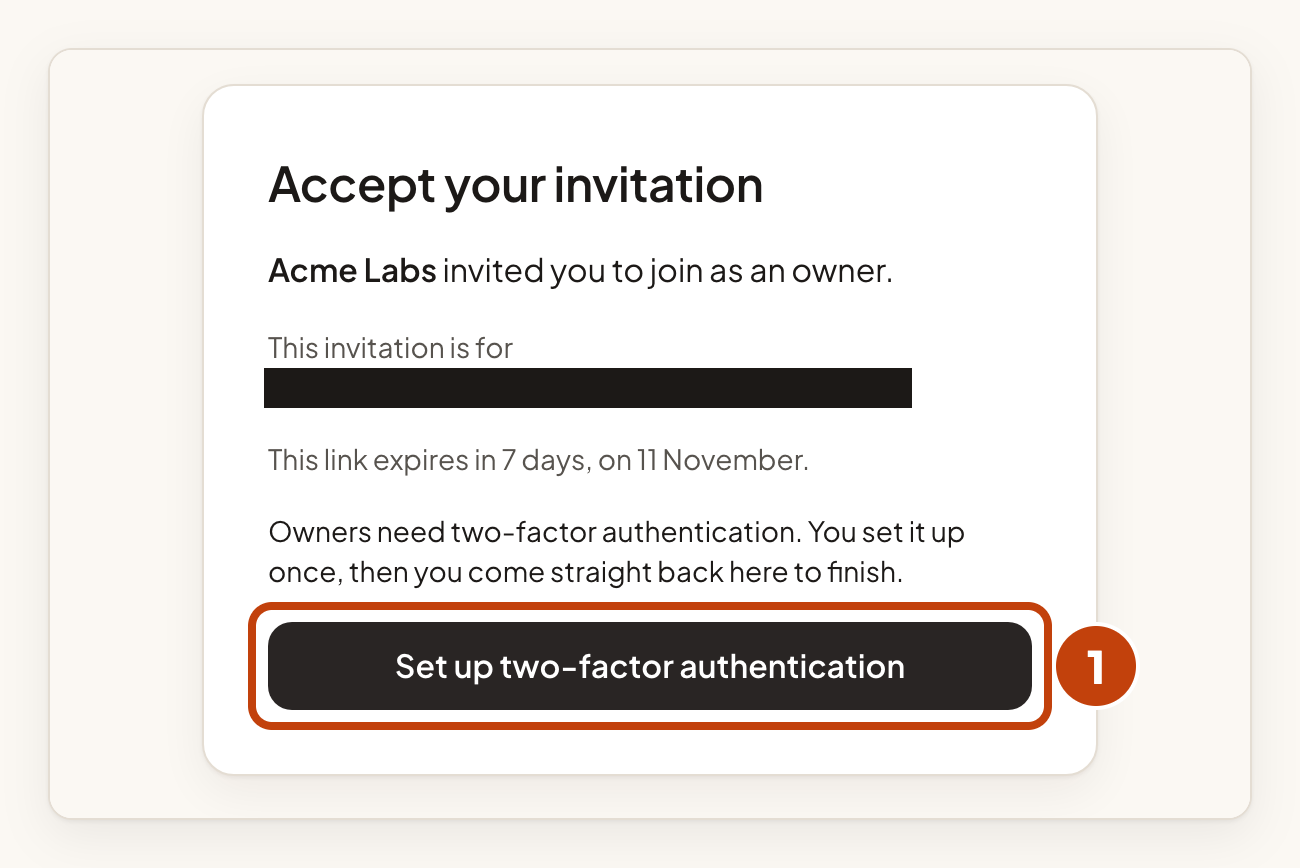
Accept your invitation
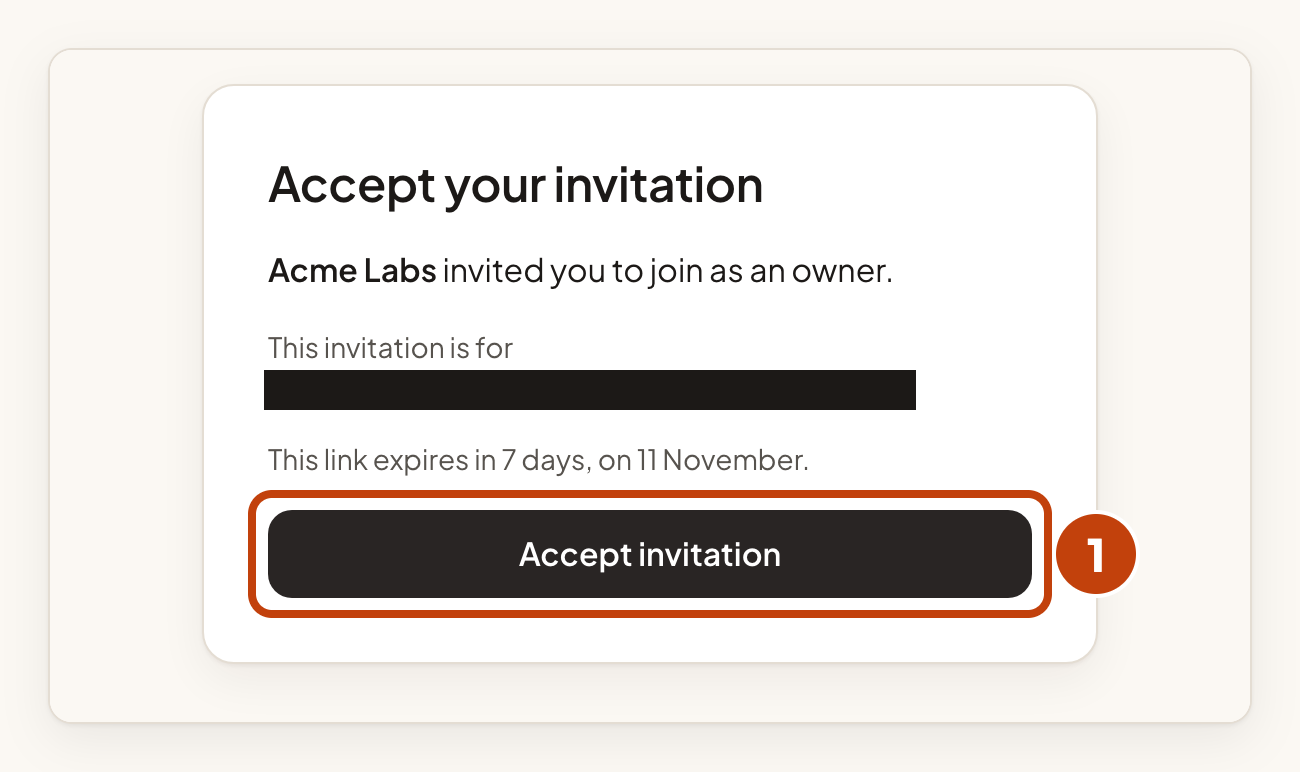
- Select Accept invitation.
Your workspace opens on its Overview page.
Step 1: sign in
Open https://app.ivaboard.com in your web browser. You signed in during the invitation. Use these steps each time you come back.
- Enter your Email address.
- Enter your Password.
- Select Sign in.
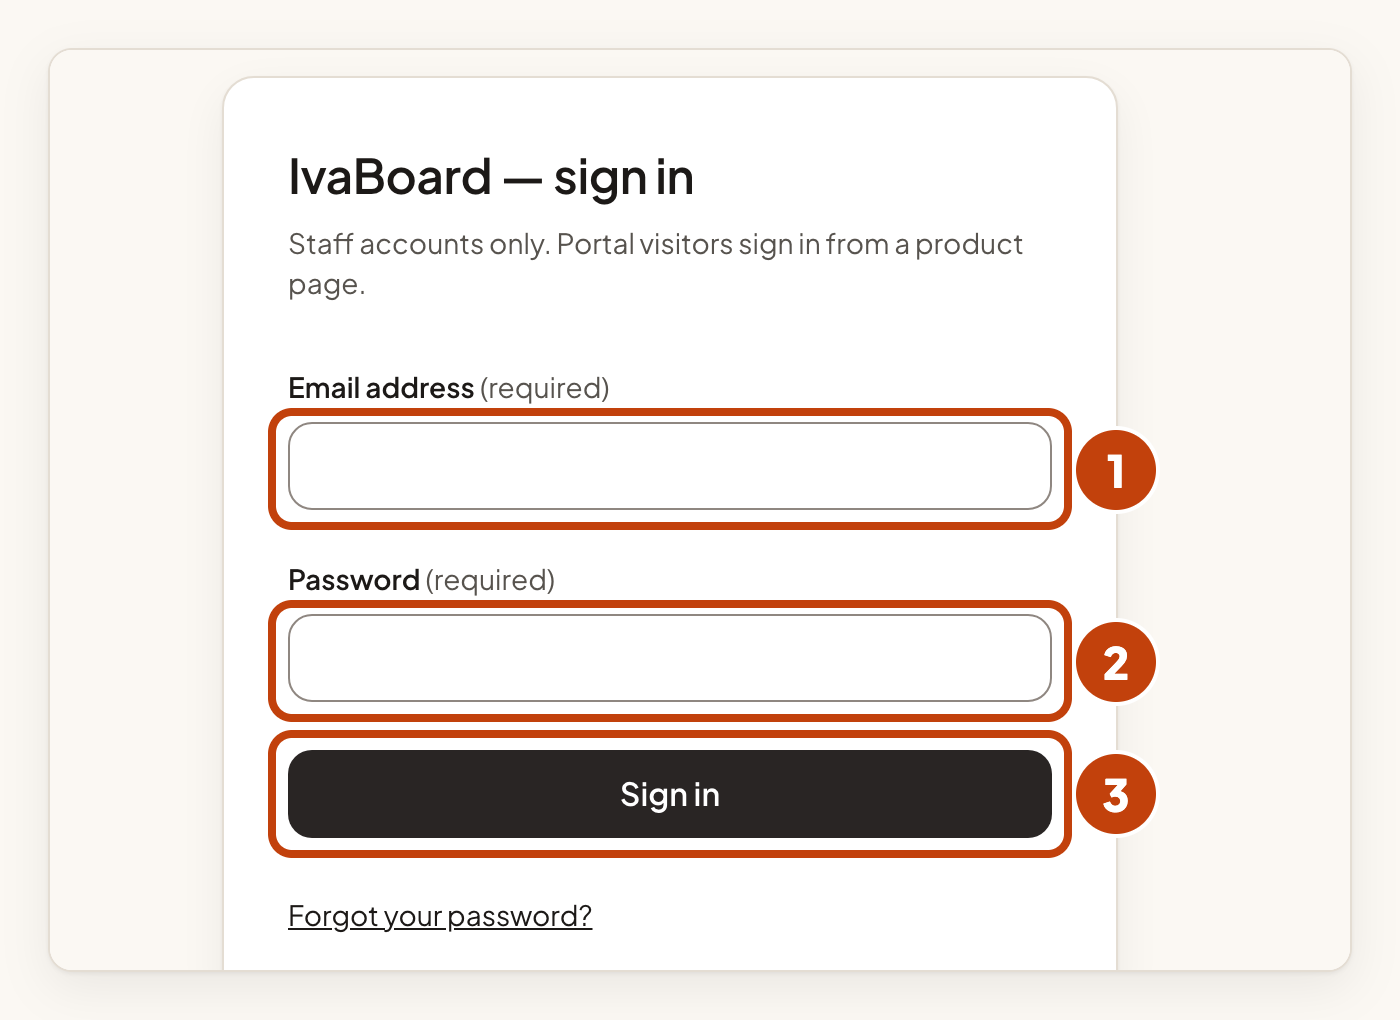
If two-factor authentication is on, signing in also asks for a code from your authenticator app. Your workspace opens on its Overview page. The console menu lists the parts of your workspace. For more, read Sign in and two-factor authentication.
Step 2: add your first product
A product is one thing your customers give feedback on, such as your app or your website. Each product has its own portal and boards. Owners and admins can create a product.
- Select Products in the console menu.
- Fill in Name in the Create a product section.
- Fill in URL slug.
- Select Create product.
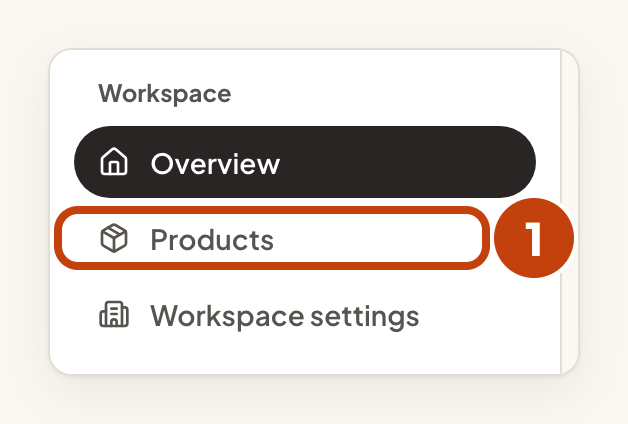
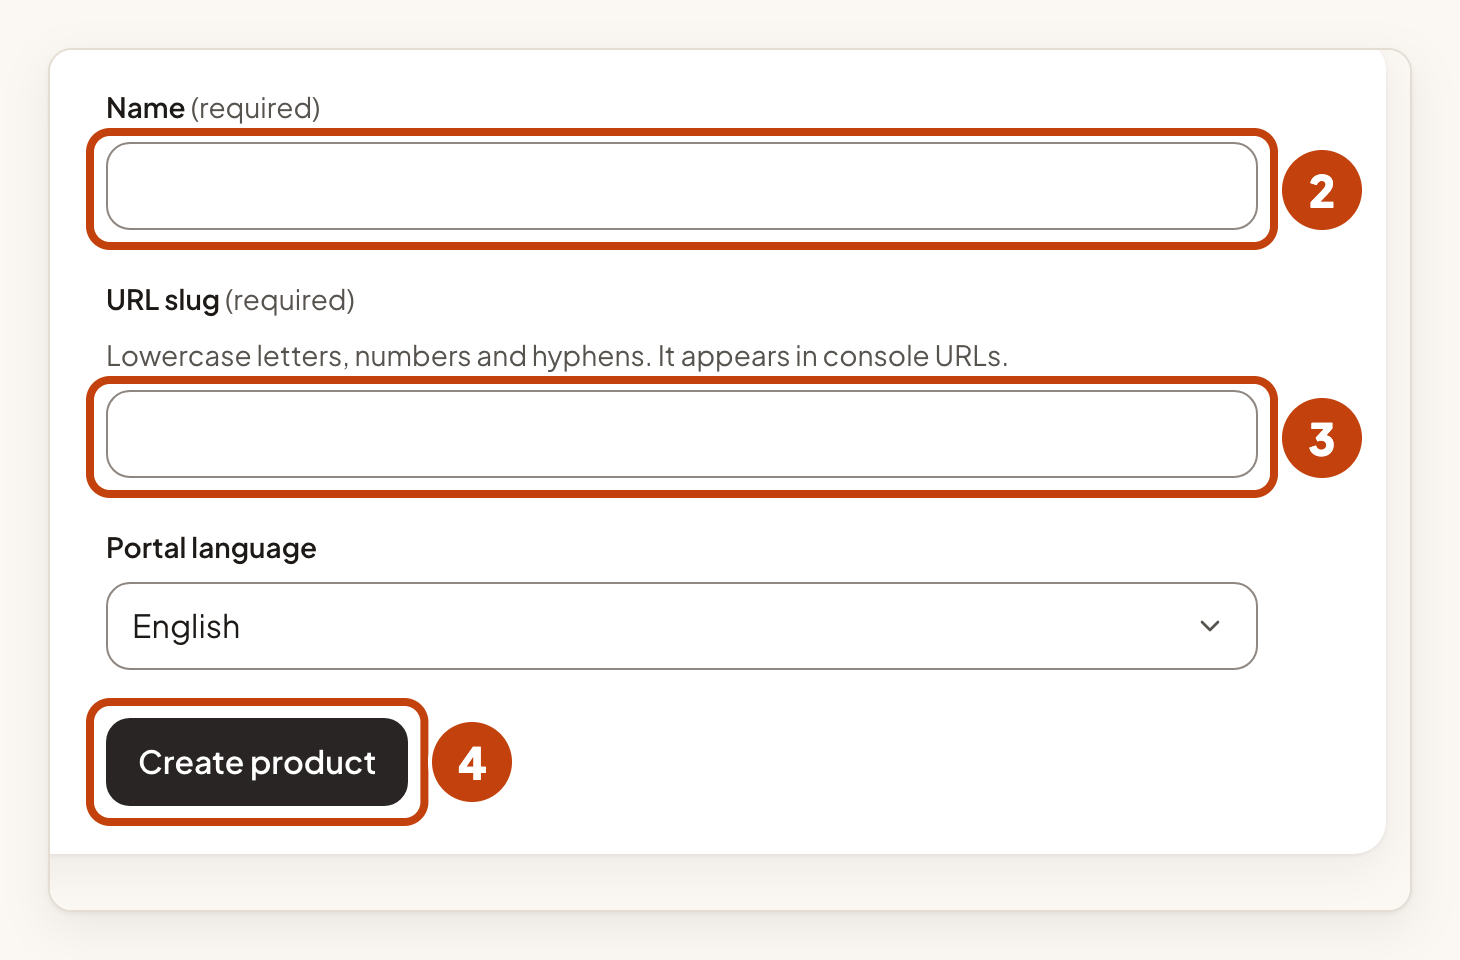
Your plan sets how many products you can have. Every new product starts with one board called Feedback and a ready-made set of statuses.
Step 3: set up your board
Owners, admins and team members with Manager access can change a product's boards.
- Select the name of your product in the Products list.
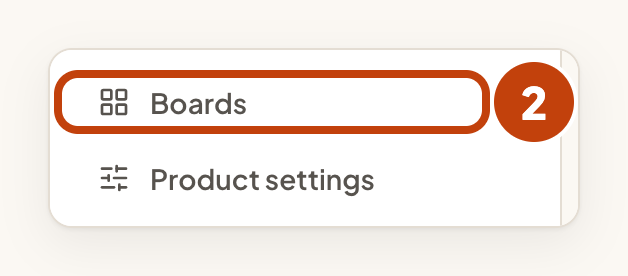
- Select Boards in the product menu.
- Select Feedback to open its settings.
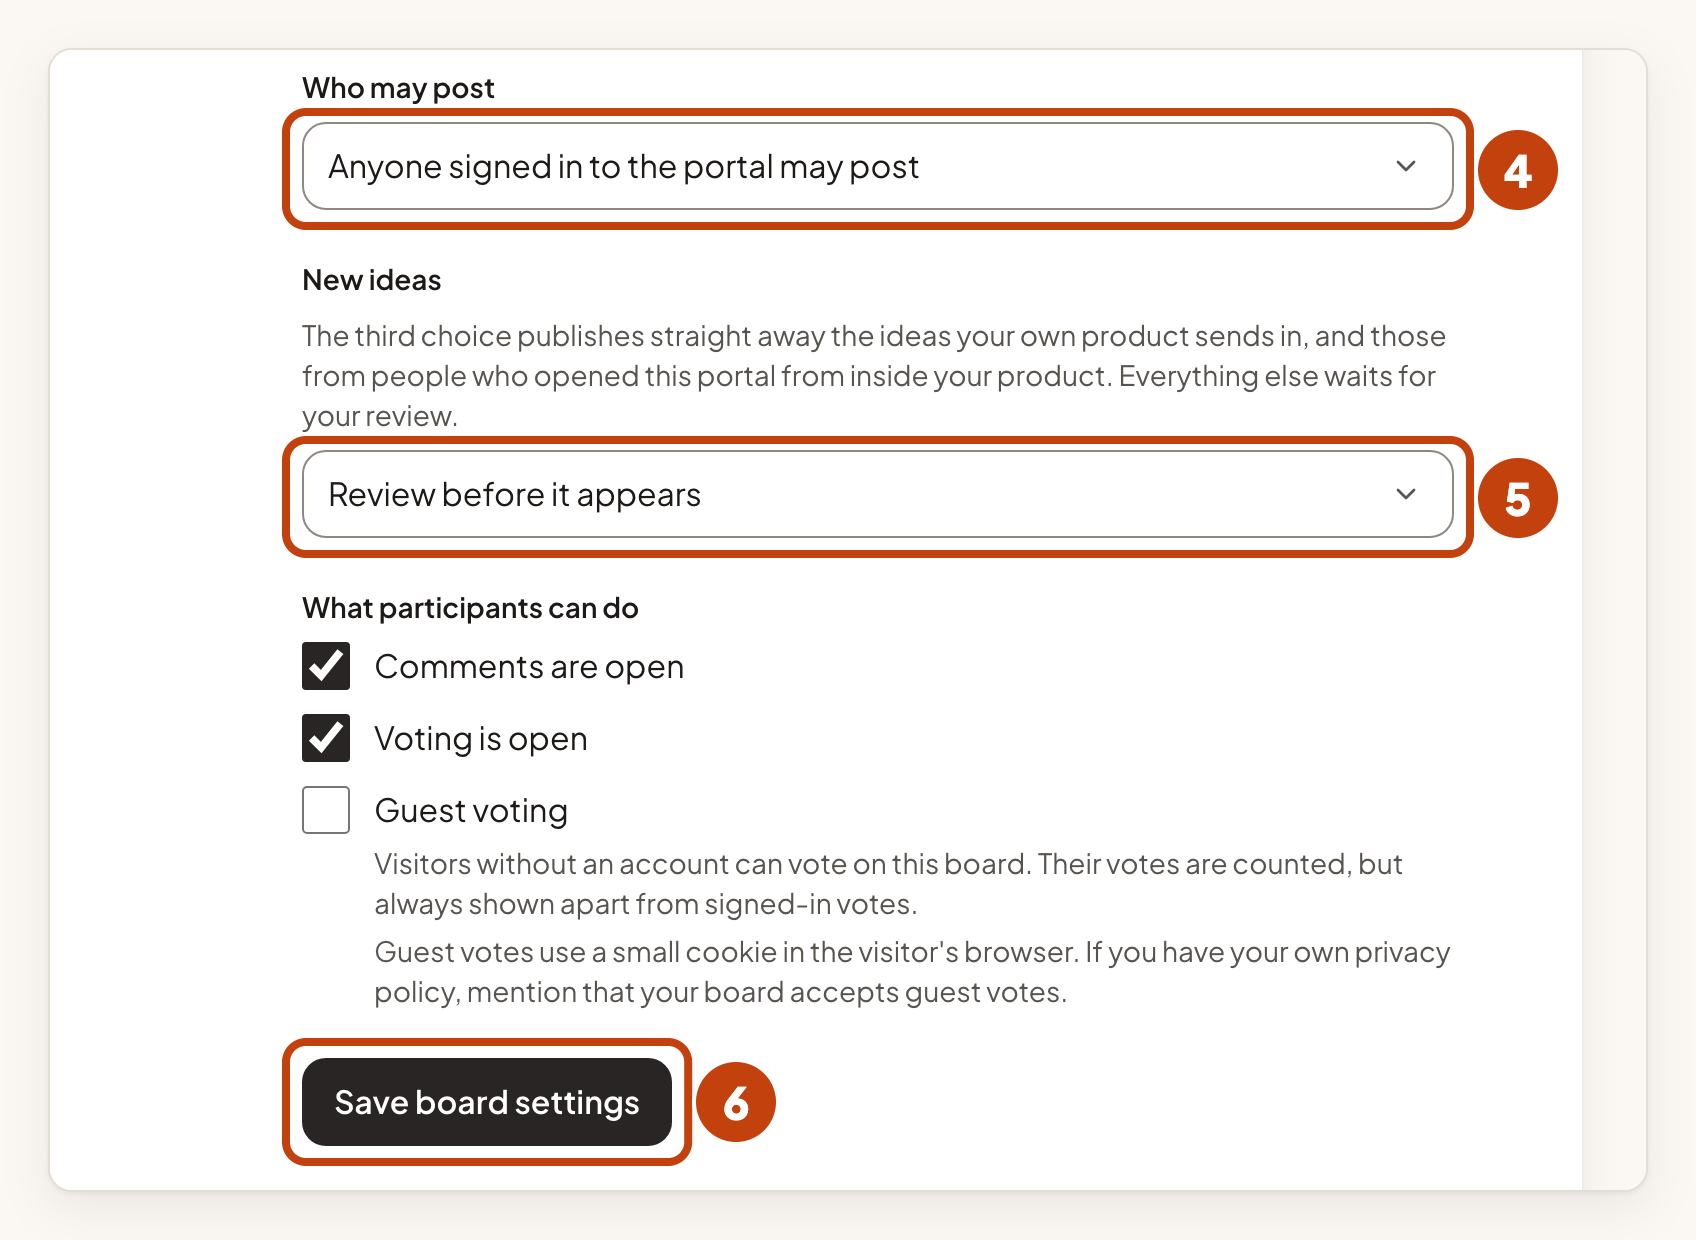
- Under Who may post, choose who can post.
- Under New ideas, choose Review before it appears to approve new ideas first.
- Select Save board settings.
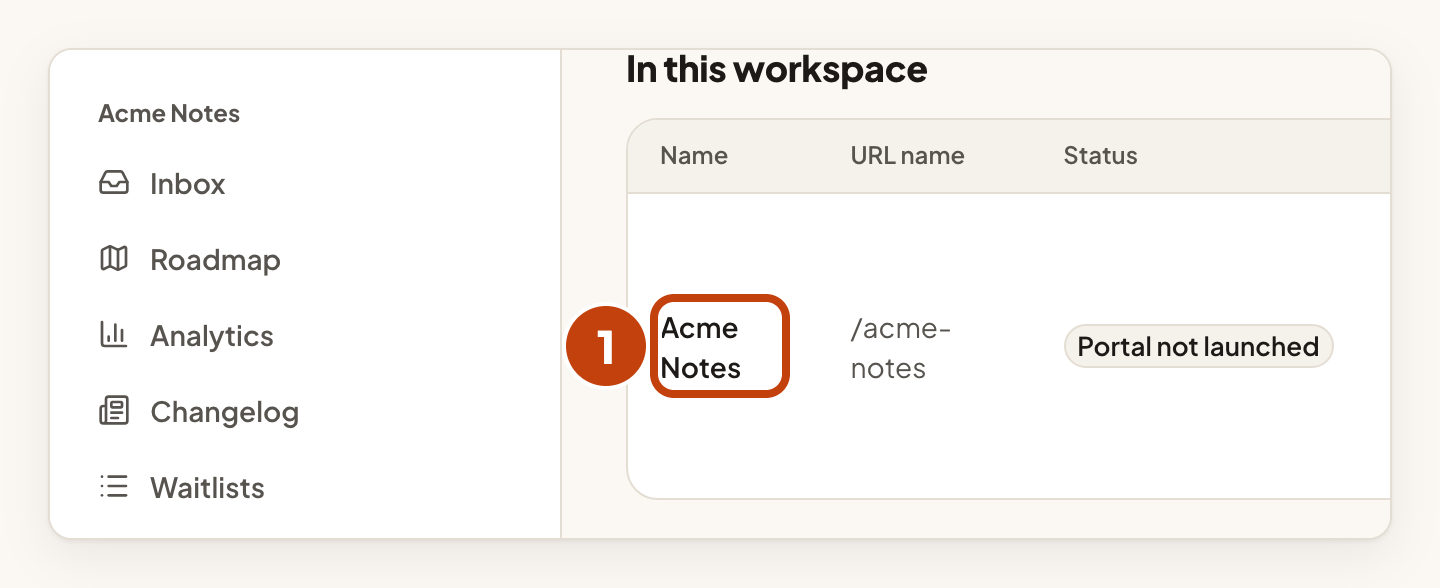

Read Create and manage boards before you decide who may post.
Add another board
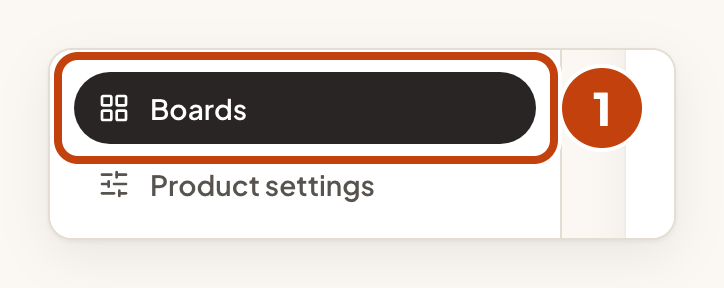
- Select Boards in the product menu.
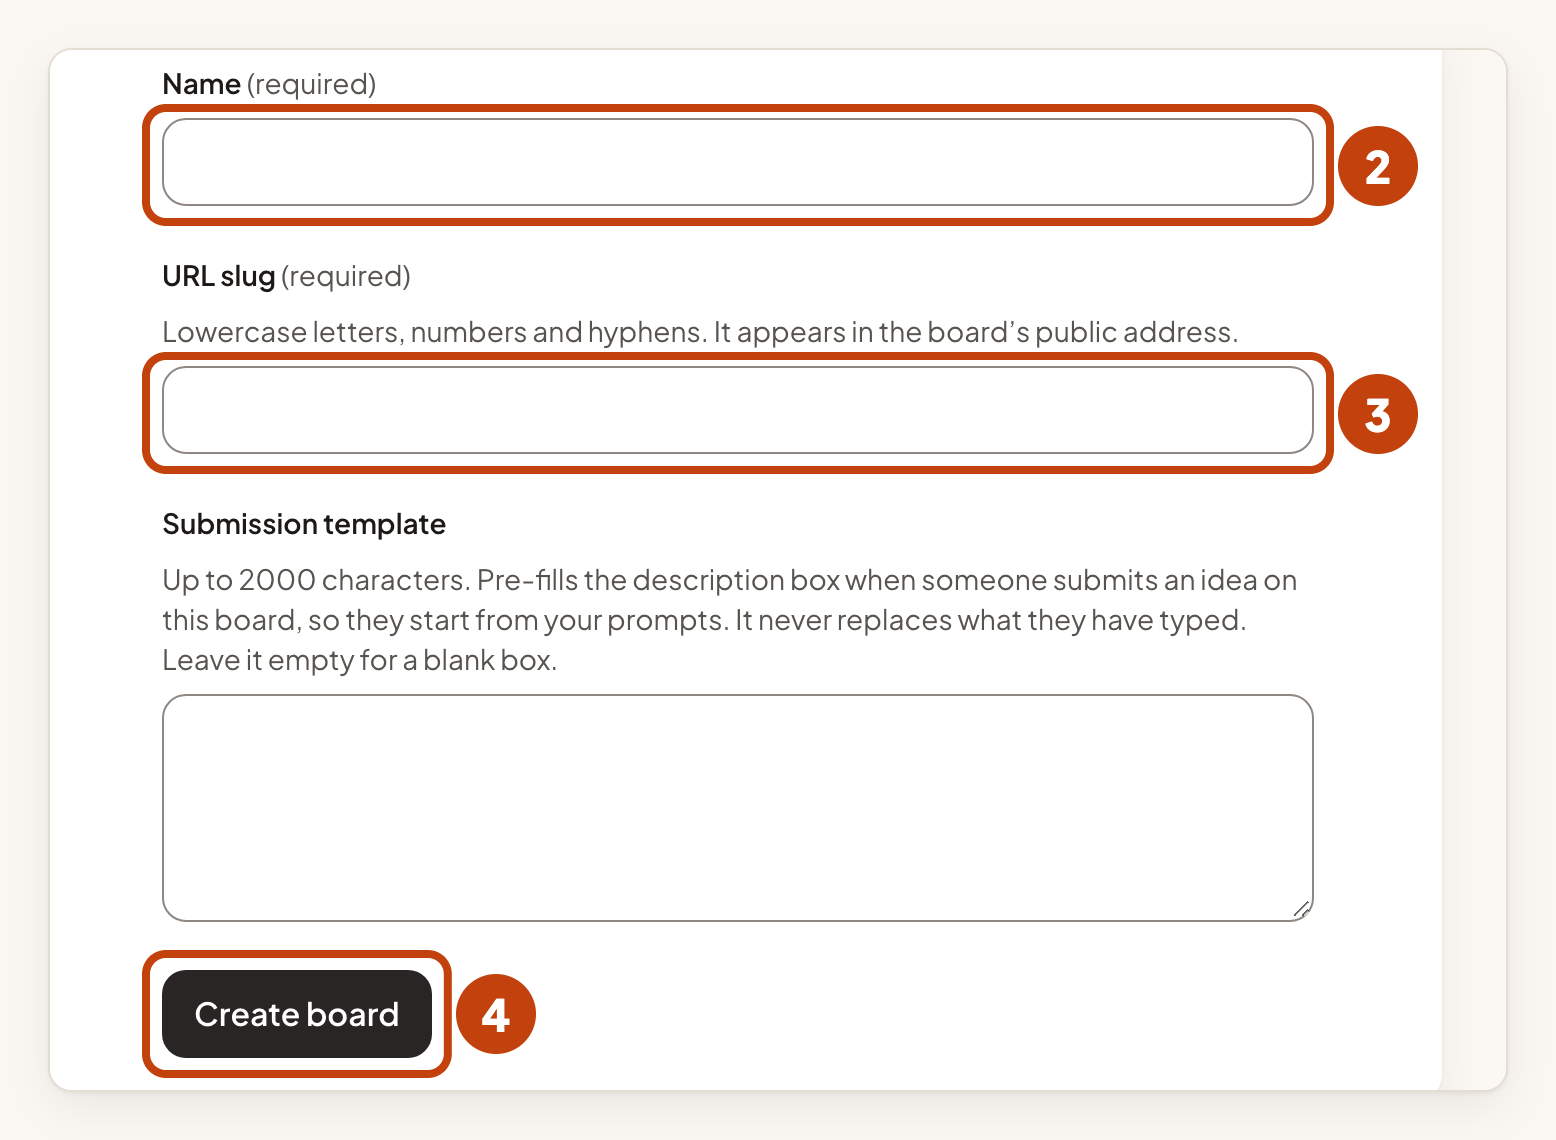
- Fill in Name in the Create a board form.
- Fill in URL slug in the Create a board form.
- Select Create board.
Step 4: invite your team
Owners and admins can invite people. Only an owner can invite another owner.
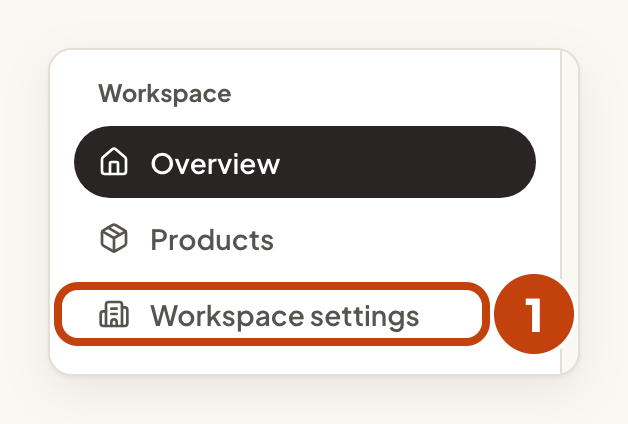
- Select Workspace settings in the console menu.
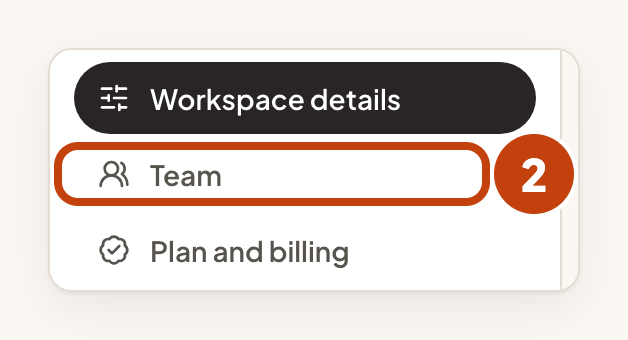
- Select Team in the settings menu.
- Under Invite a teammate, fill in Email address.
- Under Invite a teammate, choose a Role.
- Under Product access, choose an access level for each product.
- Select Send invitation.
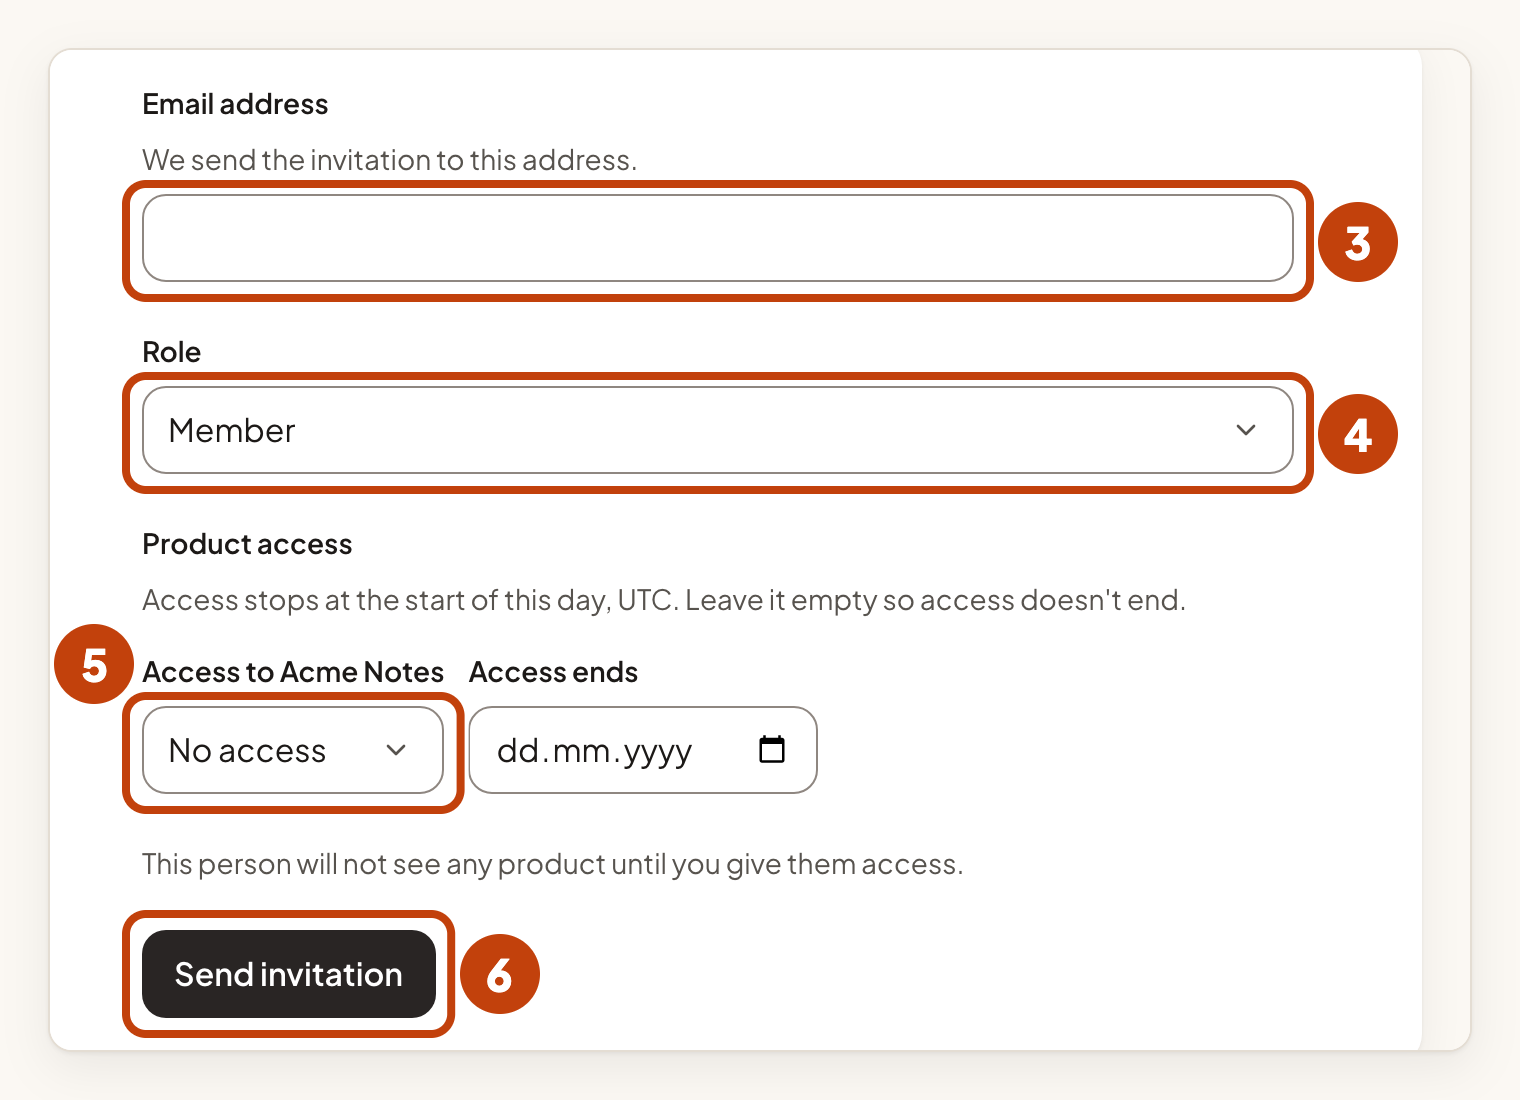
Leave a product on No access if the person should not see it.
The link works for 7 days and only for the address you entered. Their access starts when they accept.
An invitee who is an owner or an admin needs to set up two-factor authentication before they can join. The same applies if they are an owner or an admin in another workspace. See Invite your team.
Step 5: launch and share your portal
Your portal is the public site where your customers post ideas. Until you launch it, the portal is not public. Owners and admins can launch a portal.
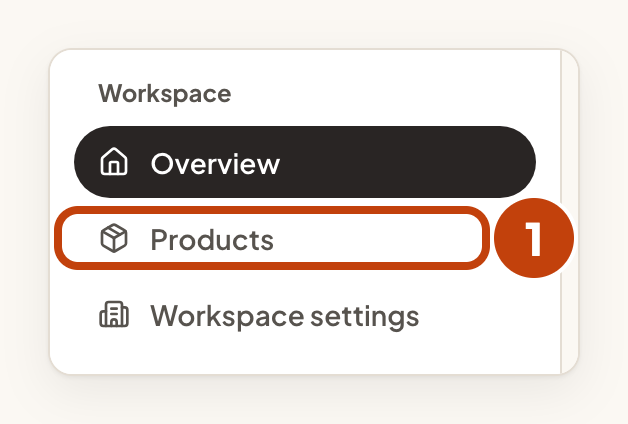
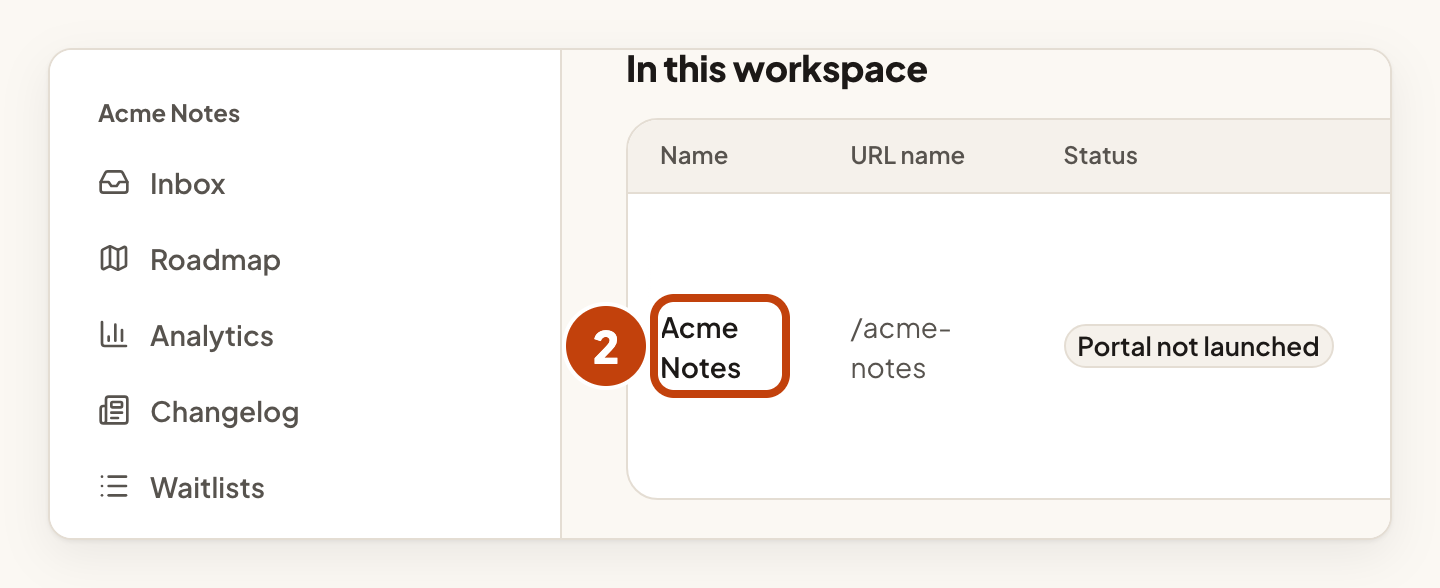
- Select Products in the console menu.
- Select the name of your product.
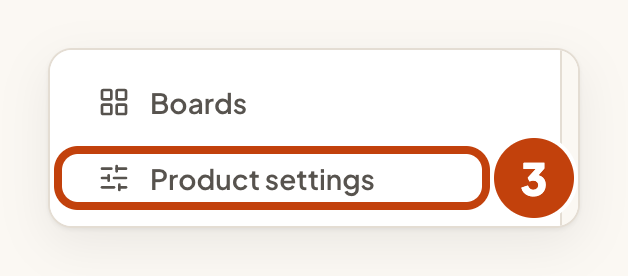
- Select Product settings in the product menu.
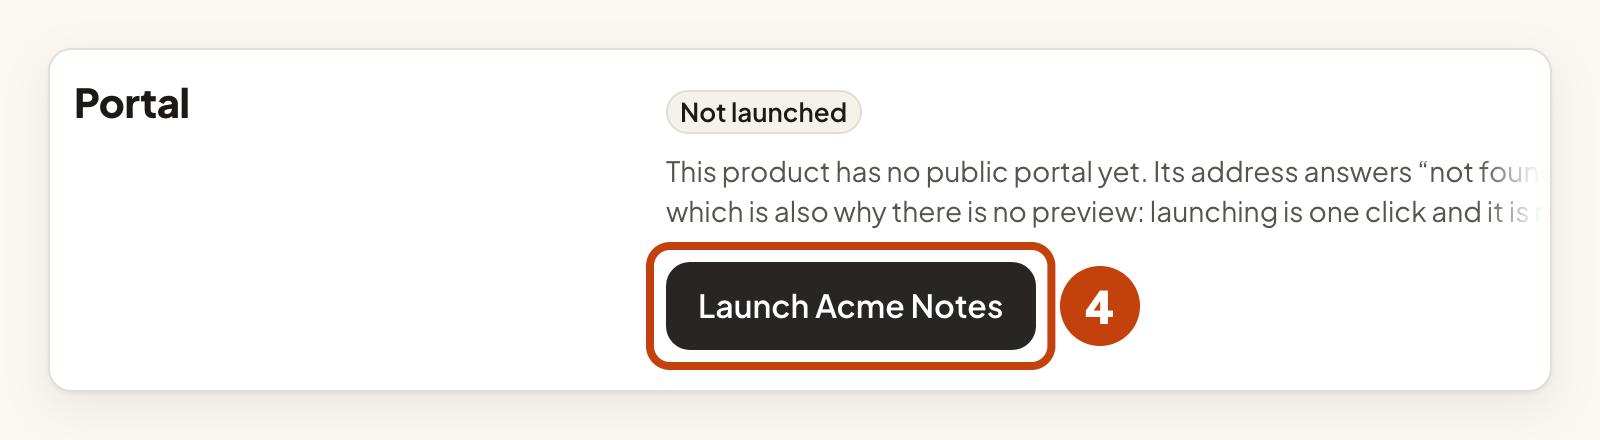
- In the Portal section, select Launch followed by your product name.
- Copy the address under Portal address.
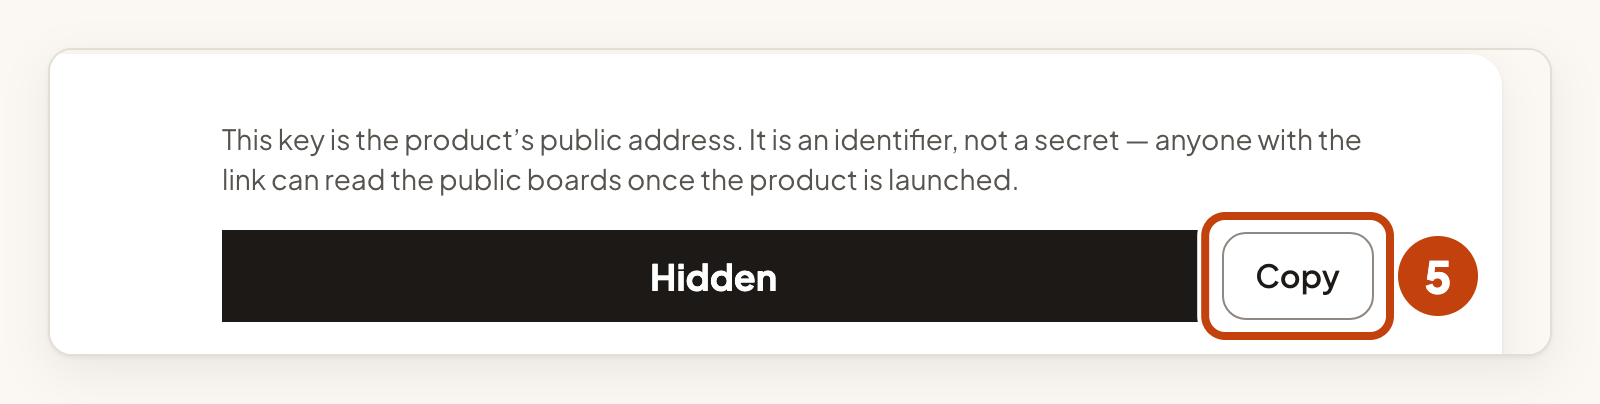
Share the address with your customers so they can find your portal.
Private boards stay private. They never appear on the portal.
To take your portal offline again, select the withdraw button in the same section. Boards and ideas are kept.
Step 6: handle the first ideas
New ideas arrive in your Inbox. Open it to read them. To learn how to review them, read Ideas and the review inbox.
Customers who post ideas sign in to your portal first.
On your IvaBoard portal address, they create an account with a display name, an email address and a password. Then they confirm the address by email.
On your own domain, they type their email address and enter a one-time code. This needs white-label on, a verified domain, and a sign-in method other than Only through your product.
Read How your customers sign in to your portal.
Example
For example, Sam sets up Acme Notes for Acme Labs. Sam creates the product with the URL slug acme-notes, keeps the Feedback board and selects Review before it appears under New ideas. Then Sam launches the portal and invites [email protected] as a member with Viewer access to Acme Notes.
